Finding a unique way to use up summer watermelon can feel like a real puzzle. Sure, we all love eating it fresh and cold on a hot day, but when you’ve got half a watermelon sitting in your fridge and you’re getting tired of the same old fruit salad routine, you need some fresh ideas.
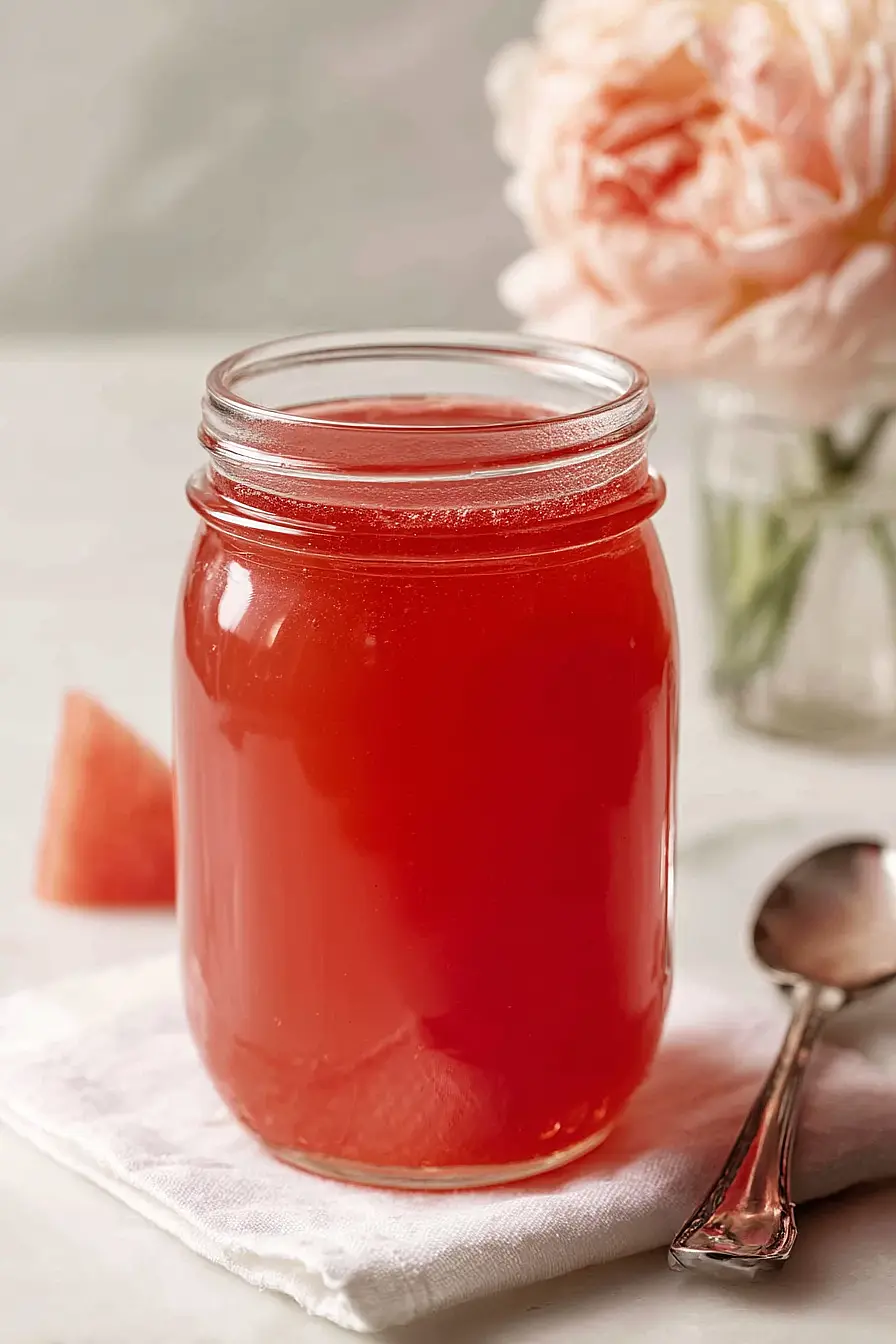
That’s where this watermelon jelly comes in handy. It’s a sweet, refreshing spread that captures all that summery flavor in a jar, it’s surprisingly easy to make at home, and it’s a fantastic way to preserve that taste of summer well into the fall and winter months.
Why You’ll Love This Watermelon Jelly
- Quick and easy – This jelly comes together in under 45 minutes, making it a simple project even if you’ve never made jelly before.
- Simple ingredients – You only need four basic ingredients to turn fresh watermelon into a sweet spread that tastes like summer in a jar.
- Great way to use extra watermelon – If you have leftover watermelon sitting in your fridge, this recipe gives you a delicious way to preserve it instead of letting it go to waste.
- Perfect for gifting – Homemade watermelon jelly makes a thoughtful gift for friends and family, and it’s something they probably haven’t tried before.
What Kind of Watermelon Should I Use?
Any variety of watermelon will work great for this jelly, whether you go with a traditional seeded watermelon or opt for the convenience of seedless. If you do use a seeded watermelon, just make sure to pick out all the seeds before you puree it – nobody wants to bite into a crunchy seed in their smooth jelly. The sweetness level can vary between watermelons, so if yours isn’t super sweet, don’t worry – the sugar in the recipe will balance everything out. Look for a watermelon that feels heavy for its size and has a yellow spot on the bottom where it sat on the ground, which usually means it’s nice and ripe.
Options for Substitutions
While jelly-making requires some precision, there are a few swaps you can consider:
- Powdered pectin: Don’t substitute the pectin with anything else – it’s what makes your jelly set properly. If you only have liquid pectin, you’ll need to adjust the recipe method and use it after boiling instead of before.
- White sugar: Stick with regular white sugar for this recipe. Other sweeteners like honey or artificial sweeteners won’t give you the same texture and may prevent proper setting.
- Bottled lemon juice: Use bottled lemon juice rather than fresh for this recipe. Bottled juice has consistent acidity levels, which is important for safe canning and proper gel formation.
- Watermelon: You can try this recipe with other melons like cantaloupe or honeydew. Just make sure to puree them well and strain out any chunks for a smooth jelly.
Watch Out for These Mistakes While Cooking
The biggest mistake when making watermelon jelly is not reaching the proper temperature of 220°F, which means your jelly won’t set and you’ll end up with syrup instead – use a candy thermometer and be patient, as rushing this step ruins the entire batch.
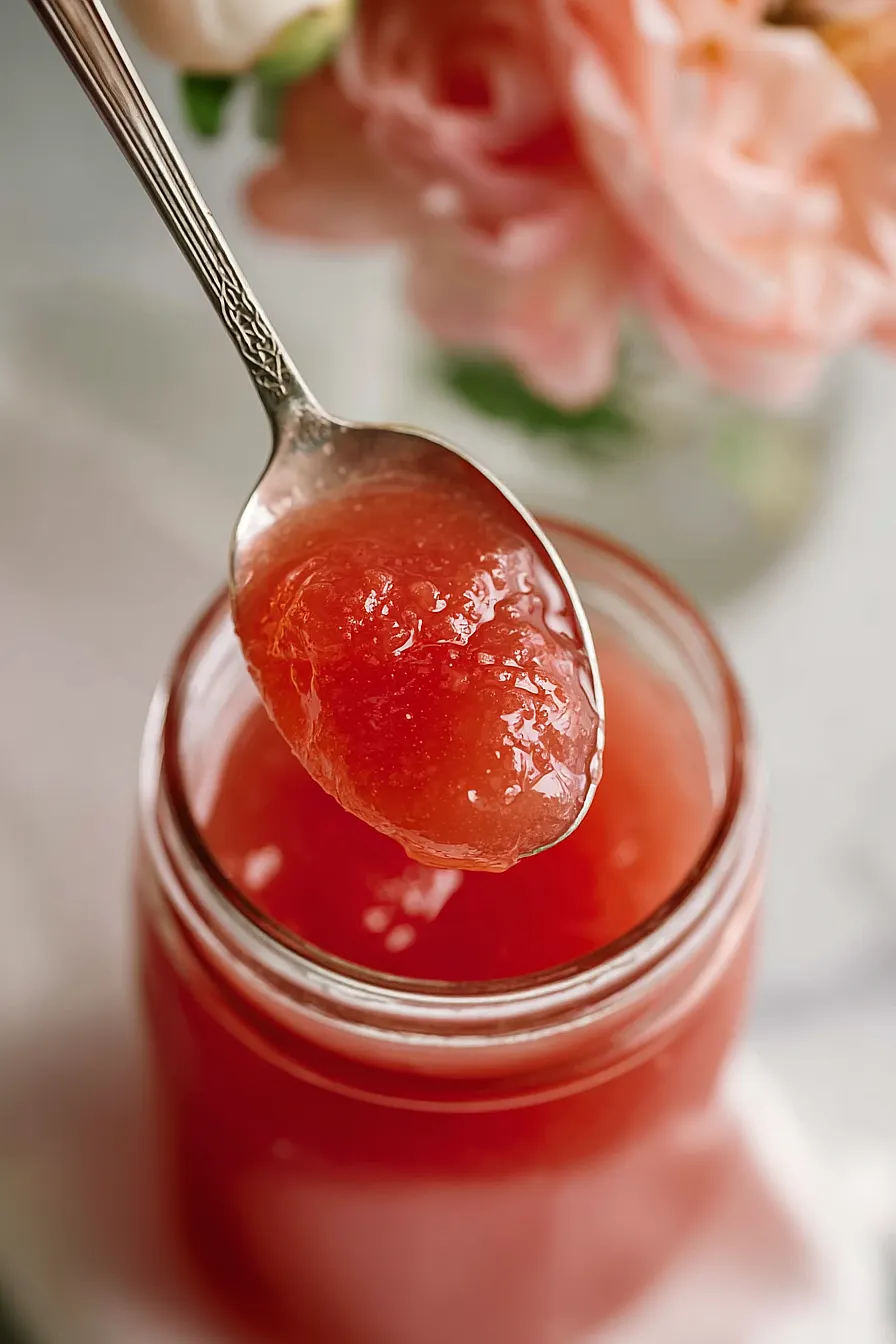
Another common error is skipping the gel test before jarring, so place a small spoonful on a cold plate and run your finger through it after a minute – if it wrinkles and holds its shape, you’re good to go.
Make sure to use bottled lemon juice rather than fresh, as the acidity level needs to be consistent for safe canning, and don’t reduce the amount since it’s crucial for both preservation and helping the pectin set properly.
Finally, avoid overfilling your jars – leave about 1/4 inch of headspace at the top to allow for proper sealing during the water bath process.
What to Serve With Watermelon Jelly?
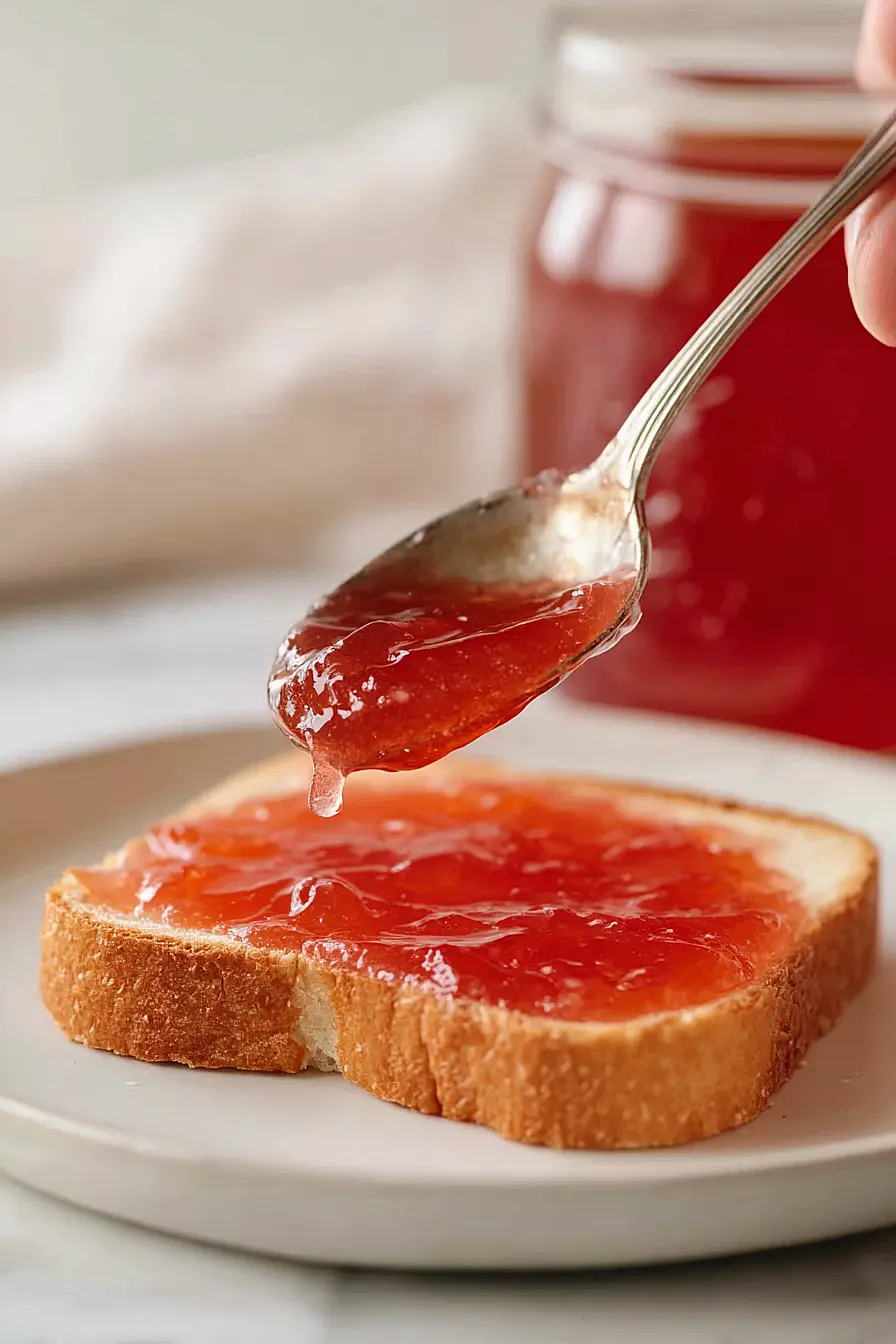
Watermelon jelly is perfect spread on warm buttered toast or English muffins for a sweet breakfast treat that’s a nice change from regular grape or strawberry jam. I love pairing it with cream cheese on bagels or crackers for an easy snack, and it also works really well as a topping for vanilla ice cream or pound cake when you want something a little different for dessert. The sweet, fruity flavor makes it great for PB&J sandwiches too, especially if you’re looking to mix things up from the usual jelly options. You can also use it as a glaze for grilled chicken or pork chops to add a sweet and tangy finish to your dinner.
Storage Instructions
Store: Once your jars have cooled and sealed properly, store them in a cool, dark place like your pantry for up to a year. After opening a jar, keep it in the fridge and use within 3 weeks for the best flavor and texture.
Check Seals: Make sure to check that all your jar lids have sealed correctly before storing. Press down on the center of each lid – if it doesn’t pop back, you’re good to go. Any jars that didn’t seal should go straight into the fridge and be used within a couple weeks.
Enjoy: This jelly tastes amazing on toast, biscuits, or even swirled into yogurt. Once you open a jar, give it a quick stir if you notice any separation, which is totally normal with homemade jelly.
| Preparation Time | 20-30 minutes |
| Cooking Time | 10-15 minutes |
| Total Time | 30-45 minutes |
| Level of Difficulty | Medium |
| Servings | 9 cups of jelly |
Estimated Nutrition
Estimated nutrition for the whole recipe (without optional ingredients):
- Calories: 4000-4300
- Protein: 2-4 g
- Fat: 0-1 g
- Carbohydrates: 1040-1080 g
Ingredients
- 5 cups sugar
- 6 tbsp pectin
- 5 1/2 cups watermelon juice (blended and strained)
- 7/8 cup lemon juice
- 1/4 teaspoon salt
- 1/2 teaspoon unsalted butter (to reduce foaming)
Step 1: Prepare Jars and Mise en Place
- 5 cups sugar
- 6 tbsp pectin
- 5 1/2 cups watermelon juice
- 7/8 cup lemon juice
- 1/4 teaspoon salt
- 1/2 teaspoon unsalted butter
Sterilize five half-pint jars with their lids by running them through a hot dishwasher cycle or boiling them in water for 10 minutes—this prevents contamination and ensures your jelly sets properly.
While jars are sterilizing, measure out all your ingredients: the sugar, pectin, strained watermelon juice, lemon juice, salt, and butter.
Having everything ready before you start cooking is essential for jam-making, where timing is critical.
Step 2: Create the Dry Pectin Mixture
- 5 cups sugar
- 6 tbsp pectin
In a small bowl, whisk together the sugar and pectin until well combined.
This step is crucial because it prevents the pectin from clumping when it hits the hot liquid—the sugar helps distribute the pectin evenly throughout the mixture, which ensures consistent gelling across your entire batch.
Step 3: Combine Ingredients and Bring to a Rolling Boil
- 5 1/2 cups watermelon juice
- 7/8 cup lemon juice
- 1/4 teaspoon salt
- 1/2 teaspoon unsalted butter
- dry pectin mixture from Step 2
Pour the watermelon juice and lemon juice into a large, heavy-bottomed pot (at least 8-quart capacity to prevent boil-overs).
Add the salt and butter, then stir in the sugar-pectin mixture from Step 2, stirring constantly until fully dissolved.
Bring the mixture to a rolling boil over high heat, stirring occasionally.
I like to add the butter at the beginning because it significantly reduces the foam that forms during cooking, making the final jelly clearer and easier to skim.
Step 4: Cook to Gel Temperature and Test for Set
- cooking mixture from Step 3
Maintain a vigorous rolling boil and monitor the temperature with a candy or instant-read thermometer.
Cook for 15-30 minutes until the mixture reaches exactly 220°F (104°C)—this is the critical temperature where the sugar content and pectin reach the proper balance to gel.
Before removing from heat, perform the wrinkle test: place a small spoonful of hot jelly on a chilled plate, let it cool for a moment, then push it with your finger.
If it wrinkles and doesn’t flow back together, it’s ready; if it’s still liquid, cook for another 2-3 minutes and test again.
Step 5: Jar and Process the Jelly
- hot jelly from Step 4
- sterilized jars from Step 1
Remove the pot from heat and skim off any foam from the surface using a clean spoon.
Working quickly while the jelly is still hot, ladle it into your sterilized jars from Step 1, leaving 1/4 inch of headspace at the top.
Wipe the rim of each jar with a clean, damp cloth to remove any drips, then place the lids on top and screw the bands until finger-tight (snug but not overly tight).
Immediately place the filled jars into a boiling water canner and process for 10 minutes to create a proper seal.
Step 6: Cool and Set
Carefully remove the jars from the water canner using jar tongs and place them upright on a clean towel or cooling rack, spacing them a few inches apart so air can circulate around them.
As they cool, you’ll hear a gentle ‘pop’ sound—this is the lids sealing as the contents contract, which is exactly what you want.
Let the jars sit undisturbed at room temperature for at least 12 hours (preferably overnight) before testing the seals.
Any jars that don’t seal properly should be refrigerated and used within 3 weeks.
Simple Watermelon Jelly
Ingredients
Method
- Sterilize five half-pint jars with their lids by running them through a hot dishwasher cycle or boiling them in water for 10 minutes—this prevents contamination and ensures your jelly sets properly. While jars are sterilizing, measure out all your ingredients: the sugar, pectin, strained watermelon juice, lemon juice, salt, and butter. Having everything ready before you start cooking is essential for jam-making, where timing is critical.
- In a small bowl, whisk together the sugar and pectin until well combined. This step is crucial because it prevents the pectin from clumping when it hits the hot liquid—the sugar helps distribute the pectin evenly throughout the mixture, which ensures consistent gelling across your entire batch.
- Pour the watermelon juice and lemon juice into a large, heavy-bottomed pot (at least 8-quart capacity to prevent boil-overs). Add the salt and butter, then stir in the sugar-pectin mixture from Step 2, stirring constantly until fully dissolved. Bring the mixture to a rolling boil over high heat, stirring occasionally. I like to add the butter at the beginning because it significantly reduces the foam that forms during cooking, making the final jelly clearer and easier to skim.
- Maintain a vigorous rolling boil and monitor the temperature with a candy or instant-read thermometer. Cook for 15-30 minutes until the mixture reaches exactly 220°F (104°C)—this is the critical temperature where the sugar content and pectin reach the proper balance to gel. Before removing from heat, perform the wrinkle test: place a small spoonful of hot jelly on a chilled plate, let it cool for a moment, then push it with your finger. If it wrinkles and doesn't flow back together, it's ready; if it's still liquid, cook for another 2-3 minutes and test again.
- Remove the pot from heat and skim off any foam from the surface using a clean spoon. Working quickly while the jelly is still hot, ladle it into your sterilized jars from Step 1, leaving 1/4 inch of headspace at the top. Wipe the rim of each jar with a clean, damp cloth to remove any drips, then place the lids on top and screw the bands until finger-tight (snug but not overly tight). Immediately place the filled jars into a boiling water canner and process for 10 minutes to create a proper seal.
- Carefully remove the jars from the water canner using jar tongs and place them upright on a clean towel or cooling rack, spacing them a few inches apart so air can circulate around them. As they cool, you'll hear a gentle 'pop' sound—this is the lids sealing as the contents contract, which is exactly what you want. Let the jars sit undisturbed at room temperature for at least 12 hours (preferably overnight) before testing the seals. Any jars that don't seal properly should be refrigerated and used within 3 weeks.