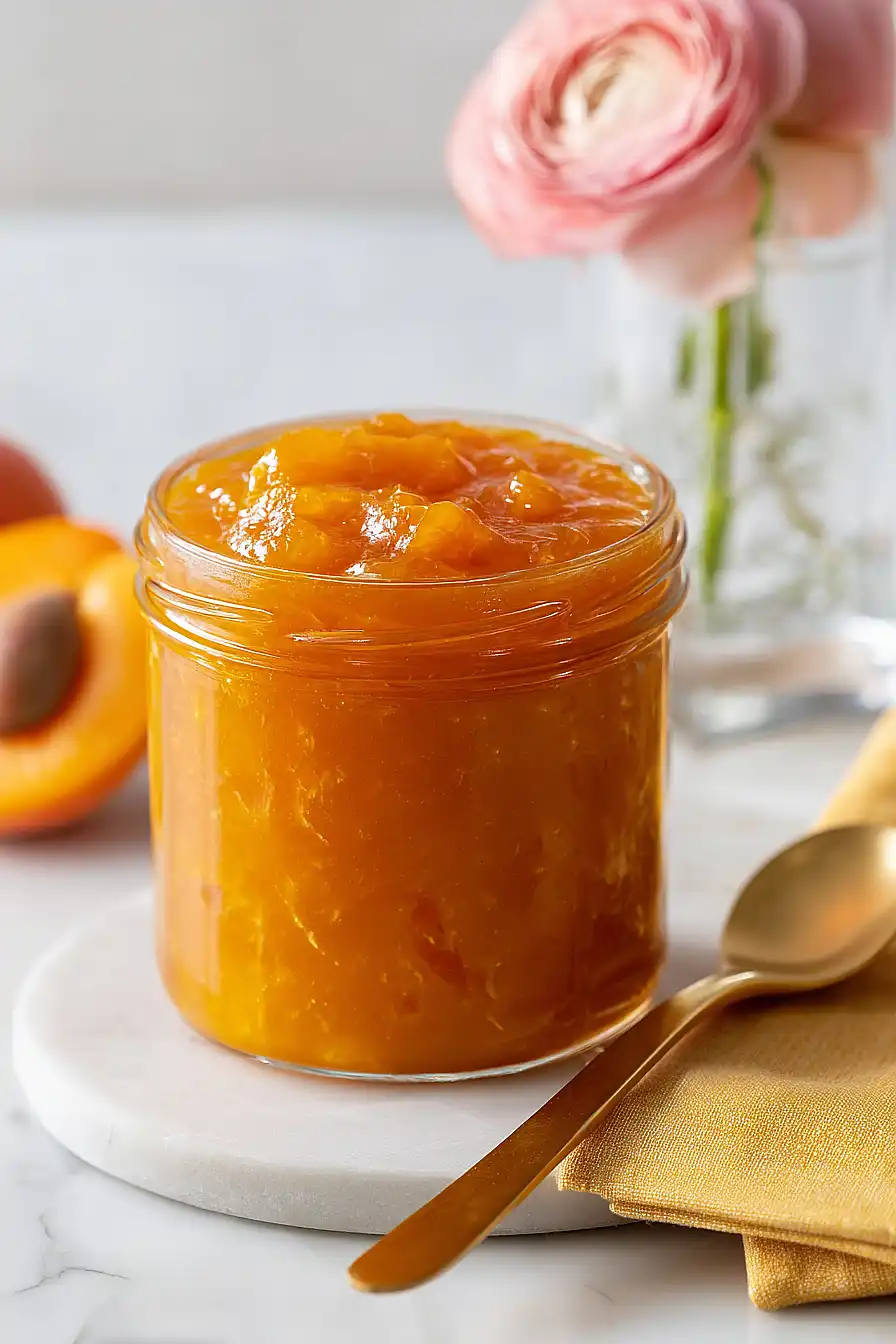
I never thought making jam at home was worth the effort until I tried it with fresh apricots. Store-bought is fine, but there’s something about homemade that just tastes better—plus you know exactly what’s in it.
The best part? This apricot jam only needs five ingredients and doesn’t require any fancy canning equipment. You can make a small batch, keep it in the fridge, and actually use it all before it goes bad. No special pectin needed either—the apricots have enough natural thickness on their own. It’s one of those recipes that looks impressive but is actually pretty simple to pull off.
Why You’ll Love This Apricot Jam
- Quick and easy – This homemade jam comes together in just 20-30 minutes, so you can have fresh preserves without spending hours in the kitchen.
- Simple ingredients – You only need three ingredients—apricots, sugar, and lemon juice or liqueur—to make this delicious spread.
- Fresh, natural flavor – Making your own jam means no artificial preservatives or additives, just pure apricot goodness that tastes way better than store-bought.
- Perfect for gifting – Homemade jam in a cute jar makes a thoughtful gift for friends and family, and they’ll be impressed you made it yourself.
- Versatile use – Spread it on toast, swirl it into yogurt, use it as a pastry filling, or serve it alongside cheese—this jam works for breakfast, snacks, or dessert.
What Kind of Apricots Should I Use?
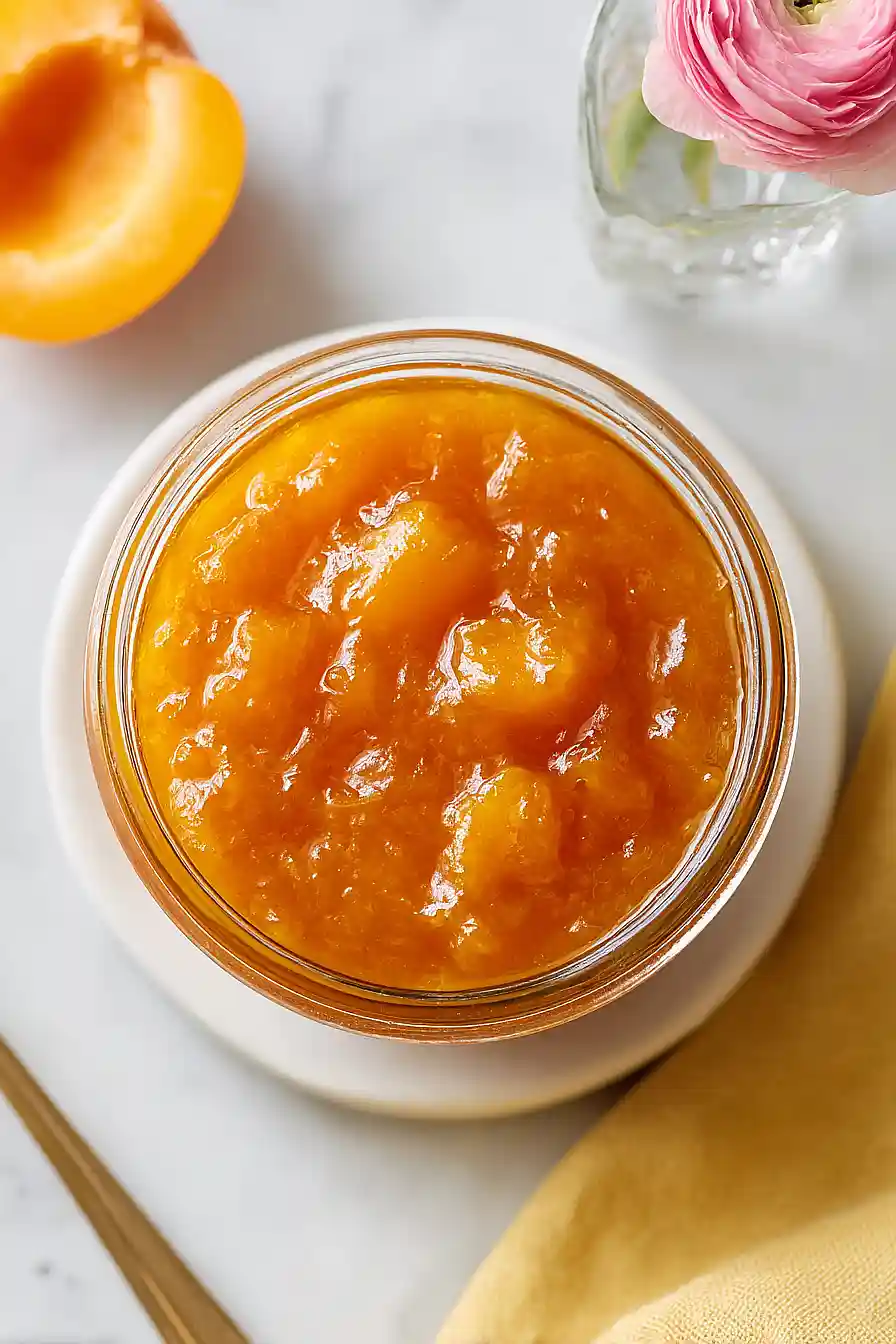
The key to great apricot jam is using ripe fruit, but not overly soft or mushy apricots. Look for apricots that have a deep orange color and give slightly when you press them gently – they should smell sweet and fragrant. If your apricots are a bit underripe, you can leave them on the counter for a day or two to soften up before making your jam. Avoid apricots with brown spots or bruises, as these can affect the flavor of your final product. Fresh apricots are best for this recipe, but if you’re in a pinch during the off-season, frozen apricots can work too – just thaw them completely and drain any excess liquid before using.
Options for Substitutions
This simple jam recipe works well with a few different options if you need to make swaps:
- Sugar: You can reduce the sugar to ¾ cup if you prefer a less sweet jam, though keep in mind sugar acts as a preservative. For a different sweetness profile, try honey or maple syrup, but use slightly less (about ¾ cup) since they’re sweeter than regular sugar.
- Lemon juice or orange liqueur: If you don’t have orange liqueur, stick with lemon juice – it’s actually the more traditional choice and helps the jam set properly. You can also use lime juice for a slightly different citrus note. The liqueur is optional and just adds a fancy touch.
- Apricots: While apricots are essential for apricot jam, you can mix in a handful of peaches or nectarines if you’re a bit short on apricots. Just keep the total fruit weight the same at 700 grams after removing the pits.
Watch Out for These Mistakes While Cooking
The biggest mistake when making apricot jam is not cooking it to the proper temperature of 105°C, which means your jam won’t set correctly and will stay runny – invest in a candy thermometer to take the guesswork out of the process.
Skipping the frozen plate test is risky because even if you hit 105°C, factors like fruit ripeness can affect setting, so always put a small spoonful on a cold plate and push it with your finger after a minute to see if it wrinkles.
Another common error is filling jars all the way to the top, but leaving that 2 cm gap is important because the jam expands during the water bath process and needs room to avoid breaking the seal.
Finally, rushing the cooling process by moving or tilting the jars before they’re completely cool can prevent a proper seal from forming, so just let them sit undisturbed on the counter for at least 12 hours.
What to Serve With Apricot Jam?
This apricot jam is perfect slathered on warm buttered toast or English muffins for breakfast, and it also makes a great topping for plain yogurt or oatmeal. I love using it as a filling for thumbprint cookies or swirled into vanilla pound cake batter before baking. You can also spread it on croissants or biscuits, or even use it as a glaze for roasted chicken or pork chops to add a sweet and tangy flavor. Don’t forget that it makes a thoughtful homemade gift when packed into small jars with a ribbon tied around the top.
Storage Instructions
Store: Once your apricot jam has cooled completely, transfer it to clean glass jars with tight-fitting lids. It’ll keep in the refrigerator for up to 3 weeks, perfect for spreading on toast or stirring into yogurt throughout the month.
Preserve: If you want to keep your jam longer, you can use proper canning methods with sterilized jars. Processed jars will last in a cool, dark pantry for up to a year. Just make sure to refrigerate after opening and use within 3 weeks.
Freeze: Apricot jam freezes really well if you made a big batch. Pour it into freezer-safe containers leaving about half an inch of space at the top for expansion, and it’ll keep for up to 6 months. Thaw it overnight in the fridge when you’re ready to use it.
| Preparation Time | 10-15 minutes |
| Cooking Time | 10-15 minutes |
| Total Time | 20-30 minutes |
| Level of Difficulty | Medium |
| Servings | 2 cups of jam |
Estimated Nutrition
Estimated nutrition for the whole recipe (without optional ingredients):
- Calories: 700-800
- Protein: 4-6 g
- Fat: 0-1 g
- Carbohydrates: 180-200 g
Ingredients
- 1.54 lb apricots (pitted and halved)
- 1 1/4 cups sugar
- 2 tbsp lemon juice (preferably ReaLemon)
- 1/4 tsp vanilla extract
- 1 pinch salt
Step 1: Combine Ingredients and Begin Cooking
- 1.54 lb apricots
- 1 1/4 cups sugar
- 2 tbsp lemon juice
- 1/4 tsp vanilla extract
- 1 pinch salt
Add the pitted and halved apricots, sugar, lemon juice, vanilla extract, and salt to a large heavy-bottomed pot or jam pan.
Stir well to combine, breaking down some of the apricots slightly as you mix.
This helps the sugar dissolve evenly and start extracting the apricot juices.
Place the pot over high heat and bring the mixture to a rolling boil, stirring occasionally to prevent sticking on the bottom.
Step 2: Cook Jam to Proper Consistency
- jam mixture from Step 1
Once boiling, maintain a vigorous rolling boil and stir frequently for 8-10 minutes.
The jam will foam and bubble—this is normal as water evaporates.
I like to use a wooden spoon and scrape the bottom of the pot often to prevent scorching, which can give the jam a bitter flavor.
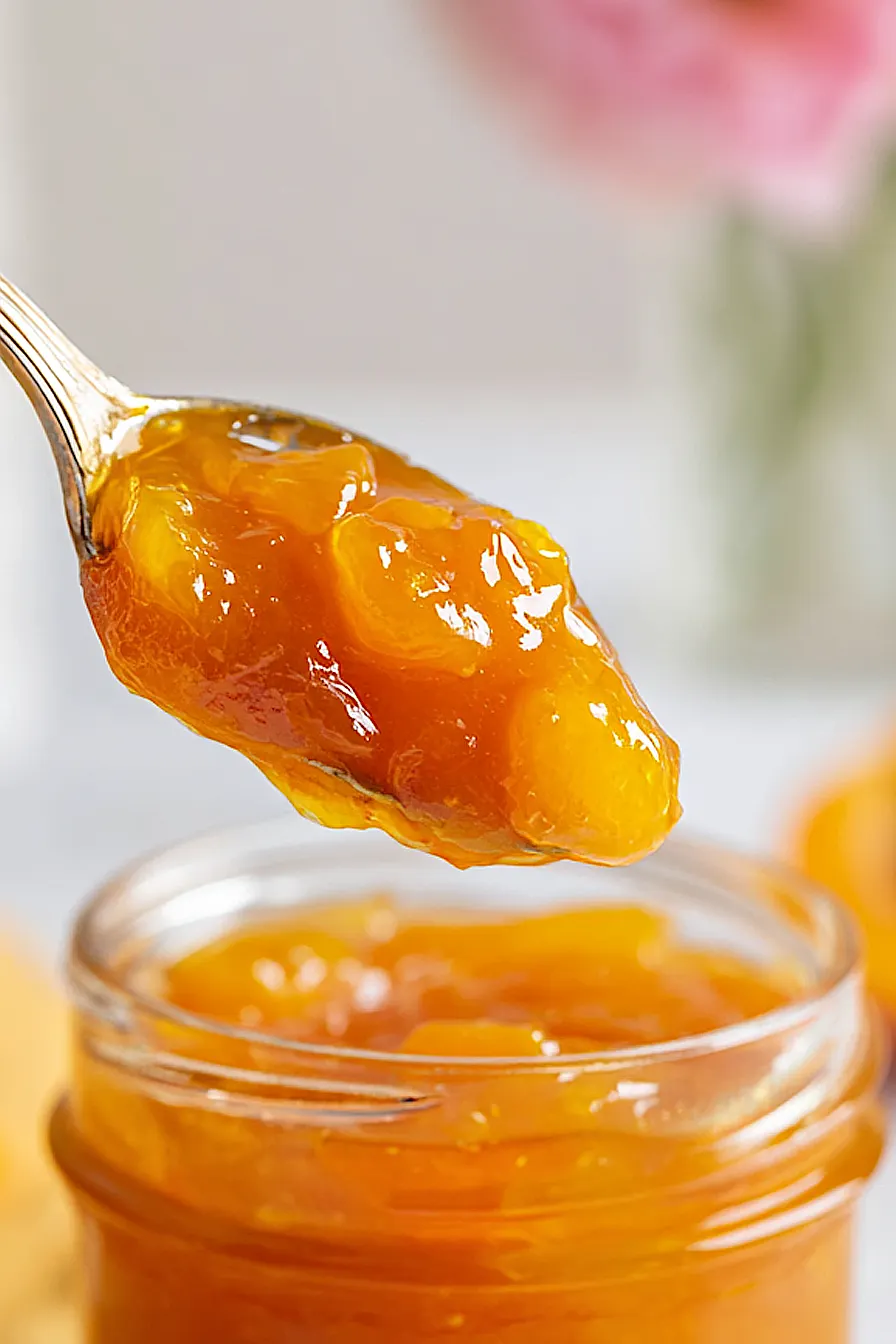
Watch for the mixture to thicken noticeably and darken slightly in color, which indicates pectin development and proper gel formation.
Step 3: Test Jam for Proper Set
- jam mixture from Step 2
Remove the pot from heat and place a drop of jam on a frozen plate (place a small plate in the freezer before starting).
Let it cool for 30 seconds, then push the jam gently with your finger—it should wrinkle and hold its shape rather than run back together.
If it’s still too runny, return to heat for another 1-2 minutes and test again.
The jam should reach approximately 105°C (220°F) on a candy thermometer for proper setting.
Step 4: Jar and Seal the Jam
- cooked jam from Step 3
While the jam is still hot, carefully pour it into sterilized glass jars, leaving about 2 cm (3/4 inch) of headspace at the top.
Wipe the rims clean with a damp cloth to remove any jam residue, then place sterilized lids on top and screw the bands on finger-tight.
I find that working quickly while the jam is hot helps the lids seal better, so don’t delay between cooking and jarring.
Step 5: Process Jars in Water Bath
- sealed jars from Step 4
Place a rack or folded towel in the bottom of a large pot and fill it with enough water to cover the jars by about 1-2 inches.
Gently place the filled jars on the rack, ensuring they don’t touch each other.
Bring the water to a rolling boil and maintain the boil for 10 minutes to create a proper vacuum seal.
This step kills any remaining bacteria and ensures your jam will keep safely for months.
Step 6: Cool and Store
Carefully remove the jars from the boiling water using a jar lifter and place them upright on a clean kitchen towel or wooden surface to cool completely—do not move them for at least 12 hours.
As they cool, you’ll hear a satisfying ‘pop’ sound as the lids seal.
Once fully cooled, press the center of each lid; it should be slightly concave and not flex.
Store the sealed jars in a cool, dark place for up to one year.
Easy Apricot Jam
Ingredients
Method
- Add the pitted and halved apricots, sugar, lemon juice, vanilla extract, and salt to a large heavy-bottomed pot or jam pan. Stir well to combine, breaking down some of the apricots slightly as you mix. This helps the sugar dissolve evenly and start extracting the apricot juices. Place the pot over high heat and bring the mixture to a rolling boil, stirring occasionally to prevent sticking on the bottom.
- Once boiling, maintain a vigorous rolling boil and stir frequently for 8-10 minutes. The jam will foam and bubble—this is normal as water evaporates. I like to use a wooden spoon and scrape the bottom of the pot often to prevent scorching, which can give the jam a bitter flavor. Watch for the mixture to thicken noticeably and darken slightly in color, which indicates pectin development and proper gel formation.
- Remove the pot from heat and place a drop of jam on a frozen plate (place a small plate in the freezer before starting). Let it cool for 30 seconds, then push the jam gently with your finger—it should wrinkle and hold its shape rather than run back together. If it's still too runny, return to heat for another 1-2 minutes and test again. The jam should reach approximately 105°C (220°F) on a candy thermometer for proper setting.
- While the jam is still hot, carefully pour it into sterilized glass jars, leaving about 2 cm (3/4 inch) of headspace at the top. Wipe the rims clean with a damp cloth to remove any jam residue, then place sterilized lids on top and screw the bands on finger-tight. I find that working quickly while the jam is hot helps the lids seal better, so don't delay between cooking and jarring.
- Place a rack or folded towel in the bottom of a large pot and fill it with enough water to cover the jars by about 1-2 inches. Gently place the filled jars on the rack, ensuring they don't touch each other. Bring the water to a rolling boil and maintain the boil for 10 minutes to create a proper vacuum seal. This step kills any remaining bacteria and ensures your jam will keep safely for months.
- Carefully remove the jars from the boiling water using a jar lifter and place them upright on a clean kitchen towel or wooden surface to cool completely—do not move them for at least 12 hours. As they cool, you'll hear a satisfying 'pop' sound as the lids seal. Once fully cooled, press the center of each lid; it should be slightly concave and not flex. Store the sealed jars in a cool, dark place for up to one year.