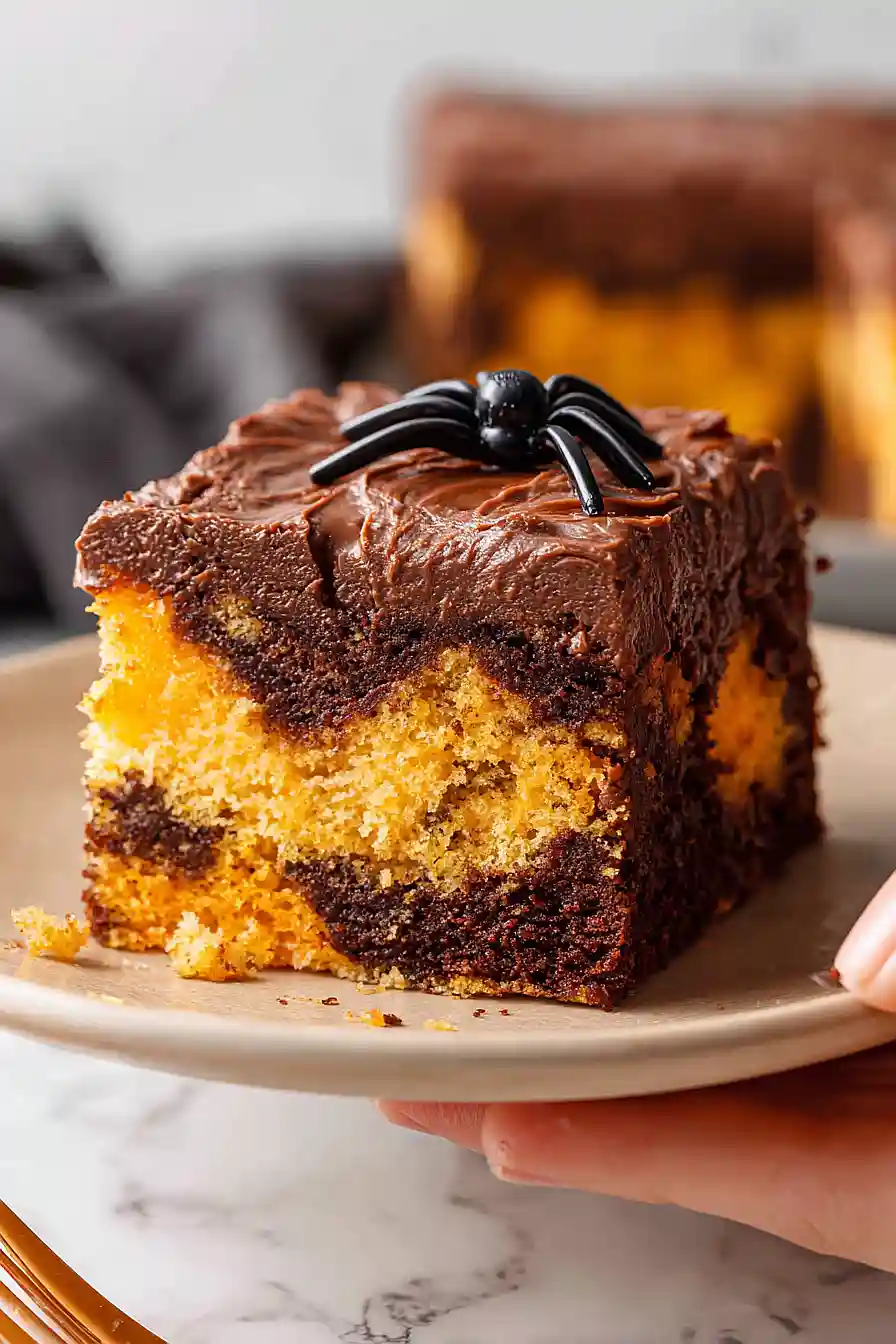
My kids don’t actually care what a cake tastes like. They care what it LOOKS like. And when I pulled this out of the fridge, all bright orange and chocolatey and swirly, I got cheers. From people in pajamas. At 2pm on a Saturday.
It’s a cake mix situation (which I will defend to the grave), and the whole thing comes together with maybe ten active minutes of effort. Club soda in the batter for the softest crumb, then poke a million holes, pour orange gelatin over the top, fridge does its thing, chocolate frosting to finish. The hardest part is waiting for it to set, honestly.
How to Poke Holes for Best Results
Grab a fork or wooden skewer. (Skewers give cleaner, deeper holes.) Poke holes 2 inches apart across the ENTIRE surface, pressing all the way to the pan bottom. More holes = more gelatin pockets in every bite!
Pour the gelatin SLOWLY from one end to the other, pausing between pours so it seeps in. Skip the patience and you’ll get pooling on top instead of flavor in every square.
Fun Halloween Decorating Ideas
MAKE THIS CAKE YOUR HALLOWEEN CANVAS!
- Press candy eyeballs into the frosting (the creepier, the better)
- Sprinkle crushed chocolate cookies on top to mimic graveyard dirt
- Drizzle extra frosting in a spider web pattern (3-4 concentric circles, then drag a toothpick outward)
- Tuck gummy worms into the poked holes so they appear to crawl out
- Stick in plastic spiders (clean them first, obviously)
- Use orange and black sprinkles around the edges for instant festive flair
The dark chocolate frosting gives you that moody base already. Go wild, make it look haunted, and watch your guests lose their minds!?
Make-Ahead & Storage Tips
- Make it the night before… the flavors MELT together overnight and the gelatin sets more firmly, making slicing cleaner the next day.
- Store covered in the FRIDGE for up to 4 days. Press plastic wrap directly onto the frosting to keep it from drying out or absorbing other fridge smells.
- DO NOT freeze. The gelatin breaks down weirdly when thawed and turns into a sad, weepy mess. Trust me, it’s not worth it.
- Keep it COLD until serving. This cake is meant to be eaten chilled… room temp makes the gelatin layer soft and the frosting slide around.
- If transporting, chill it solid first and keep it in a cooler with ice packs. The frosting holds up well when it’s nice and cold.
Recipes Like This One
- Tasty Pineapple Jello Poke Cake
- Quick Key Lime Jello Poke Cake
- Light Triple Lemon Jello Poke Cake
- Quick Flag Poke Cake
- Tasty Valentine’s Day Jello Poke Cake
- Simple Strawberry Cake with Jello
Estimated Nutrition
Estimated nutrition for the whole recipe (without optional ingredients):
- Calories: 3900-4200
- Protein: 25-35 g
- Fat: 130-150 g
- Carbohydrates: 650-700 g
Ingredients
For the cake:
- 16 oz cake mix
- 3 eggs (room temperature, about 70°F)
- 1 cup club soda
- 1/2 cup oil
- 1 tablespoon orange zest
For the filling:
- 6 oz orange gelatin
- 3/4 cup boiling water
- 1/2 cup cold water
For the topping:
- 12 oz chocolate frosting
Step 1: Whisk the Citrus Batter
- 16 oz cake mix
- 3 eggs
- 1 cup club soda
- 1/2 cup oil
- 1 tablespoon orange zest
Preheat your oven to 350°F.
Lightly oil a 9×13 inch baking dish and set aside.
In a large mixing bowl, combine the cake mix, room temperature eggs, club soda, oil, and orange zest.
Mix on medium speed for about 2 minutes until the batter is smooth and well combined.
The club soda adds a subtle fizz that keeps the cake extra moist and tender, while the orange zest brings a fresh citrus note that complements the orange gelatin beautifully.
Step 2: Bake and Cool Completely
- cake batter from Step 1
Pour the batter into the prepared baking dish and smooth the top with a spatula.
Bake for 28-32 minutes, until a toothpick inserted in the center comes out clean or with just a few moist crumbs.
The cake should be golden brown and spring back when lightly touched.
Remove from the oven and let it cool on a wire rack or countertop for exactly 1 hour—this cooling time is crucial so the cake is cool enough to absorb the gelatin without melting it.
Step 3: Dissolve the Orange Gelatin
- 6 oz orange gelatin
- 3/4 cup boiling water
- 1/2 cup cold water
While the cake cools, prepare the orange gelatin.
Pour the boiling water into a medium bowl and add the orange gelatin, stirring constantly for about 2 minutes until completely dissolved.
Once dissolved, add the cold water and stir to combine.
Set the gelatin aside at room temperature—you want it to cool slightly but remain liquid so it can be poured over the cake.
Step 4: Infuse Cake with Liquid Jello
- cooled cake from Step 2
- orange gelatin mixture from Step 3
Once the cake has cooled for 1 hour, use a fork or wooden skewer to poke holes all over the surface, spacing them about 2 inches apart.
I like to poke all the way through to the bottom of the cake to ensure the gelatin soaks in deeply and creates those signature pockets of flavor.
Slowly pour the orange gelatin mixture evenly over the entire cake, letting it seep into all the holes.
Work methodically so the gelatin distributes evenly rather than pooling in one area.
Step 5: Refrigerate Until Firm
- gelatin-soaked cake from Step 4
Transfer the cake to the refrigerator and chill for 2-3 hours until the gelatin is completely set and firm to the touch.
This chilling time allows the gelatin to gel properly and the flavors to meld together.
The cake should be cold and the top slightly firm when you press it gently.
Step 6: Spread Chocolate Frosting
- chilled cake from Step 5
- 12 oz chocolate frosting
Remove the chilled cake from the refrigerator.
Spread the chocolate frosting evenly over the top of the cake using an offset spatula or butter knife, creating swirls for a festive Halloween look.
I find that frosting a cold cake helps keep the frosting smooth and prevents it from sinking into the cake.
Cut the cake into squares and serve—it’s best enjoyed cold straight from the fridge, where the contrast between the cool gelatin layer and rich chocolate frosting really shines.
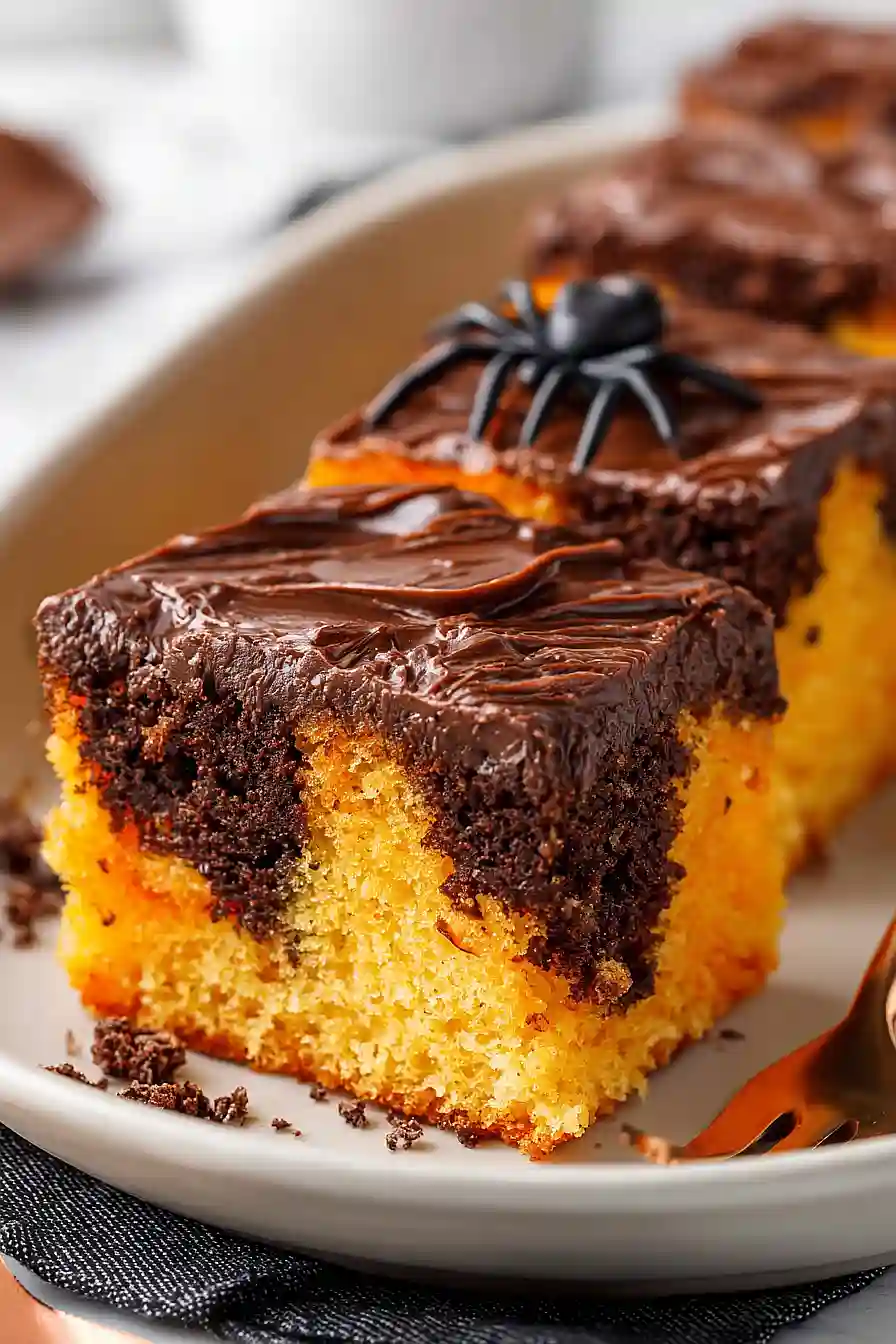
Fun Halloween Jello Poke Cake
Ingredients
Method
- Preheat your oven to 350°F. Lightly oil a 9x13 inch baking dish and set aside. In a large mixing bowl, combine the cake mix, room temperature eggs, club soda, oil, and orange zest. Mix on medium speed for about 2 minutes until the batter is smooth and well combined. The club soda adds a subtle fizz that keeps the cake extra moist and tender, while the orange zest brings a fresh citrus note that complements the orange gelatin beautifully.
- Pour the batter into the prepared baking dish and smooth the top with a spatula. Bake for 28-32 minutes, until a toothpick inserted in the center comes out clean or with just a few moist crumbs. The cake should be golden brown and spring back when lightly touched. Remove from the oven and let it cool on a wire rack or countertop for exactly 1 hour—this cooling time is crucial so the cake is cool enough to absorb the gelatin without melting it.
- While the cake cools, prepare the orange gelatin. Pour the boiling water into a medium bowl and add the orange gelatin, stirring constantly for about 2 minutes until completely dissolved. Once dissolved, add the cold water and stir to combine. Set the gelatin aside at room temperature—you want it to cool slightly but remain liquid so it can be poured over the cake.
- Once the cake has cooled for 1 hour, use a fork or wooden skewer to poke holes all over the surface, spacing them about 2 inches apart. I like to poke all the way through to the bottom of the cake to ensure the gelatin soaks in deeply and creates those signature pockets of flavor. Slowly pour the orange gelatin mixture evenly over the entire cake, letting it seep into all the holes. Work methodically so the gelatin distributes evenly rather than pooling in one area.
- Transfer the cake to the refrigerator and chill for 2-3 hours until the gelatin is completely set and firm to the touch. This chilling time allows the gelatin to gel properly and the flavors to meld together. The cake should be cold and the top slightly firm when you press it gently.
- Remove the chilled cake from the refrigerator. Spread the chocolate frosting evenly over the top of the cake using an offset spatula or butter knife, creating swirls for a festive Halloween look. I find that frosting a cold cake helps keep the frosting smooth and prevents it from sinking into the cake. Cut the cake into squares and serve—it's best enjoyed cold straight from the fridge, where the contrast between the cool gelatin layer and rich chocolate frosting really shines.