So. Peach cobbler with CAKE MIX. I’m NOT going to apologize for it.
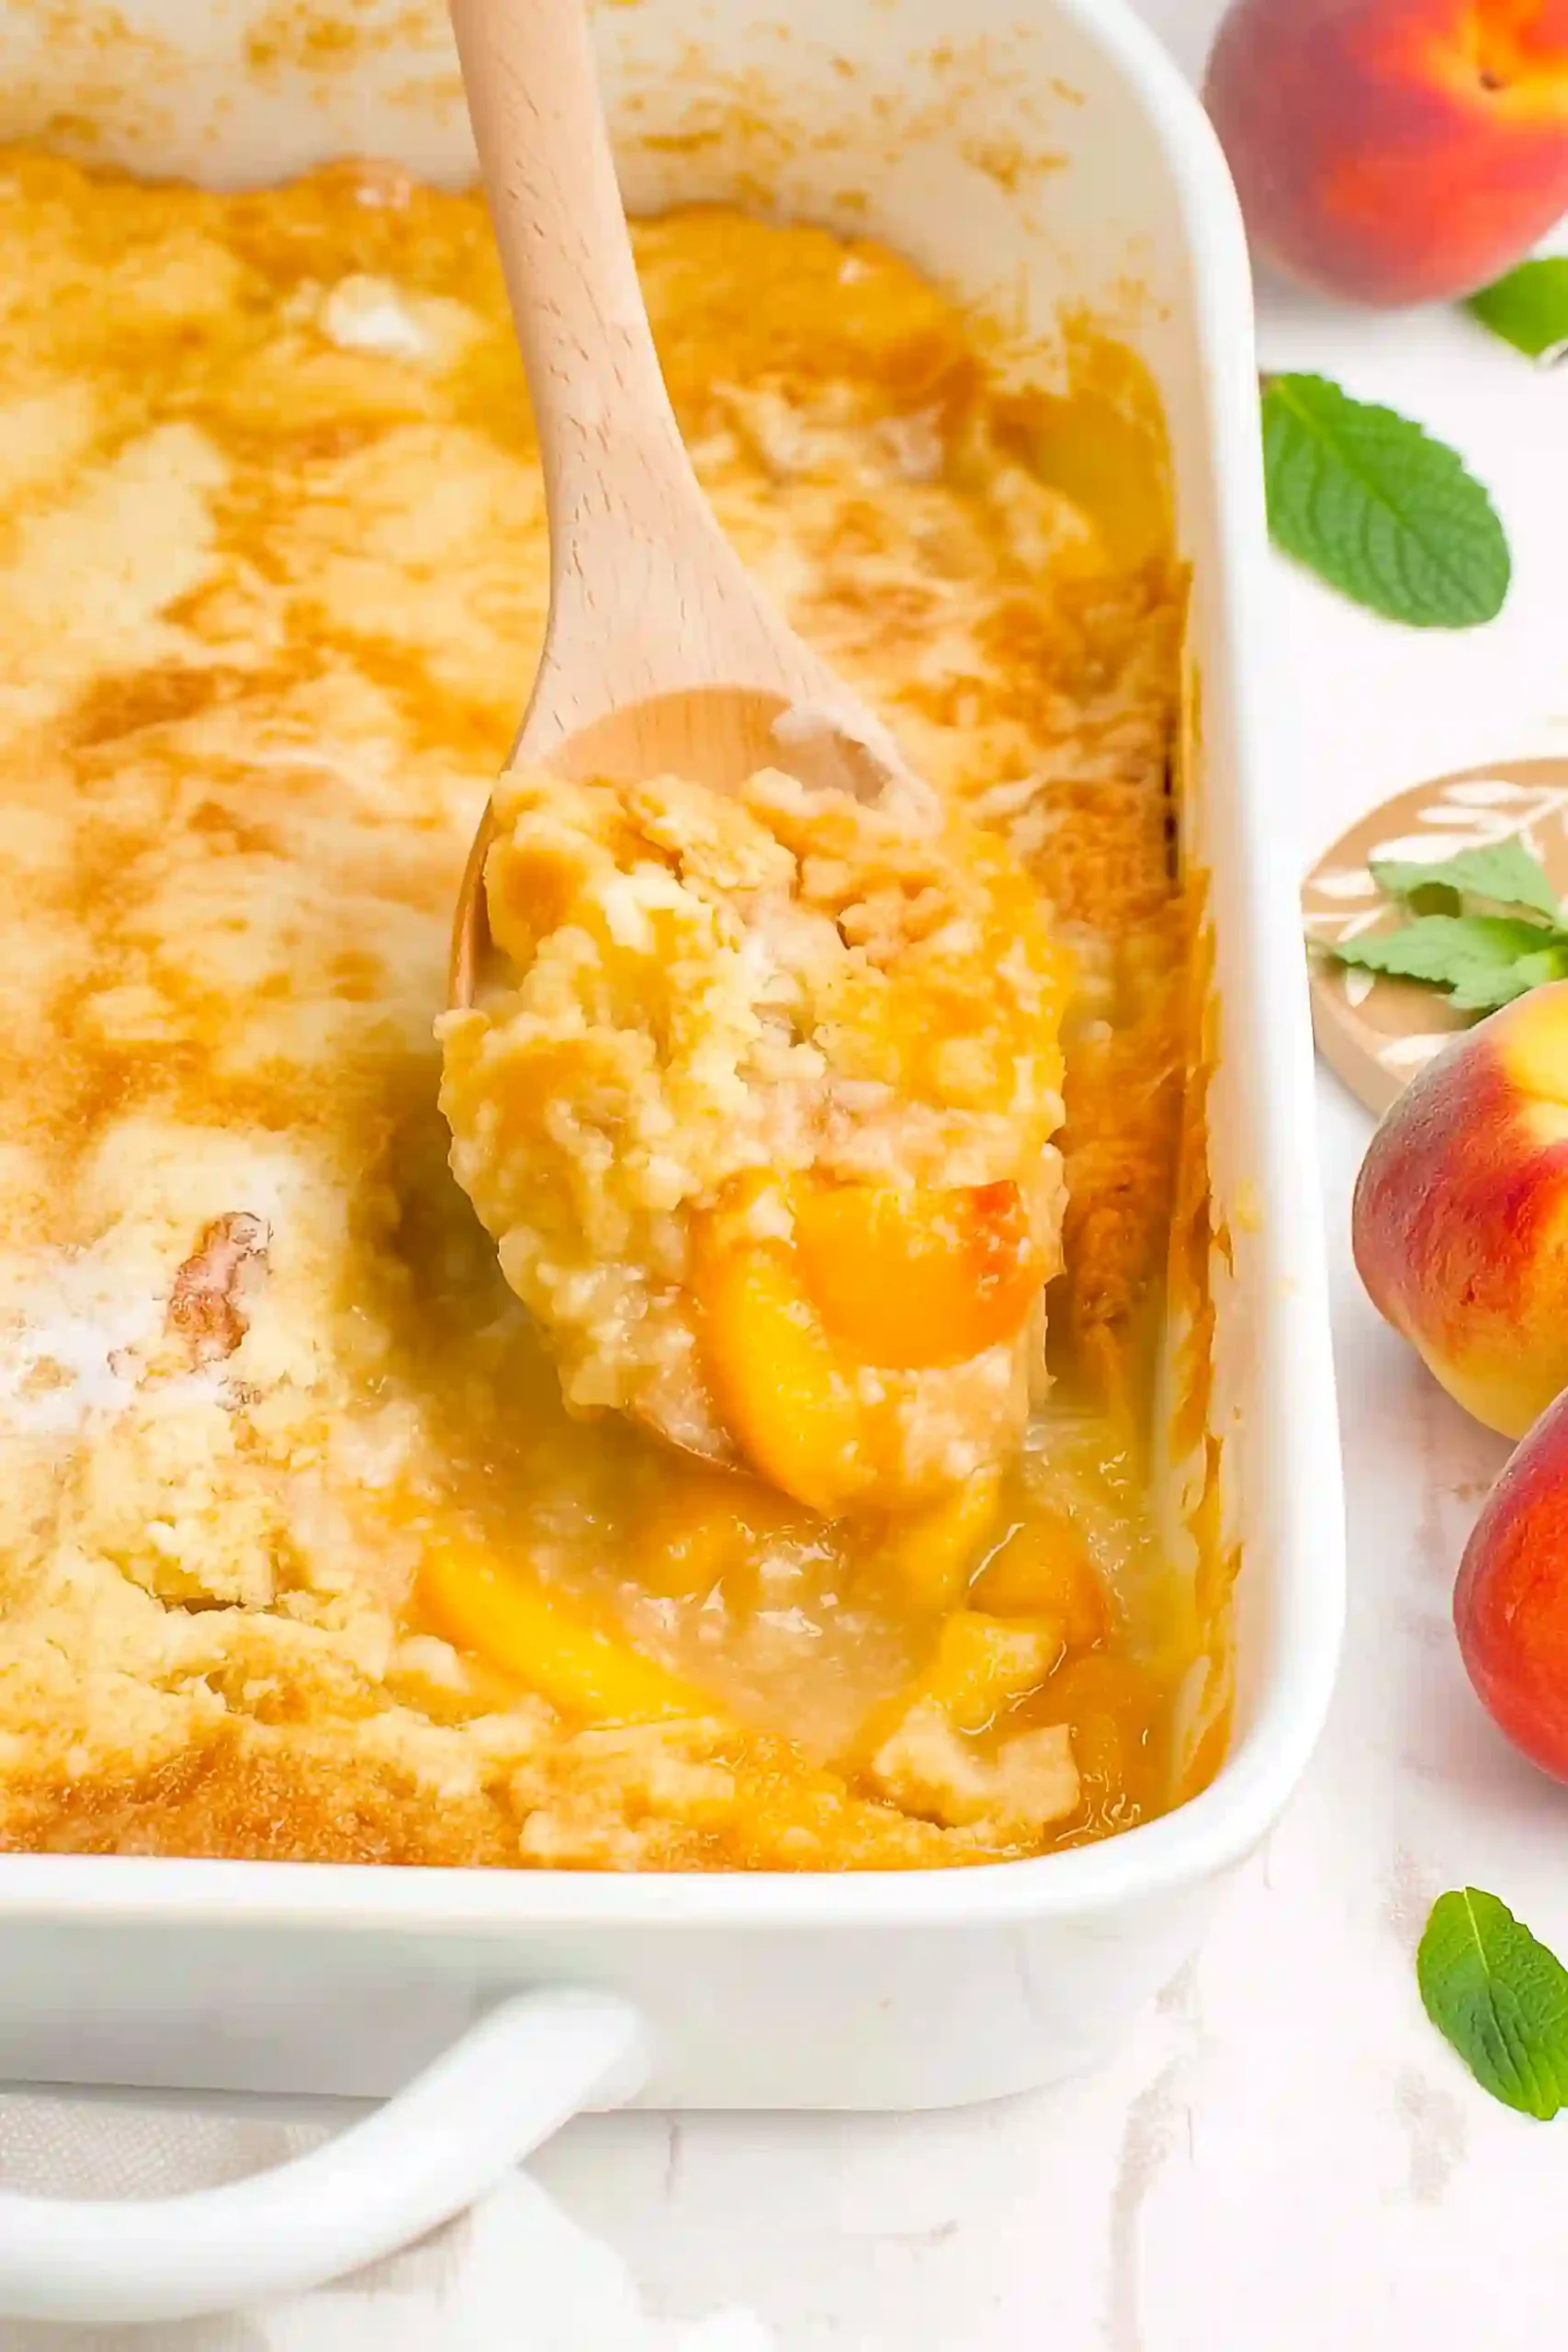
Two cans of peaches, a box of vanilla cake mix, a stick of melted butter. The top goes golden and crackly, the peaches bubble underneath into something jammy and absolutely ridiculous. Serve it with ice cream. Done.
Why Use Cake Mix for Cobbler?
Let’s be real…. cake mix is the LAZY GENIUS move for cobbler, and I stand by it. You skip measuring flour, sugar, and leavening, which means ZERO room for error. The dry mix soaks up that melted butter and bakes into a CRISP, golden, almost shortbread-like crust that no from-scratch biscuit topping can replicate without way more effort.
Plus, it actually tastes BETTER here than cake (controversial, I know!). The cake mix is pre-seasoned with vanilla and sugar, so every bite of that crunchy top is already loaded with flavor before it even hits the peaches. Store-brand yellow or vanilla cake mix works just as well as the name brands, so don’t waste your money.
Fresh or Frozen Peaches Instead?
- FRESH PEACHES need about 6-7 medium, peeled and sliced. Toss with 1/2 cup sugar and 1 tsp cinnamon, then let sit 10 minutes to release juices. Skip the reserved syrup!
- FROZEN PEACHES (about 4 cups): thaw and drain really well. They release more liquid, so cut the butter to 3/4 cup or you’ll get a soggy mess.
- CAKE MIX stays exactly the same. Keep the cinnamon, it cuts through all that peach sweetness.
Storing & Reheating Leftovers
Got leftovers? (You probably do, because this cobbler is RICH.) Cover the pan tightly with aluminum foil or transfer portions to an airtight container for the FRIDGE, where it keeps for 3 to 4 days.
Freezing works too! Wrap the cooled cobbler in plastic wrap, then foil, and stash it for up to 2 months. Thaw overnight in the fridge before reheating!
For best results, reheat in the OVEN at 350°F for 10 to 15 minutes until the topping crisps back up.
In a rush? Microwave individual servings for 30 to 45 seconds, though the topping will be softer. (Not a dealbreaker, just a heads up!)
Similar Recipes
- Strawberry Dump Cake
- Tasty Peach Crisp
- Sweet Raspberry Crumble
- Strawberry Rhubarb Galette with Puff Pastry
- Pineapple Jello Poke Cake
- Key Lime Jello Poke Cake
Estimated Nutrition
Estimated nutrition for the whole recipe (without optional ingredients):
- Calories: 3500-4000
- Protein: 20-25 g
- Fat: 200-220 g
- Carbohydrates: 500-550 g
Ingredients
- 2 cans (29 oz each) sliced peaches in heavy syrup
- 1/2 cup reserved heavy syrup from peaches
- 1 tsp ground cinnamon
- 1 box (15.2 oz) vanilla cake mix
- 1 cup melted butter
Step 1: Preheat and Prep the Pan
Preheat your oven to 350°F (175°C).
Lightly coat a 9×13-inch baking pan with cooking spray to prevent sticking and set the pan aside.
Step 2: Drain Fruit and Save Syrup
- 2 cans (29 oz each) sliced peaches in heavy syrup
- 1/2 cup reserved heavy syrup from peaches
Open both cans of sliced peaches in heavy syrup.
Drain the peaches while reserving 1/2 cup of the heavy syrup for later use.
I like to use a fine mesh strainer for more efficient draining.
Step 3: Arrange and Season the Peaches
- drained peaches from Step 2
- 1/2 cup reserved heavy syrup from peaches
- 1 tsp ground cinnamon
Arrange the drained peaches (from Step 2) evenly across the bottom of the prepared baking pan.
Drizzle the reserved 1/2 cup heavy syrup over the peaches, then evenly sprinkle the ground cinnamon across the top for a warm, spiced flavor.
Step 4: Layer Cake Mix and Butter
- 1 box (15.2 oz) vanilla cake mix
- 1 cup melted butter
Sprinkle the vanilla cake mix over the peaches and cinnamon in an even layer, making sure to cover all the fruit.
Next, pour the melted butter as evenly as possible across the surface of the cake mix.
For extra richness, I like to use high-quality butter here.
Step 5: Bake Until Golden Brown
Place the assembled cobbler in the preheated oven and bake for 50-55 minutes, or until the top is golden brown and bubbly.
Step 6: Rest Briefly Before Serving
Remove the cobbler from the oven and let it cool for about 10 minutes before serving.
This helps the filling set up and makes for easier serving.