Looking for a dessert that practically makes itself? When you need to bring something sweet to a potluck or just want to satisfy your family’s craving for something warm and comforting, dump cakes are total lifesavers. The name says it all—you literally dump everything into a pan and let the oven do the work.
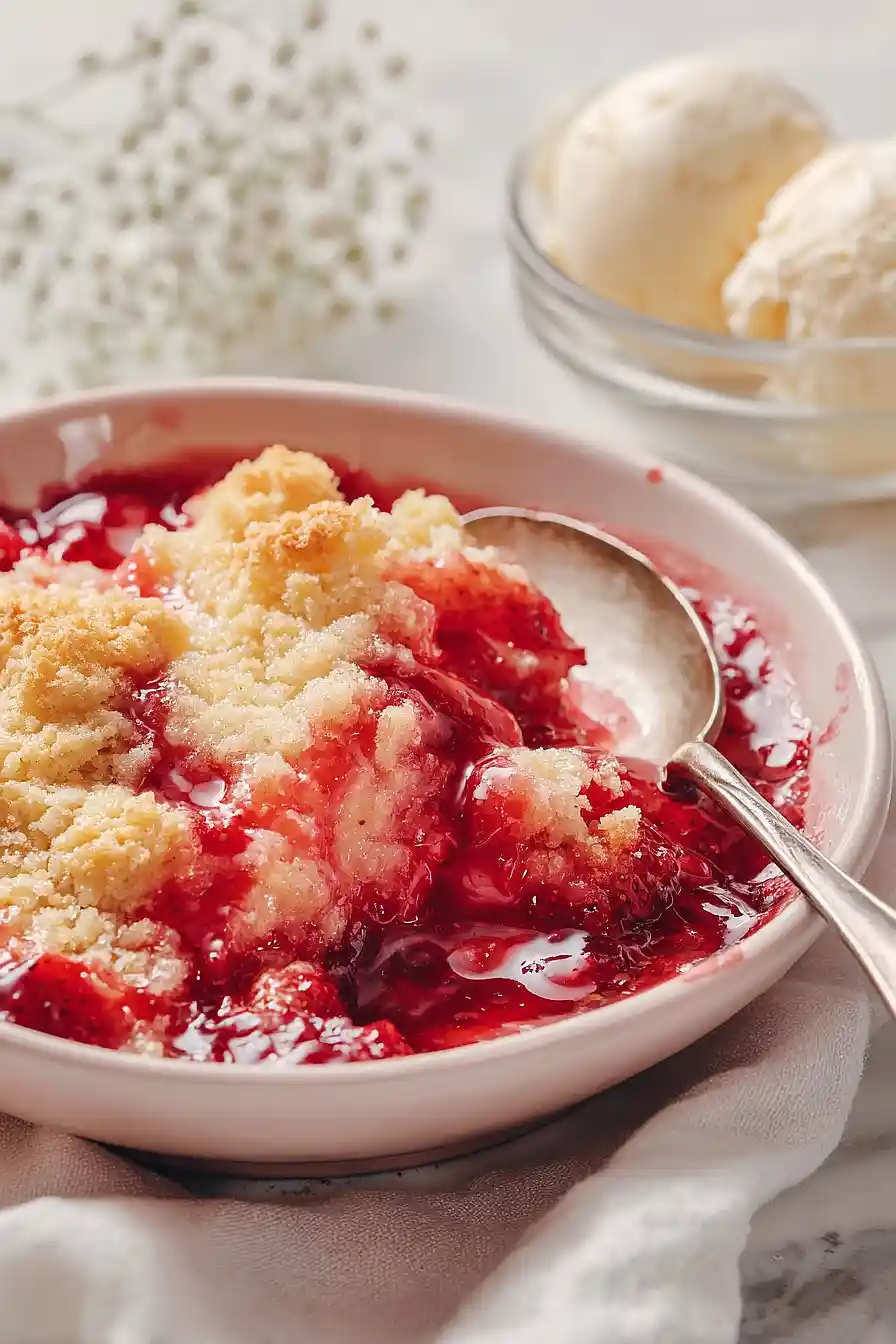
This strawberry dump cake is one of my favorites because it combines fresh strawberries with pie filling for the perfect balance of bright fruit flavor and gooey sweetness. With just a few ingredients and almost zero hands-on time, you’ll have a dessert that tastes like you spent all afternoon baking. Serve it warm with vanilla ice cream or a dollop of whipped cream, and watch it disappear in minutes.
Why You’ll Love This Strawberry Dump Cake
- Super easy preparation – Just dump the ingredients in a pan and bake—no mixing, no fuss, no special skills required. It’s perfect for when you want dessert without the work.
- Ready in under an hour – From start to finish, this dessert takes less than an hour, making it ideal for last-minute gatherings or weeknight treats.
- Only 4 main ingredients – With just strawberries, pie filling, cake mix, and butter, you probably have everything you need for this dessert already in your pantry.
- Crowd-pleasing dessert – The combination of sweet strawberries and buttery cake topping makes everyone happy, whether you’re serving it at a potluck or a family dinner.
- Versatile serving options – Top it with whipped cream or vanilla ice cream for an extra special touch that takes this simple dessert to the next level.
What Kind of Strawberries Should I Use?
Fresh strawberries are always my first choice for this dump cake, but frozen strawberries will work just fine too. If you’re using frozen, there’s no need to thaw them first – just toss them in straight from the freezer, though your baking time might need an extra 5-10 minutes. When picking fresh strawberries, look for ones that are bright red all the way through without any white or green shoulders, and give them a sniff – they should smell sweet and fragrant. If strawberries aren’t in season or you’re short on time, don’t stress about it since the strawberry pie filling is doing most of the heavy lifting in this recipe anyway.
Options for Substitutions
This dump cake is super forgiving and works well with a few simple swaps:
- Fresh strawberries: Frozen strawberries work great here – just thaw them first and drain any excess liquid before using. You can also use other fresh berries like blueberries, raspberries, or a mixed berry blend.
- Strawberry pie filling: Feel free to switch to cherry, blueberry, or apple pie filling if that’s what you have on hand. You can even mix two different flavors for something fun.
- Butter cake mix: Yellow cake mix or white cake mix both work perfectly fine. Each will give you a slightly different flavor, but the texture stays the same.
- Salted butter: Unsalted butter works too – just add a pinch of salt to the cake mix to make up for it. The butter needs to stay cold though, so don’t substitute this with oil or melted butter or you’ll lose that crispy topping.
- Toppings: Whipped cream and vanilla ice cream are classic, but you could also serve this with Cool Whip, frozen yogurt, or even just a dusting of powdered sugar.
Watch Out for These Mistakes While Baking
The biggest mistake people make with dump cakes is stirring the layers together – resist the urge and leave everything as is, since the magic happens when the butter melts down through the dry cake mix during baking.
Another common error is using melted butter instead of cold butter slices, which won’t create those crispy, golden patches on top that make dump cakes so good.
Make sure to spread your cake mix evenly across the entire surface and cover all the filling, otherwise you’ll end up with wet spots that never set properly.
Finally, don’t skip the cooling time after baking – those 10-15 minutes allow the filling to thicken up so it’s not runny when you scoop it out.
What to Serve With Strawberry Dump Cake?
This strawberry dump cake is pretty much a dessert all on its own, but a big scoop of vanilla ice cream on top takes it to the next level. The cold ice cream melting into the warm cake is absolutely perfect, and you can also add a dollop of whipped cream if you’re feeling extra. I like serving this at summer cookouts alongside fresh lemonade or iced tea, and it pairs nicely after a lighter meal like grilled chicken or fish. If you want to make it feel a bit fancier for guests, try adding some fresh mint leaves or a drizzle of chocolate sauce on top.
Storage Instructions
Store: Keep any leftover dump cake covered with foil or plastic wrap in the fridge for up to 4 days. It actually tastes pretty great cold straight from the fridge, especially with a dollop of whipped cream on top!
Freeze: You can freeze this cake for up to 3 months in an airtight container or wrapped tightly in plastic wrap and foil. Just know that the topping might lose a bit of its crispness when you thaw it, but the flavor will still be there.
Reheat: Warm up individual portions in the microwave for about 30-45 seconds, or reheat the whole thing in a 300°F oven for 15-20 minutes until heated through. This brings back some of that fresh-baked goodness and makes the ice cream melt perfectly over the top.
| Preparation Time | 10-15 minutes |
| Cooking Time | 35-45 minutes |
| Total Time | 45-60 minutes |
| Level of Difficulty | Easy |
| Servings | 10 slices |
Estimated Nutrition
Estimated nutrition for the whole recipe (without optional ingredients):
- Calories: 3400-3700
- Protein: 15-18 g
- Fat: 110-125 g
- Carbohydrates: 570-610 g
Ingredients
For the cake:
- 3 1/2 cups strawberries (hulled and sliced into 1/2-inch thick pieces)
- 40 oz strawberry pie filling (I use Lucky Leaf brand for the best fruit-to-syrup ratio)
- 1 teaspoon lemon juice (tossed with fresh berries)
- 15.25 oz golden cake mix
- 1/2 teaspoon vanilla extract (whisked into melted butter)
- 1 cup butter (I like Kerrygold unsalted butter, melted and poured evenly over the top)
For the toppings (optional):
- whipped cream
- vanilla ice cream
Step 1: Prepare the Pan and Preheat Oven
- butter
Preheat your oven to 350°F.
While it heats, grease a 9×13 inch baking dish thoroughly with butter or cooking spray to prevent sticking.
This advance preparation ensures your oven reaches the correct temperature and your pan is ready the moment you’re finished assembling the cake.
Step 2: Prepare Fresh Strawberries and Create the Filling Layer
- 3 1/2 cups strawberries
- 1 teaspoon lemon juice
- 40 oz strawberry pie filling
Hull and slice your fresh strawberries into 1/2-inch thick pieces, then toss them with the lemon juice to brighten their flavor and prevent browning.
Pour the canned strawberry pie filling into your prepared baking dish, then gently fold in the fresh strawberries.
This combination of fresh and canned fruit gives you the best of both worlds—the rich syrup from the filling plus the fresh texture and flavor of real berries.
Step 3: Layer Cake Mix and Melted Butter
- 15.25 oz golden cake mix
- 1 cup butter
- 1/2 teaspoon vanilla extract
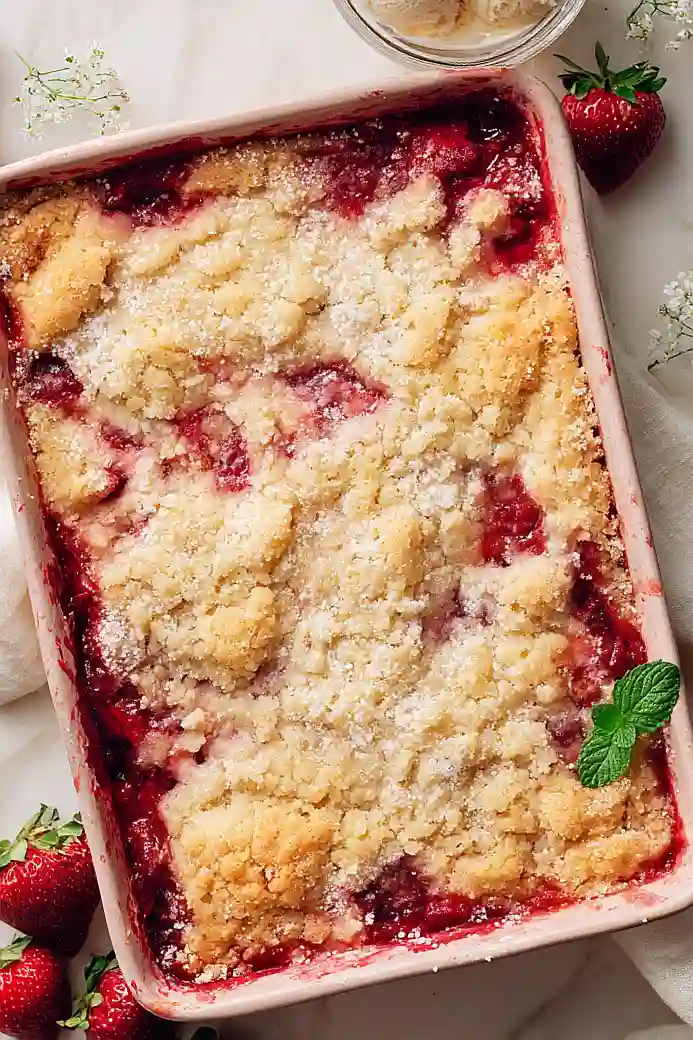
Sprinkle the dry cake mix evenly over the strawberry filling layer—don’t stir or mix it in, as the dry mix will create a wonderful cake texture as it bakes and absorbs the fruit juices.
In a small bowl, whisk the vanilla extract into the melted butter, then pour it evenly over the top of the cake mix.
I like to use quality butter like Kerrygold because it adds a richer, more flavorful result that really shines in this simple dessert.
The butter will help the cake mix cook into a golden crust while keeping the interior moist.
Step 4: Bake Until Golden and Set
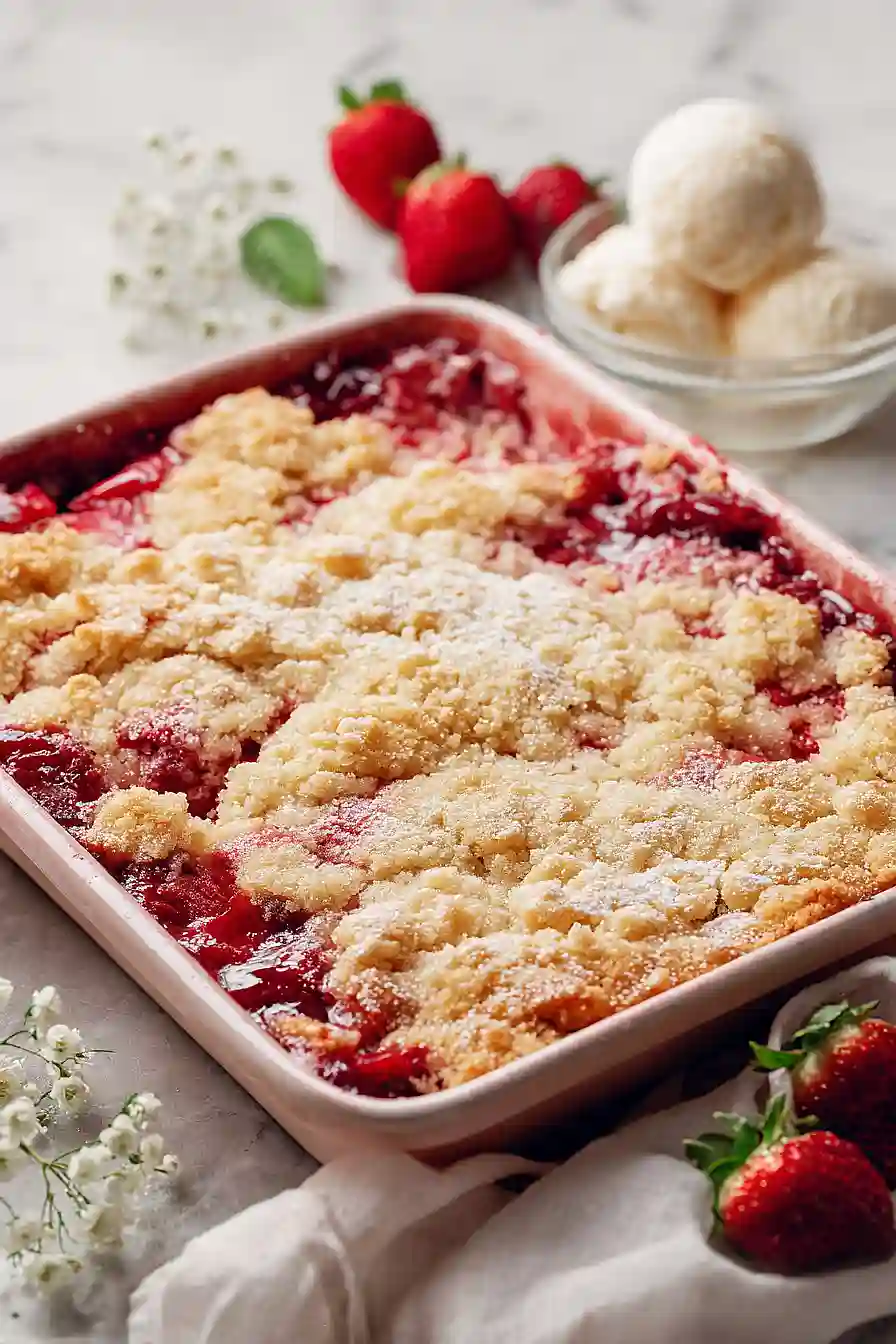
Place the baking dish in your preheated 350°F oven and bake for 35-45 minutes, until the top is golden brown and a toothpick inserted into the cake portion comes out clean or with just a few moist crumbs.
The cake should pull slightly away from the edges of the pan when done.
The baking time can vary depending on your oven, so start checking at 35 minutes.
Step 5: Cool and Serve
- whipped cream
- vanilla ice cream
Remove the baking dish from the oven and let it cool for 10-15 minutes before serving.
This resting time allows the cake to set up slightly while still remaining warm and delicious.
Scoop into bowls and top with a generous dollop of whipped cream or a scoop of vanilla ice cream—the cold topping against the warm cake creates the perfect contrast.
Perfect Strawberry Dump Cake
Ingredients
Method
- Preheat your oven to 350°F. While it heats, grease a 9x13 inch baking dish thoroughly with butter or cooking spray to prevent sticking. This advance preparation ensures your oven reaches the correct temperature and your pan is ready the moment you're finished assembling the cake.
- Hull and slice your fresh strawberries into 1/2-inch thick pieces, then toss them with the lemon juice to brighten their flavor and prevent browning. Pour the canned strawberry pie filling into your prepared baking dish, then gently fold in the fresh strawberries. This combination of fresh and canned fruit gives you the best of both worlds—the rich syrup from the filling plus the fresh texture and flavor of real berries.
- Sprinkle the dry cake mix evenly over the strawberry filling layer—don't stir or mix it in, as the dry mix will create a wonderful cake texture as it bakes and absorbs the fruit juices. In a small bowl, whisk the vanilla extract into the melted butter, then pour it evenly over the top of the cake mix. I like to use quality butter like Kerrygold because it adds a richer, more flavorful result that really shines in this simple dessert. The butter will help the cake mix cook into a golden crust while keeping the interior moist.
- Place the baking dish in your preheated 350°F oven and bake for 35-45 minutes, until the top is golden brown and a toothpick inserted into the cake portion comes out clean or with just a few moist crumbs. The cake should pull slightly away from the edges of the pan when done. The baking time can vary depending on your oven, so start checking at 35 minutes.
- Remove the baking dish from the oven and let it cool for 10-15 minutes before serving. This resting time allows the cake to set up slightly while still remaining warm and delicious. Scoop into bowls and top with a generous dollop of whipped cream or a scoop of vanilla ice cream—the cold topping against the warm cake creates the perfect contrast.
I’m planning on making this for a barbeque this weekend. However, I have a question. In one section of the directions, it says not to use melted butter because sliced cold butter makes a better crust. But, in the actual recipe, it calls for melted butter with vanilla mixed in. Can you please tell me what the correct direction is? Thank you!
Is the butter sliced or melted -recipe mentions common error is to melt butter but steps mentions to melt it first? I have made dump cakes with sliced cold butter.