Here’s a dessert that’s been around forever but somehow still surprises people. I made it for a cookout last summer and a neighbor flagged me down to ask where I BOUGHT it. Bought! She thought it was from a bakery. I have never been more flattered or more amused.
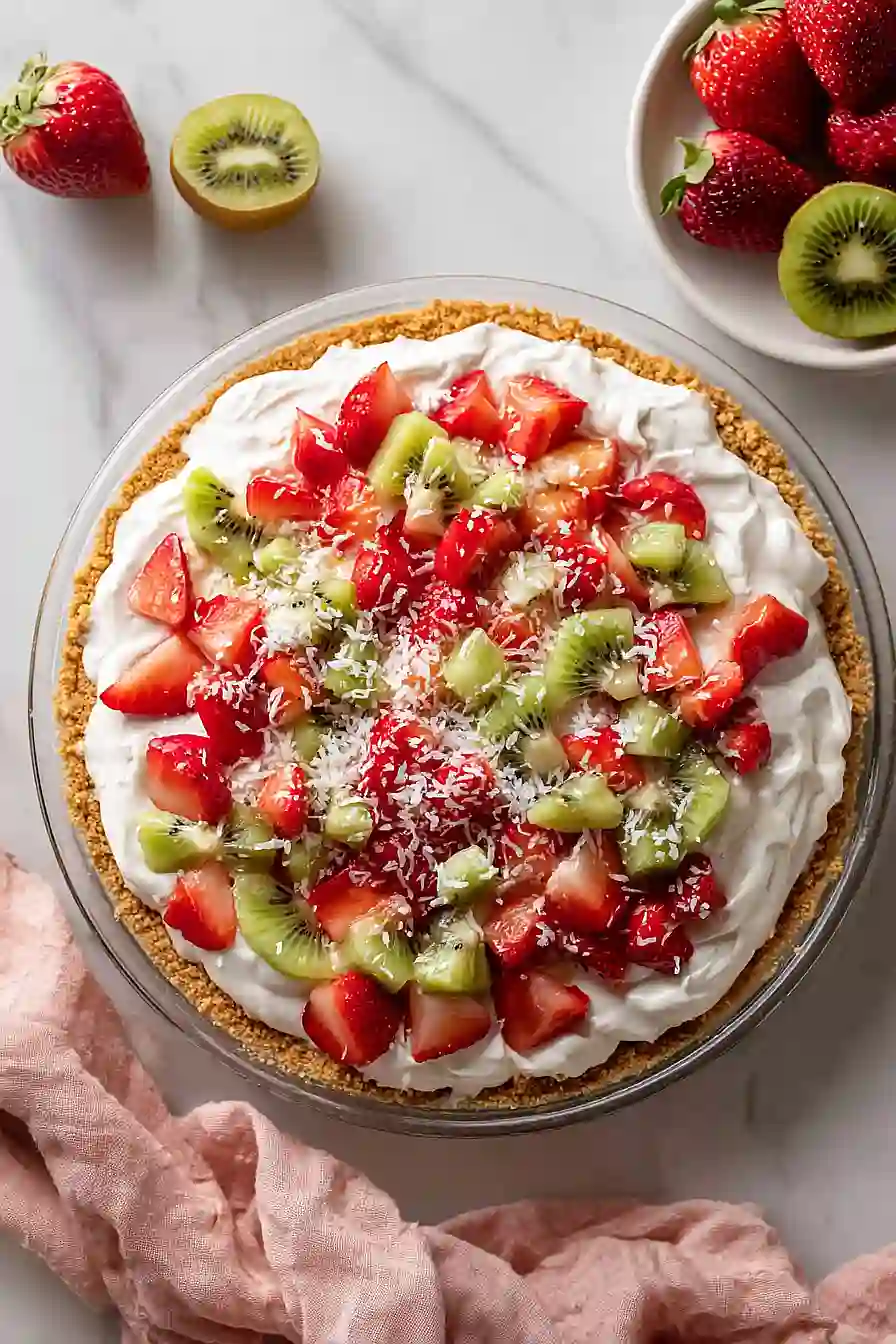
The “pizza” part is just graham crumbs stirred with melted butter and pressed into a pie plate. The “cheese” is a whipped cream cheese and Cool Whip situation that’s tangy, sweet, and absurdly easy. The “fruit” is whatever looks best at the store, sliced thin and arranged in a way that makes you look like you have your life together.
It’s the ultimate fake-out dessert. Takes 20 minutes, looks like you spent two hours, and there’s a very high chance someone will ask for the recipe before they finish their first slice.
Best Fruit Combinations to Use
Berries are the GOAT here. Strawberries, blueberries, raspberries, and blackberries hold their shape and won’t weep liquid into your filling (pat them dry first if extra juicy!).
Skip high-moisture picks like watermelon or fresh pineapple, they’ll turn your pizza into a soupy mess. Go patriotic with strawberries, blueberries, and banana slices, or tropical with kiwi, mandarin segments, and strawberries.
How to Keep the Crust from Getting Soggy
- Pack crumbs TIGHT with a measuring cup. Loose crust soaks up moisture fast
- Cool melted butter slightly first. Hot butter makes a weak, greasy base
- Spread filling edge to edge. No gaps means fruit juice can’t seep through
- Use Cool Whip over real cream. Real cream weeps liquid and destroys crusts
- Add fruit right before serving. Longer it sits, more water it releases
- Chill 2-3 hours so filling sets into a moisture shield
Follow these and your crust keeps its CRUNCH instead of going soft and sad….
Make-Ahead & Storage Tips
The fruit topping is a diva. Add it RIGHT BEFORE you serve… or accept sad, weeping strawberries and browning bananas.
Prep the crust and filling up to 24 hours ahead. Store covered in the fridge, then crown it with fruit at the last minute for a crisp, just-arranged look.
Once assembled, the whole pizza keeps for 2-3 days refrigerated. Press plastic wrap directly onto the surface to block air and slow browning.
Avoid freezing the assembled pizza. The fruit turns into mush upon thawing (trust me on this one).
The crust alone freezes beautifully for up to 2 months. Wrap it tightly in plastic, then foil, and thaw in the fridge overnight before adding filling.
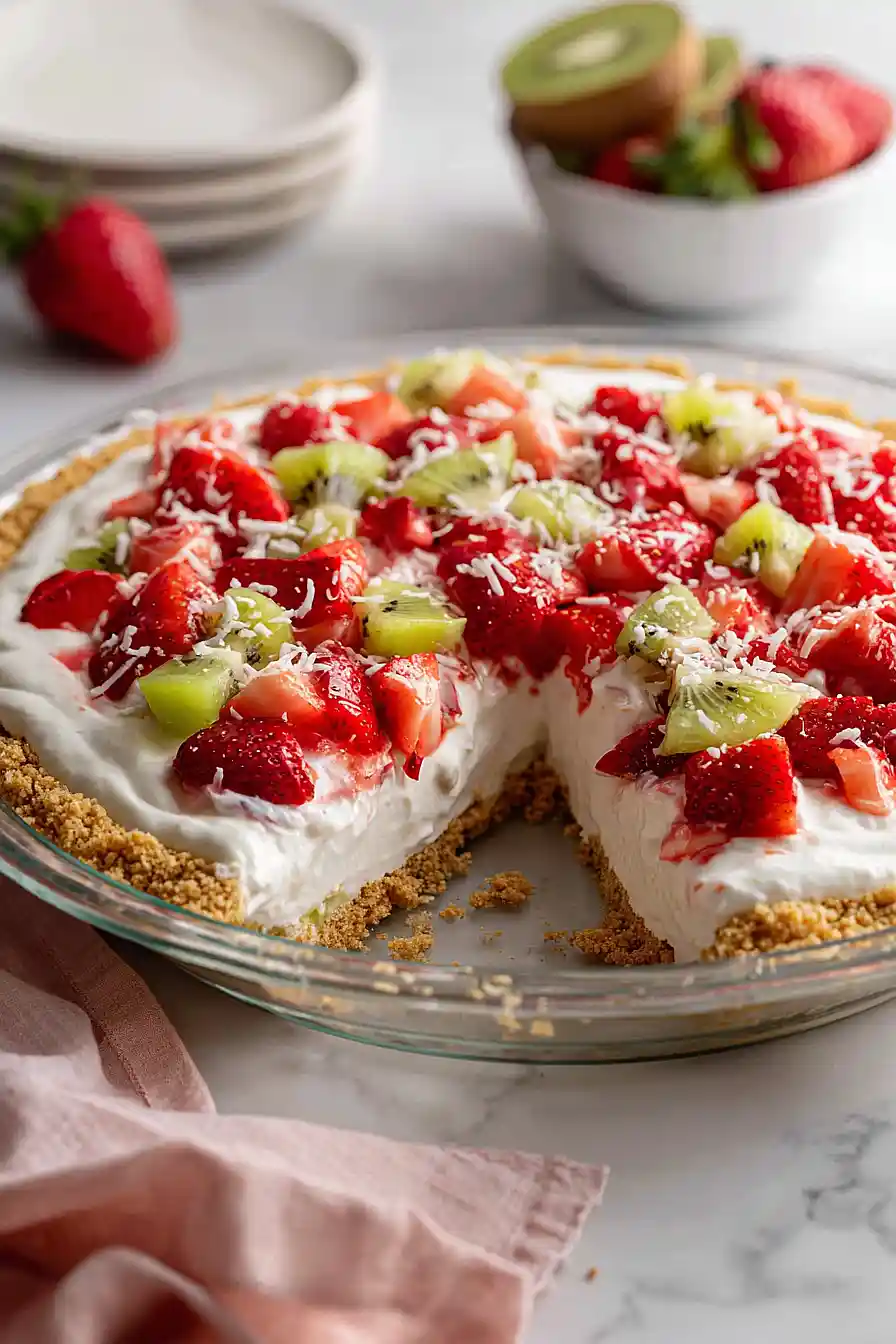
How to Get Clean, Pretty Slices
Step 1: CHILL the pizza THOROUGHLY before slicing. The filling must be FIRM to the touch, not soft, or it will drag and smear everywhere.
Step 2: Use a SHARP, thin-bladed knife only (a dull one tears the cream cheese and sends fruit flying across the plate…. tragic).
Step 3: WIPE the blade with a damp paper towel between EVERY single cut. Yes, every one!
Step 4: Press straight down in ONE smooth motion (no sawing, no hesitation) right through the crust.
Step 5: Dip the knife in hot water and dry it between slices for ultra-clean edges that glide through the creamy filling.
Serve RIGHT AWAY for the prettiest presentation, or keep chilled until guests arrive because the filling softens FAST at room temperature!
Other Recipes You’ll Love
- Best Fruit Pizza Made With Cookie Dough
- Cream Cheese Fruit Pizza
- Best Fruit Pizza with Marshmallow Fluff
- Sugar Cookie Mini Fruit Pizza
- Lemon Blueberry Cream Cheese Pastry
- Easy Strawberry Rhubarb Mini Cheesecake
Estimated Nutrition
Estimated nutrition for the whole recipe (without optional ingredients):
- Calories: 1150-1300
- Protein: 7-10 g
- Fat: 60-70 g
- Carbohydrates: 140-160 g
Ingredients
For the crust:
- 1.5 cups graham crumbs (I always use Honey Maid for the best flavor)
- 7 tbsp butter (melted and cooled slightly to prevent a soggy crust)
For the filling:
- 4 oz cream cheese (room temperature, about 70°F, to ensure no lumps)
- 4 tbsp sugar
- 4 oz whipped topping (I prefer Cool Whip for a more stable texture)
- 1/2 teaspoon vanilla extract
For the topping:
- 1 lb fruit (sliced into 1/4-inch pieces for even coverage)
- 1 tablespoon lemon juice (tossed with fruit to maintain freshness)
Step 1: Press the Graham Base
- 1.5 cups graham crumbs
- 7 tbsp butter
Combine the graham crumbs and melted butter in a bowl, stirring until the mixture resembles wet sand with even moisture throughout.
Press the mixture firmly and evenly into the bottom of a 9-inch pie dish or similar round baking pan, using the bottom of a measuring cup to create an even, compact layer.
This creates a sturdy base that won’t become soggy.
Let the crust rest at room temperature while you prepare the filling.
Step 2: Whip the Creamy Filling
- 4 oz cream cheese
- 4 tbsp sugar
- 4 oz whipped topping
- 1/2 teaspoon vanilla extract
In a separate bowl, combine the room-temperature cream cheese and sugar, whisking together until the mixture is smooth and any lumps from the cold cream cheese are fully dissolved.
Gently fold in the whipped topping and vanilla extract using a spatula, being careful not to overmix—you want to maintain the light, airy texture of the whipped topping.
I prefer Cool Whip here because it holds its texture better than homemade whipped cream and won’t weep liquid over time.
Step 3: Layer and Refrigerate
- graham cracker crust from Step 1
- cream cheese filling from Step 2
Spread the cream cheese mixture from Step 2 evenly over the prepared crust from Step 1, smoothing it into an even layer that covers the entire surface.
Transfer to the refrigerator and chill for 2-3 hours until the filling is completely set and firm to the touch.
This chilling time is crucial—it allows the filling to stabilize and prevents the crust from absorbing excess moisture.
Step 4: Decorate with Fresh Fruit
- 1 lb fruit
- 1 tablespoon lemon juice
- chilled pizza from Step 3
While the pizza chills, slice your fruit into even 1/4-inch pieces and immediately toss with the lemon juice to maintain freshness and prevent browning.
When the pizza is fully chilled and ready to serve, arrange the fruit in an attractive pattern over the filling, working from the center outward.
I like to slice fruit into uniform pieces because it ensures even coverage and a more polished presentation—plus it looks more intentional than random chunks.
Cream Cheese Fruit Pizza
Ingredients
Method
- Combine the graham crumbs and melted butter in a bowl, stirring until the mixture resembles wet sand with even moisture throughout. Press the mixture firmly and evenly into the bottom of a 9-inch pie dish or similar round baking pan, using the bottom of a measuring cup to create an even, compact layer. This creates a sturdy base that won't become soggy. Let the crust rest at room temperature while you prepare the filling.
- In a separate bowl, combine the room-temperature cream cheese and sugar, whisking together until the mixture is smooth and any lumps from the cold cream cheese are fully dissolved. Gently fold in the whipped topping and vanilla extract using a spatula, being careful not to overmix—you want to maintain the light, airy texture of the whipped topping. I prefer Cool Whip here because it holds its texture better than homemade whipped cream and won't weep liquid over time.
- Spread the cream cheese mixture from Step 2 evenly over the prepared crust from Step 1, smoothing it into an even layer that covers the entire surface. Transfer to the refrigerator and chill for 2-3 hours until the filling is completely set and firm to the touch. This chilling time is crucial—it allows the filling to stabilize and prevents the crust from absorbing excess moisture.
- While the pizza chills, slice your fruit into even 1/4-inch pieces and immediately toss with the lemon juice to maintain freshness and prevent browning. When the pizza is fully chilled and ready to serve, arrange the fruit in an attractive pattern over the filling, working from the center outward. I like to slice fruit into uniform pieces because it ensures even coverage and a more polished presentation—plus it looks more intentional than random chunks.