Homemade garlic bread. In a bread machine. While you do literally anything else.
This is the recipe that makes you look like you tried SO much harder than you did, and I’m not even a little sorry. Toss everything in (yes, in the right order, it matters), walk away, and come back to a loaf that smells like an Italian restaurant had a baby with a bakery. Parmesan crust situation? Obsessed.
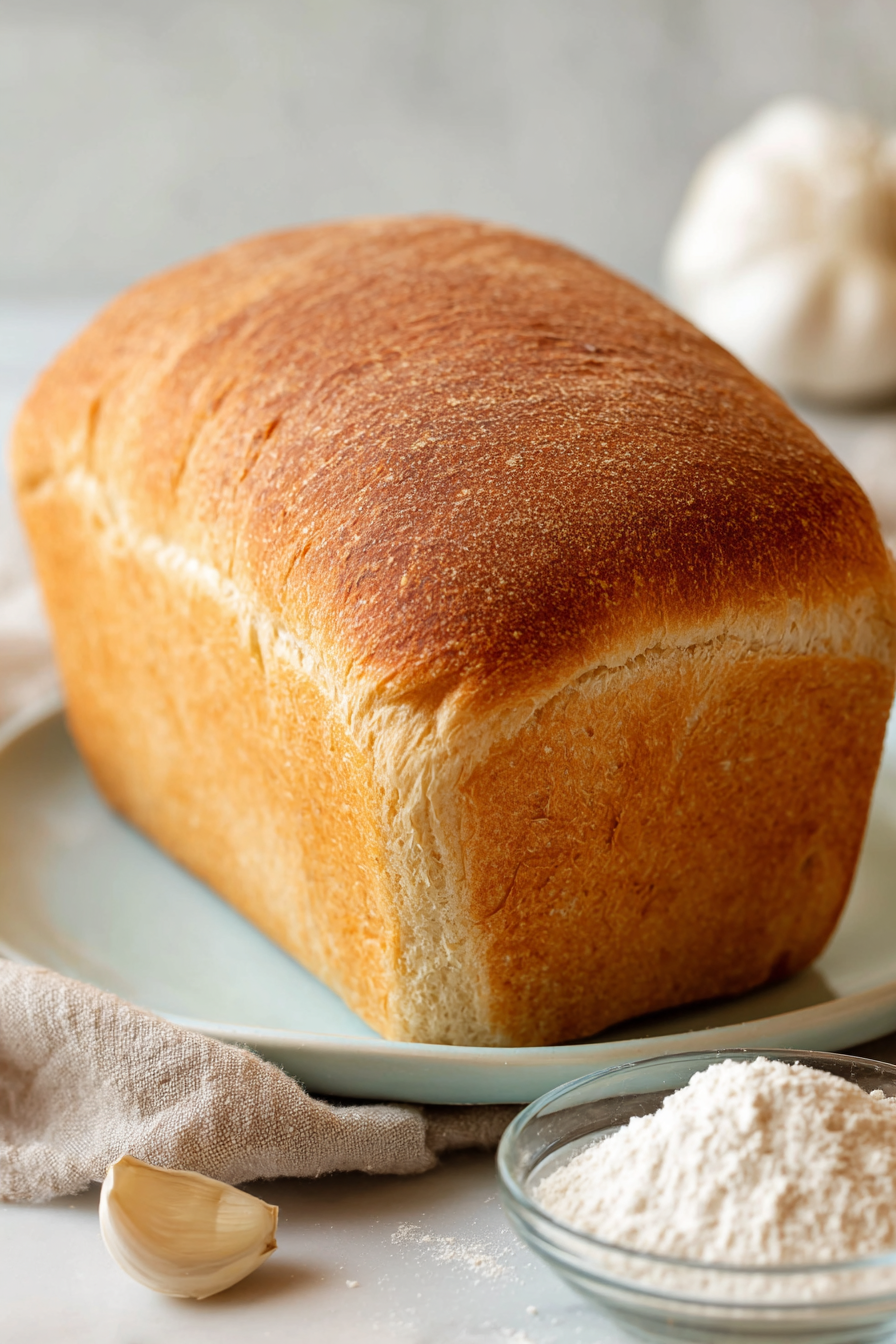
Why Use a Bread Machine for Garlic Bread?
The bread machine handles the HARDEST part of herb bread: kneading those small, slippery pieces evenly throughout the dough. By hand, rosemary and Parmesan tend to clump or escape, leaving you with bitter pockets of raw herb. (Not ideal.)
The enclosed environment also gives you controlled proofing. Consistent temperature means consistent fermentation, which means the yeast actually does its job without you babysitting a bowl on the counter for an hour. (Yes, really.)
After the dough cycle, you get total freedom to shape it into a loaf, rolls, breadsticks, or even pizza dough. The hard work is DONE… just shape, rest briefly, and bake.
Getting the Yeast Temperature Right
- Hit 105°F to 110°F… the sweet spot where yeast wakes up hungry
- Run the wrist test if no thermometer… warm bath feel, NOT hot
- Above 120°F KILLS yeast… hello dense bread brick
- Below 100°F makes yeast sluggish… weak rise, sad loaf
- Water first, then flour, yeast LAST (in a well, touching flour only)
How to Layer Ingredients in the Pan
Start with the WET layer first. Pour that lukewarm water (105°F to 110°F, no guessing!) into the bread pan, then drizzle the olive oil right on top. Don’t stir, don’t mix, just let them sit there and mingle.
Next comes the FLOUR barrier. Sprinkle the sugar and salt evenly over the liquid, then dump the bread flour on top in an even blanket. This dry layer keeps the yeast safe from direct contact with the water… for now.
Now the FLAVOR hit. In a tiny bowl, mix the garlic powder, crushed rosemary (crush it HARD between your fingers to wake up those oils!), thyme, basil, and Parmesan. Sprinkle this mixture over the flour like you’re seasoning royalty.
Last step, and don’t skip this! Use your finger to dig a small WELL in the center of the flour, making sure it doesn’t reach the water below. Drop the yeast into that little crater and close the lid. This separation keeps the yeast dormant until the machine starts churning, so you get a proper rise instead of a sad, flat loaf.
Choosing the Right Bread Machine Settings
- Use the BASIC or WHITE cycle. Rapid settings rush the rise and kill that developed herb flavor.
- Pick the 1.5 LB loaf size. Anything smaller throws off the kneading ratio and creates a gummy crumb.
- Go MEDIUM or DARK on the crust. Parmesan and garlic NEED real caramelization to shine.
- Skip the delay timer. Cheese sitting for hours before baking creates off flavors.
Trust the full cycle. Resist peeking during the first rise…. that trapped humidity (yes, even when it’s tempting) is doing real work in there.
Storing & Refreshing Leftover Bread
STORE IT RIGHT OR LOSE THAT GARLICKY GOODNESS.
- Room temp keeps 2-3 days in a sealed bag or airtight container (a plastic bread box works perfectly)
- Freezer stretches life to 2-3 months… SLICE FIRST so you only thaw what you need, then wrap tightly in plastic wrap followed by foil
- NEVER refrigerate. Cold actually stales it faster than the counter (annoying but true)
- Refresh stale slices: sprinkle with water, bake at 350°F for 5-7 minutes. The crust crisps right back up
- Microwave method for speed: damp paper towel wrapped around the slice, 15 seconds on high. Soft and warm, not crispy
A little water plus heat brings back the just-baked magic…. USE it.
If You Liked This, Try These
- Korean Cream Cheese Garlic Bread
- Greek Yogurt Garlic Bread
- Homemade Garlic Knots
- Classic Garlic Bread No Oven
- Best Blueberry Bagels
- Jalapeño Popper Biscuits
Estimated Nutrition
Estimated nutrition for the whole recipe (without optional ingredients):
- Calories: 1200-1300
- Protein: 36-40 g
- Fat: 18-22 g
- Carbohydrates: 240-260 g
Ingredients
- 1 1/8 cups water (lukewarm, about 105°F to 110°F)
- 1 tbsp olive oil
- 2 tbsp sugar
- 1 1/2 tsp salt
- 1 tsp garlic powder
- 1/2 tsp rosemary (crushed between fingers to release oils)
- 1/4 tsp thyme
- 1/4 tsp basil
- 2 tbsp grated Parmesan cheese
- 3 1/4 cups bread flour
- 1 1/2 tsp yeast
Step 1: Combine Liquid Ingredients
- 1 1/8 cups water
- 1 tbsp olive oil
Measure out the lukewarm water (105°F to 110°F is ideal—too hot kills the yeast, too cold slows fermentation) and pour it into the bread machine pan.
Add the olive oil to the water.
The warm liquid will activate the yeast and help develop the dough’s structure, so getting this temperature right is essential for a proper rise.
Step 2: Layer Dry Goods and Seasonings
- 2 tbsp sugar
- 1 1/2 tsp salt
- 3 1/4 cups bread flour
- 1 tsp garlic powder
- 1/2 tsp rosemary
- 1/4 tsp thyme
- 1/4 tsp basil
- 2 tbsp grated Parmesan cheese
Sprinkle the sugar, salt, and bread flour evenly over the water and oil mixture in the pan.
In a small bowl, combine the garlic powder, crushed rosemary, thyme, basil, and grated Parmesan cheese—I like to crush the rosemary between my fingers first to release its essential oils and intensify the flavor.
This releases much more aroma and flavor than using it whole.
Sprinkle this herb and cheese mixture over the flour layer.
This layering ensures the seasonings distribute evenly throughout the dough rather than clumping together.
Step 3: Add Yeast and Begin Kneading
- 1 1/2 tsp yeast
Using your finger or a small spoon, make a small well or indentation in the center of the flour mixture, being careful not to let it touch the water below.
Place the yeast in this well—this delays yeast activation until the machine begins mixing, ensuring it doesn’t activate prematurely and lose potency.
Close the bread machine lid and select the basic/white bread cycle, set the crust color to your preference, and select the 1.5 lb loaf size.
Press start and let the machine do its work.
Step 4: Cool and Slice the Loaf
When the cycle completes, carefully remove the bread pan from the machine and turn the loaf out onto a wire rack or cutting board.
Let it cool for 5-10 minutes before slicing—I find this resting time allows the crumb to set slightly, making cleaner slices and helping the bread stay moist inside.
The warm garlic and herb flavors will be most fragrant during this cooling period.
Irresistible Bread Machine Garlic Bread
Ingredients
Method
- Measure out the lukewarm water (105°F to 110°F is ideal—too hot kills the yeast, too cold slows fermentation) and pour it into the bread machine pan. Add the olive oil to the water. The warm liquid will activate the yeast and help develop the dough’s structure, so getting this temperature right is essential for a proper rise.
- Sprinkle the sugar, salt, and bread flour evenly over the water and oil mixture in the pan. In a small bowl, combine the garlic powder, crushed rosemary, thyme, basil, and grated Parmesan cheese—I like to crush the rosemary between my fingers first to release its essential oils and intensify the flavor. This releases much more aroma and flavor than using it whole. Sprinkle this herb and cheese mixture over the flour layer. This layering ensures the seasonings distribute evenly throughout the dough rather than clumping together.
- Using your finger or a small spoon, make a small well or indentation in the center of the flour mixture, being careful not to let it touch the water below. Place the yeast in this well—this delays yeast activation until the machine begins mixing, ensuring it doesn’t activate prematurely and lose potency. Close the bread machine lid and select the basic/white bread cycle, set the crust color to your preference, and select the 1.5 lb loaf size. Press start and let the machine do its work.
- When the cycle completes, carefully remove the bread pan from the machine and turn the loaf out onto a wire rack or cutting board. Let it cool for 5-10 minutes before slicing—I find this resting time allows the crumb to set slightly, making cleaner slices and helping the bread stay moist inside. The warm garlic and herb flavors will be most fragrant during this cooling period.