Here’s the thing about pumpkin pie. I love it. I really do. But sometimes I want all that warm fall flavor without the whole ‘whip the cream and pray the crust holds’ situation, you know?
Enter: pumpkin pie crumble bars. Chewy oat base, spiced pumpkin middle, crumbly topping with a walnut crunch. ALL the flavor, none of the fuss.
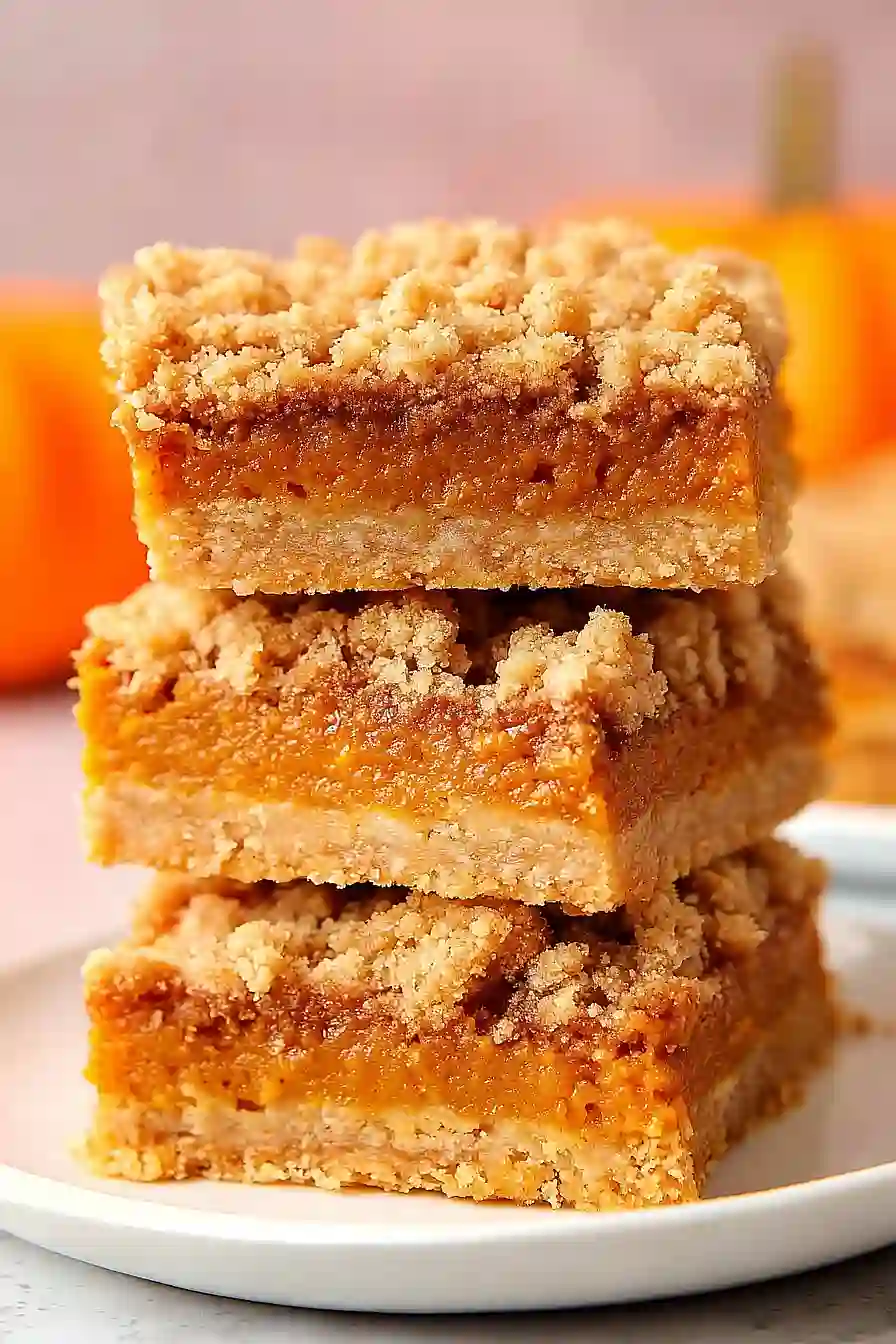
How to Get Clean, Neat Bar Slices
COOL completely before slicing! Cutting warm bars drags the filling and smears the layers…. *Patience pays off here*.
Line the pan with parchment, leaving overhang on the sides. Lift the whole slab out, then cut with a SHARP knife wiped clean between each slice. A hot water dip works wonders!
Chill for 30 minutes if you want precision cuts. Cold filling means clean edges every time.
Canned vs. Fresh Pumpkin Puree
- Grab PURE pumpkin puree in the can, NOT pumpkin pie filling (pre-spiced and sugary…. throws off the recipe).
- Canned is THICK, consistent, and ready straight from the can.
- For fresh: roast a sugar or pie pumpkin until fork-tender, scoop the flesh, then blend. Skip carving pumpkins!
- Fresh puree runs WATERY… strain through cheesecloth or a fine sieve for 20-30 minutes first.
Canned wins on speed. Fresh gives you a deeper, brighter pumpkin flavor when you’ve got the time to roast and drain.
How to Get the Perfect Crumble Texture
- Use OLD-FASHIONED oats, not instant. They hold their shape and give that signature chewy bite instead of turning to mush.
- Melt the butter and let it cool slightly before mixing. Hot butter melts the sugar and creates a paste instead of clumps.
- Stir the crumble just until coated. Overmixing = sand. You want shaggy, uneven pieces with some bigger chunks.
- SQUEEZE handfuls of the mixture to form clusters. This is where the magic happens! Bigger clumps = better texture.
- Press the base layer FIRMLY and evenly so it holds together when sliced. But leave the topping loose and scattered.
- Don’t skip the walnuts (if using). They add crunch and prevent the topping from getting too uniform or cakey.
- Bake until deeply golden, not just light brown. The darker color = more flavor and crispier crumble.
The secret is mostly leaving it alone. Resist the urge to overwork the mixture, and your crumble will reward you with serious texture contrast….!
Can You Make These Bars Ahead?
YES, absolutely make these ahead (the filling firms up overnight, so you get CLEANER slices the next day). Bake, cool completely, then cover tightly and refrigerate for up to 5 days.
For longer storage, wrap in plastic and foil, then freeze for 2 months. They thaw without any fuss!
How to Store Pumpkin Crumble Bars
- Store at ROOM TEMPERATURE in an airtight container for up to 2 days…. keep them out of direct sunlight or heat.
- REFRIGERATE for longer storage in a sealed container (slip parchment between stacked layers to stop sticking!) for up to 5 days.
- FREEZING is a solid option! Wrap each bar tightly in plastic wrap, then tuck into a freezer bag for up to 3 months.
- Thaw frozen bars in the fridge overnight, or on the counter for about 30 minutes before serving.
Related Recipes
- Dark Chocolate Pumpkin Tart
- Derby Pie Bars
- Blueberry Cream Cheese Bars
- Pumpkin Coffee Cake
- Easy Fig Bars
- Kentucky Derby Pie
Estimated Nutrition
Estimated nutrition for the whole recipe (without optional ingredients):
- Calories: 3150-3350
- Protein: 32-38 g
- Fat: 140-155 g
- Carbohydrates: 445-475 g
Ingredients
For the oat crumble layers:
- 2 cups all-purpose flour
- 1 1/2 cups old-fashioned oats
- 1 cup unsalted butter, melted
- 1 cup packed brown sugar
- 1/2 tsp baking soda
- 1/2 tsp salt
For the pumpkin filling:
- 2 cups pumpkin puree
- 1/2 cup granulated sugar
- 1/4 cup brown sugar
- 2 large eggs
- 1 tbsp pumpkin pie spice
- 1 tsp vanilla extract
For the topping:
- 1/2 cup chopped walnuts (optional)
Step 1: Ready the Oven and Pan
Preheat your oven to 350°F (175°C).
Grease a 9×13-inch baking dish or line it with parchment paper to ensure the bars release easily once baked.
Step 2: Combine the Oat Mixture
- 2 cups all-purpose flour
- 1 1/2 cups old-fashioned oats
- 1 cup packed brown sugar
- 1/2 tsp baking soda
- 1/2 tsp salt
- 1 cup unsalted butter, melted
In a large bowl, mix together the all-purpose flour, old-fashioned oats, 1 cup of packed brown sugar, baking soda, and salt.
Pour in the melted butter and stir until the dry ingredients are thoroughly coated and the mixture starts to clump together; this will be both the base and topping for your bars.
I like to squeeze the mixture a bit with my hands to create some chunkier crumbles for extra texture.
Step 3: Press the Bottom Crust
- crumble mixture from Step 2
Take about two-thirds of the crumble mixture from Step 2 and press it firmly and evenly into the prepared baking dish.
This will form the base layer for your bars.
Step 4: Whisk the Spiced Filling
- 2 cups pumpkin puree
- 1/2 cup granulated sugar
- 1/4 cup brown sugar
- 2 large eggs
- 1 tbsp pumpkin pie spice
- 1 tsp vanilla extract
In a separate bowl, whisk together the pumpkin puree, granulated sugar, 1/4 cup brown sugar, eggs, pumpkin pie spice, and vanilla extract until everything is fully incorporated and smooth.
For a little extra depth, I sometimes add a pinch more pumpkin pie spice.
Step 5: Layer and Top
- pumpkin filling from Step 4
- remaining crumble mixture from Step 2
- 1/2 cup chopped walnuts (optional)
Pour the pumpkin filling from Step 4 over the crumble base in the pan, spreading it evenly to cover.
Sprinkle the remaining crumble mixture evenly over the top.
If using, scatter the chopped walnuts across the crumble for added crunch.
Step 6: Bake Until Golden
Bake in the preheated oven for 40–45 minutes, or until the top is golden brown and the pumpkin filling is set.
The kitchen will smell amazing as they bake!
Step 7: Cool Before Slicing
Allow the bars to cool completely in the pan before slicing them into squares and serving.
This helps the filling set and makes them easier to cut neatly.
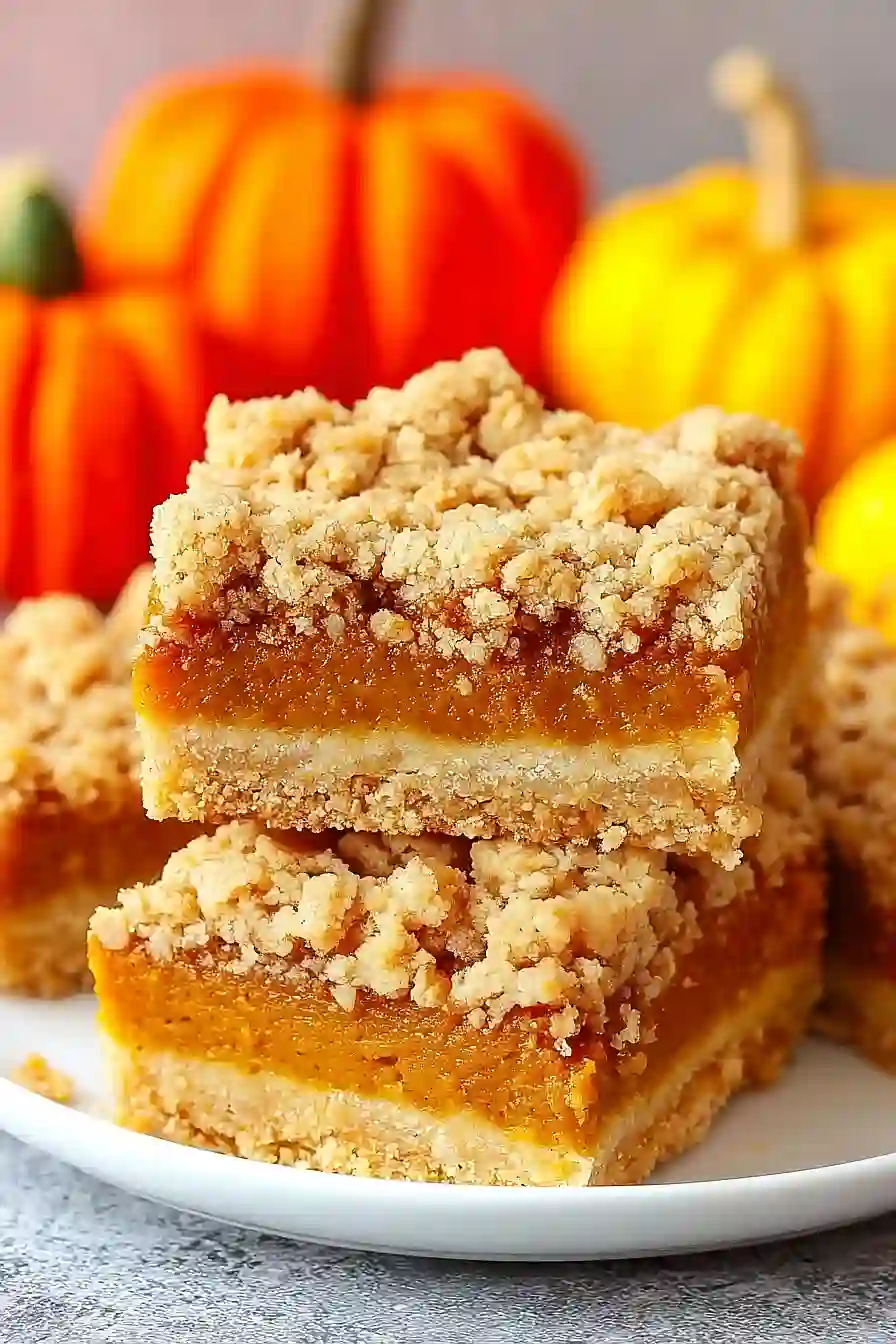
Rich Pumpkin Pie Crumble Bars
Ingredients
Method
- Preheat your oven to 350°F (175°C). Grease a 9×13-inch baking dish or line it with parchment paper to ensure the bars release easily once baked.
- In a large bowl, mix together the all-purpose flour, old-fashioned oats, 1 cup of packed brown sugar, baking soda, and salt. Pour in the melted butter and stir until the dry ingredients are thoroughly coated and the mixture starts to clump together; this will be both the base and topping for your bars. I like to squeeze the mixture a bit with my hands to create some chunkier crumbles for extra texture.
- Take about two-thirds of the crumble mixture from Step 2 and press it firmly and evenly into the prepared baking dish. This will form the base layer for your bars.
- In a separate bowl, whisk together the pumpkin puree, granulated sugar, 1/4 cup brown sugar, eggs, pumpkin pie spice, and vanilla extract until everything is fully incorporated and smooth. For a little extra depth, I sometimes add a pinch more pumpkin pie spice.
- Pour the pumpkin filling from Step 4 over the crumble base in the pan, spreading it evenly to cover. Sprinkle the remaining crumble mixture evenly over the top. If using, scatter the chopped walnuts across the crumble for added crunch.
- Bake in the preheated oven for 40–45 minutes, or until the top is golden brown and the pumpkin filling is set. The kitchen will smell amazing as they bake!
- Allow the bars to cool completely in the pan before slicing them into squares and serving. This helps the filling set and makes them easier to cut neatly.
How long should we pre-bake the crust? I see it mentioned in your notes, but not in any of the steps.
Your tip mentions parbaking the crust, but that step is missing in the recipe. How long should I’m the crust be baked before adding the filling? Thank you.