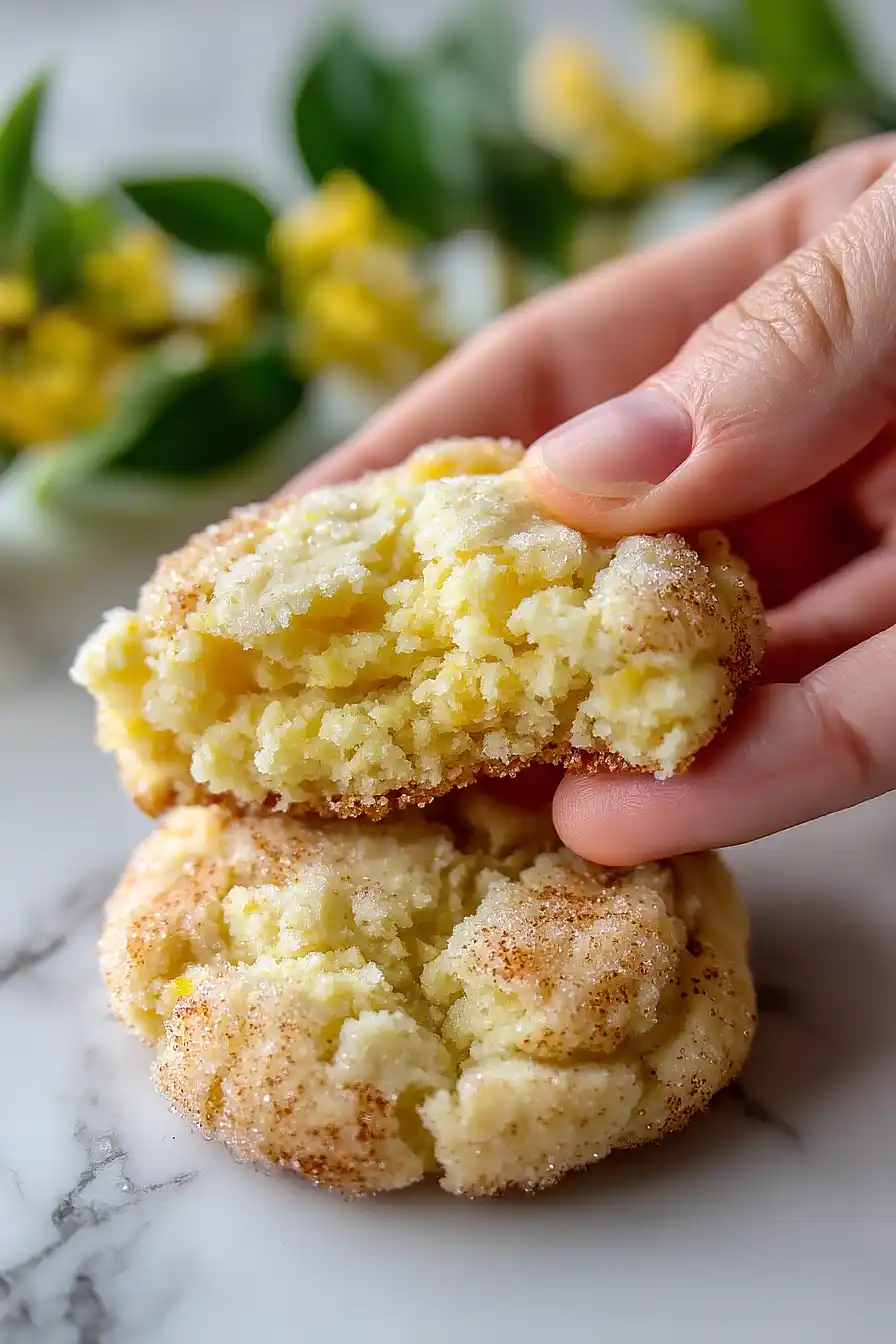
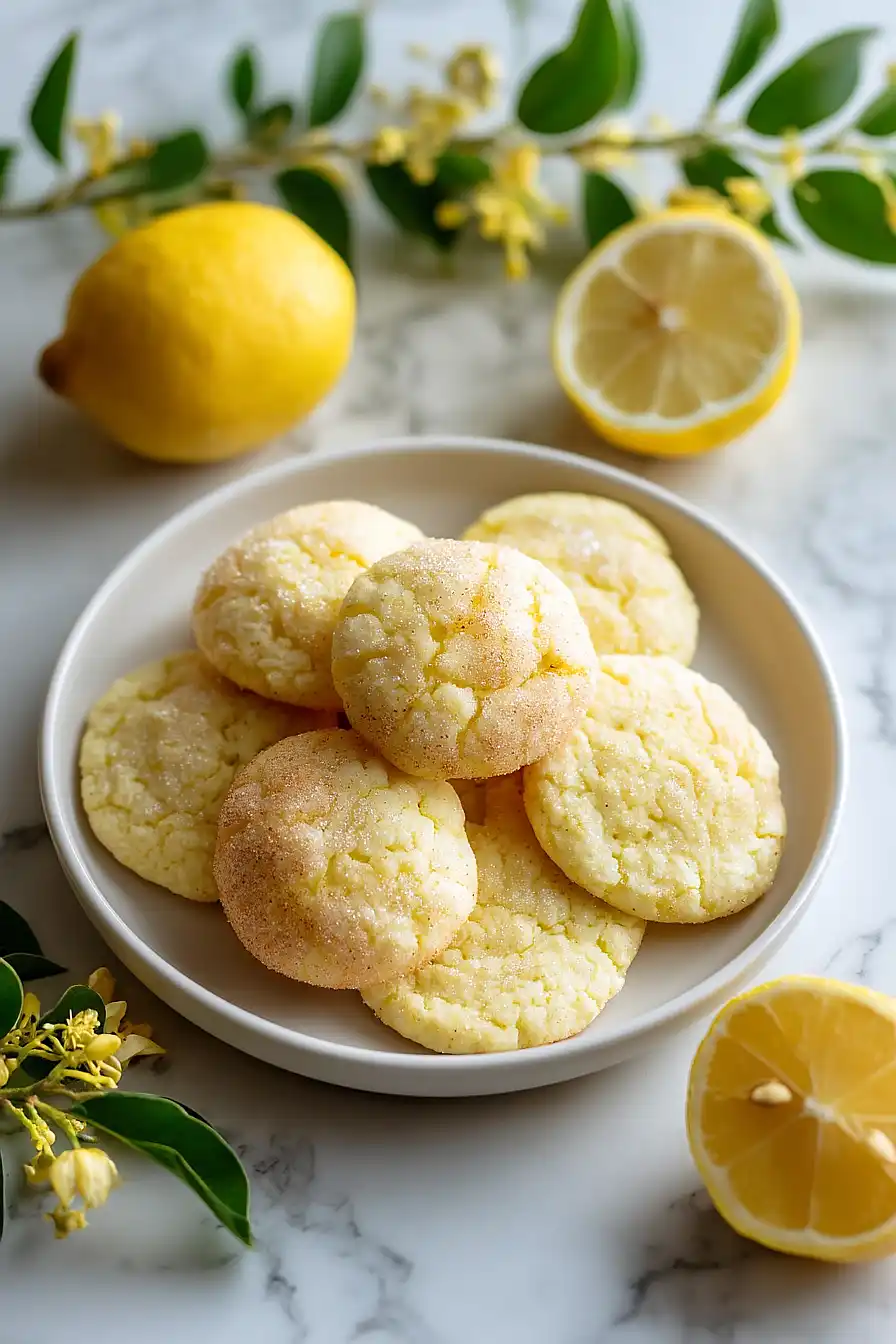
This lemon snickerdoodle recipe is one of my all-time favorites. The cookies are soft and chewy, packed with bright citrus flavor from real lemon zest and juice, and finished with that signature cinnamon-sugar coating that makes every bite so satisfying.
If you are looking for a fun twist on the classic, this is it. The lemon keeps things from being too sweet, and they are always one of the first things to go at a bake sale or potluck.
Why You’ll Love These Lemon Snickerdoodles
- Quick and easy – These cookies come together in under 30 minutes, making them perfect for last-minute gatherings or when you need a sweet treat fast.
- Bright, refreshing twist – The lemon zest and juice give classic snickerdoodles a fresh, citrusy flavor that’s perfect for spring and summer.
- Simple pantry ingredients – You probably have most of these staples in your kitchen already, with just a fresh lemon needed to make them special.
- Soft and chewy texture – The cream of tartar gives these cookies that signature snickerdoodle tang and keeps them wonderfully soft in the center.

Can You Make Any Substitutions?
Most ingredients in this recipe can be swapped out without much trouble, though there are a couple you will want to leave as they are:
- Cream of tartar: This is what gives snickerdoodles their signature tangy flavor, so I wouldn’t recommend substituting it. If you absolutely must, you can use 2 teaspoons of lemon juice in place of the cream of tartar, but the texture might be slightly different.
- Butter: You can swap this with margarine or even coconut oil if needed. Just make sure whatever you use is at room temperature so it creams properly with the sugar.
- Lemon zest and juice: Fresh lemon is best here, but if you’re in a bind, bottled lemon juice works too. For the zest, you could try using ½ teaspoon of lemon extract instead, though fresh zest gives better flavor.
- All purpose flour: You can use a 1:1 gluten-free flour blend if you need to make these gluten-free. The texture might be slightly different, but they’ll still taste great.
- Egg: For an egg-free version, try using a flax egg (1 tablespoon ground flaxseed mixed with 3 tablespoons water, let sit for 5 minutes) or 3 tablespoons of applesauce.
Mistakes to Avoid When Making These Cookies
The most important thing to get right is your butter temperature. Cold butter will give you flat, spread-out cookies, so let it sit at room temperature for about an hour before you start.
Do not skip or substitute the cream of tartar. It is what gives snickerdoodles their signature chew and tang, and nothing else replicates it.
Roll your dough balls in the cinnamon-sugar coating right before baking, and pull the cookies out when the centers still look slightly underdone. They will firm up as they cool.
Our Favorite Ways to Enjoy These Cookies
Simple to enjoy on their own, but even better with the right pairing:
- Milk or tea
- Vanilla ice cream sandwiched between two cookies
- Lemon bars or key lime pie
- Your favorite coffee drink
Storing and Keeping These Cookies Fresh
Store: Keep your lemon snickerdoodles in an airtight container at room temperature for up to 5 days. They’ll stay soft and chewy if you toss a slice of bread in the container with them, which helps maintain moisture.
Freeze: These cookies freeze really well, either baked or as dough. For baked cookies, layer them between parchment paper in a freezer-safe container for up to 3 months. You can also freeze the dough balls already rolled in sugar on a baking sheet, then transfer to a bag once frozen and bake straight from the freezer when a cookie craving hits.
Enjoy: Frozen baked cookies thaw at room temperature in about 30 minutes, or you can warm them in a 300°F oven for a few minutes to get that fresh-baked taste back. If baking from frozen dough, just add an extra minute or two to the baking time.
| Preparation Time | 15-20 minutes |
| Cooking Time | 11-12 minutes |
| Total Time | 26-32 minutes |
| Level of Difficulty | Easy |
Estimated Nutrition
Estimated nutrition for the whole recipe (without optional ingredients):
- Calories: 1650-1850
- Protein: 18-22 g
- Fat: 64-72 g
- Carbohydrates: 250-270 g
Ingredients
For the dry mix:
- 1 tsp cream of tartar
- 1.5 cups all-purpose flour (I use King Arthur all-purpose flour)
- 0.25 tsp baking soda
- 0.25 tsp salt
- 0.5 tsp baking powder
For the wet mix:
- 1.5 tsp lemon zest (finely grated from fresh lemons)
- 3/4 cup sugar
- 0.5 tsp vanilla extract
- 1 tbsp lemon juice (freshly squeezed for best flavor)
- 1/2 cup butter (softened to room temperature)
- 1 large egg (room temperature)
For rolling:
- 3 tbsp sugar (optional but recommended for classic snickerdoodle coating)
Step 1: Prepare Your Mise en Place and Preheat
- parchment paper
- 1.5 tsp lemon zest
- 1 tbsp lemon juice
Start by preheating your oven to 350°F and lining a baking sheet with parchment paper.
While the oven heats, zest your fresh lemons finely (you’ll need about 1.5 teaspoons) and squeeze the lemon juice (about 1 tablespoon).
Measure out all your dry ingredients and wet ingredients separately so everything is ready when you need it.
I always zest the lemon before juicing it because the zester can slip on a wet lemon—this small step prevents frustration and ensures you get the full aromatic zest.
Step 2: Combine Dry Ingredients
- 1.5 cups all-purpose flour
- 0.5 tsp baking powder
- 0.25 tsp salt
- 0.25 tsp baking soda
- 1 tsp cream of tartar
In a medium bowl, whisk together the flour, baking powder, salt, baking soda, and cream of tartar.
Whisking these together incorporates air into the dry ingredients and distributes the leavening agents evenly, which gives you more consistent rise and texture throughout your cookies.
Set this bowl aside until you’re ready to combine it with the wet ingredients.
Step 3: Cream Butter, Sugar, and Lemon Zest
- 1/2 cup butter
- 3/4 cup sugar
- 1.5 tsp lemon zest
In a large bowl, beat the softened butter and 3/4 cup sugar together for 2-3 minutes until the mixture is light, fluffy, and pale.
This creaming process incorporates tiny air bubbles that help your cookies spread and bake evenly.
Add the lemon zest and continue beating for another 30 seconds to release the oils and distribute the lemon flavor throughout.
I find that creaming longer than necessary doesn’t hurt—the texture becomes noticeably lighter and airier, which makes a better cookie in the end.
Step 4: Combine Wet Ingredients and Mix Until Cohesive
- butter mixture from Step 3
- 1 large egg
- 0.5 tsp vanilla extract
- 1 tbsp lemon juice
Add the room-temperature egg and vanilla extract to the butter mixture and beat for 1-2 minutes until well combined.
Then add the fresh lemon juice and mix briefly until the ingredients are incorporated.
The mixture may look slightly curdled—this is normal and will smooth out once you add the dry ingredients.
Be careful not to overmix at this stage since you’ll be mixing again in the next step.
Step 5: Bring Dough Together and Prepare for Shaping
- dry ingredient mixture from Step 2
- wet ingredient mixture from Step 4
- 3 tbsp sugar
Add the dry ingredient mixture from Step 2 to the wet ingredients and mix on low speed until a soft dough just forms—stop mixing as soon as you don’t see any dry flour streaks.
Overmixing develops gluten, which makes cookies tough and dense instead of tender.
Pour the 3 tablespoons of sugar (for coating) into a small shallow bowl and set it nearby, then let your dough rest at room temperature for about 5 minutes so it’s easier to handle and scoop.
Step 6: Shape and Coat Cookies
- dough from Step 5
- sugar coating from Step 5
Using a cookie scoop or spoon, portion the dough into 1-inch balls and roll each one in the sugar coating until it’s evenly covered.
Place each sugar-coated ball on your prepared baking sheet, spacing them about 2 inches apart to allow for spreading during baking.
Work quickly but gently—the dough is delicate, and you want to keep those air bubbles you created in the creaming step intact.
Step 7: Bake and Cool Slightly
Bake at 350°F for 11-12 minutes, until the edges are set but the centers still look slightly underbaked—they’ll continue cooking on the hot pan.
Remove from the oven and let the cookies rest on the baking sheet for 1-2 minutes before transferring them to a cooling rack.
I find that this brief rest makes the cookies much easier to move without breaking them, and they continue to firm up as they cool.
Buttery Lemon Snickerdoodles
Ingredients
Method
- Start by preheating your oven to 350°F and lining a baking sheet with parchment paper. While the oven heats, zest your fresh lemons finely (you’ll need about 1.5 teaspoons) and squeeze the lemon juice (about 1 tablespoon). Measure out all your dry ingredients and wet ingredients separately so everything is ready when you need it. I always zest the lemon before juicing it because the zester can slip on a wet lemon—this small step prevents frustration and ensures you get the full aromatic zest.
- In a medium bowl, whisk together the flour, baking powder, salt, baking soda, and cream of tartar. Whisking these together incorporates air into the dry ingredients and distributes the leavening agents evenly, which gives you more consistent rise and texture throughout your cookies. Set this bowl aside until you’re ready to combine it with the wet ingredients.
- In a large bowl, beat the softened butter and 3/4 cup sugar together for 2-3 minutes until the mixture is light, fluffy, and pale. This creaming process incorporates tiny air bubbles that help your cookies spread and bake evenly. Add the lemon zest and continue beating for another 30 seconds to release the oils and distribute the lemon flavor throughout. I find that creaming longer than necessary doesn’t hurt—the texture becomes noticeably lighter and airier, which makes a better cookie in the end.
- Add the room-temperature egg and vanilla extract to the butter mixture and beat for 1-2 minutes until well combined. Then add the fresh lemon juice and mix briefly until the ingredients are incorporated. The mixture may look slightly curdled—this is normal and will smooth out once you add the dry ingredients. Be careful not to overmix at this stage since you’ll be mixing again in the next step.
- Add the dry ingredient mixture from Step 2 to the wet ingredients and mix on low speed until a soft dough just forms—stop mixing as soon as you don’t see any dry flour streaks. Overmixing develops gluten, which makes cookies tough and dense instead of tender. Pour the 3 tablespoons of sugar (for coating) into a small shallow bowl and set it nearby, then let your dough rest at room temperature for about 5 minutes so it’s easier to handle and scoop.
- Using a cookie scoop or spoon, portion the dough into 1-inch balls and roll each one in the sugar coating until it’s evenly covered. Place each sugar-coated ball on your prepared baking sheet, spacing them about 2 inches apart to allow for spreading during baking. Work quickly but gently—the dough is delicate, and you want to keep those air bubbles you created in the creaming step intact.
- Bake at 350°F for 11-12 minutes, until the edges are set but the centers still look slightly underbaked—they’ll continue cooking on the hot pan. Remove from the oven and let the cookies rest on the baking sheet for 1-2 minutes before transferring them to a cooling rack. I find that this brief rest makes the cookies much easier to move without breaking them, and they continue to firm up as they cool.
Really good recipe that’s makes exactly 12 cookies! I doubled the vanilla (as I do in every recipe that calls for it) – so delicious!
Finding recipes to use my Meyer Lemons. These cookies are excellent!
These are delicious and turned out perfectly! I made 3.5 doz (I used the smallest scoop).
Thank you for the recipe.
This looks delicious, but I notice you only recommend sugar for rolling cookies before baking. Did you forget to add cinnamon? It shows a little cinnamon in the picture & it’s not snickerdoodles without cinnamon. I’ll be adding cinnamon to my sugar. Can’t want to try this. Looks amazing! 🤩
My entire family enjoys lemon cookies. Who knew? This recipe is absolutely amazing! My family is now asking me to make them as a permanent cookie for Christmas.
Thank you!
Deb