I keep waiting for the catch. A glaze this easy, this glossy, this GOOD… there HAS to be a trick. There isn’t one.
Three ingredients, one saucepan, five minutes. Done. Now brush it on a ham or some roasted carrots and watch everyone lose their minds at your dinner table.
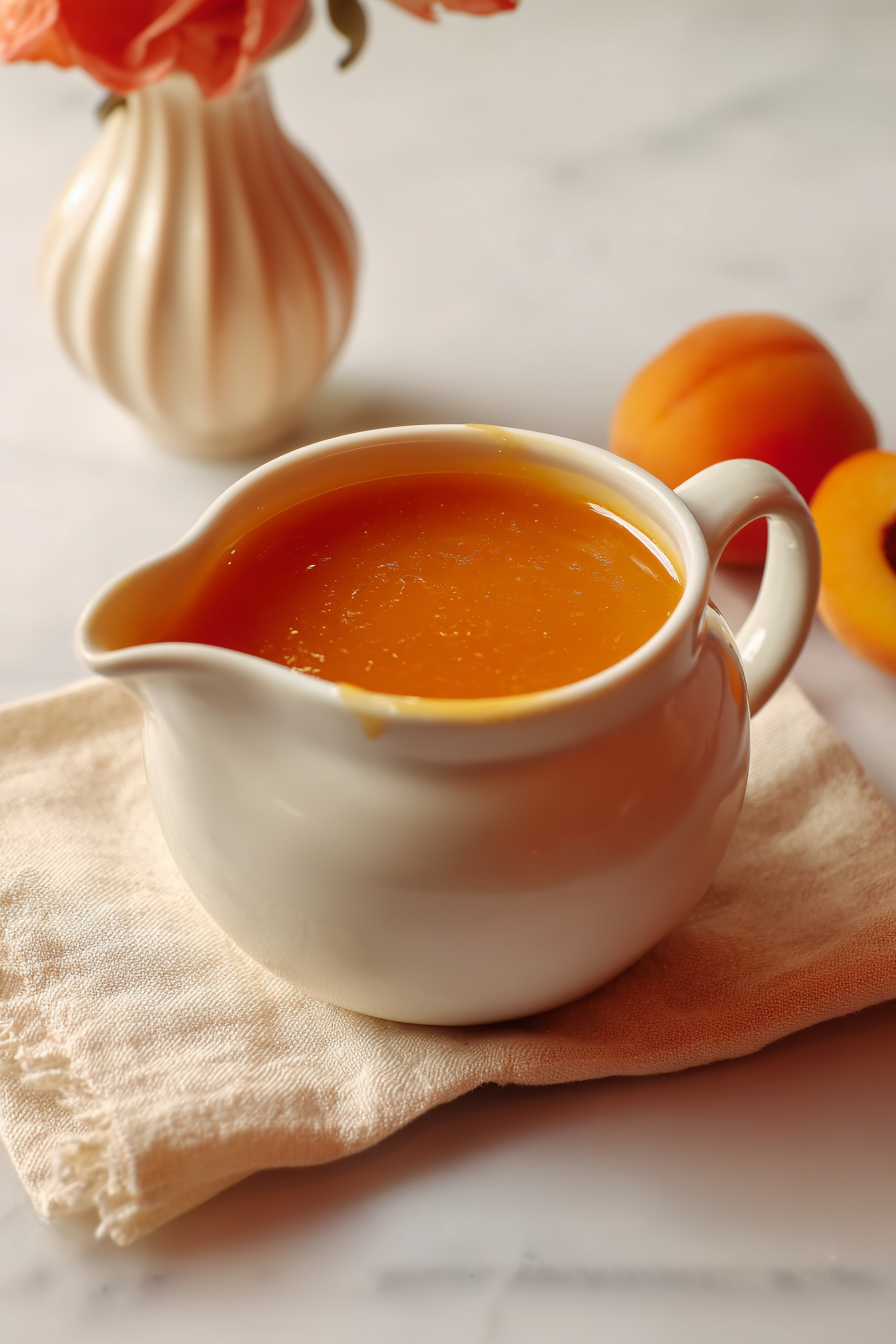
What to Use This Glaze On
Brush it on ANYTHING that needs a glossy, sweet-tangy finish.
- Baked goods: tarts, fruit pies, scones, pound cake, thumbprint cookies
- Meat: ham, pork tenderloin, or roasted chicken (apply in the last 10 minutes of cooking)
- Roasted veggies: carrots, parsnips, or Brussels sprouts (drizzle after roasting)
- Grilled fruit: peaches, pineapple, or apricots themselves
- Cheese board: warm brie or goat cheese crostini
Strain it smooth for pastries, leave it chunky for meat and veggies. The chunky version clings better, the smooth version actually shines on delicate desserts. Both work on toast, obviously.
Can You Skip the Orange Liqueur?
YES, you can skip the orange liqueur. Here are direct swaps that work:
- Use 2 tbsp orange juice + 1/4 tsp orange zest for citrus notes.
- Try 2 tbsp apple cider or a dry white wine for depth.
- Add a splash of vanilla or almond extract for complexity.
- Increase lemon juice to 2 tsp for brighter acidity.
Strained vs. Unstrained: Which to Choose
Strain for smooth, even coating that won’t clog a pastry brush. This is the move for a professional-looking finish on cakes or delicate pastries.
Skip straining for a textured glaze with visible fruit bits. Great for rustic tarts or when you want a bit of chunk in your shine.
How to Store Leftover Glaze
- Transfer to an airtight container… a small jar or sealed tub works PERFECTLY.
- Refrigerate for up to 2 weeks (the sugar and liqueur help preserve it).
- Stir before each use, as the jam will settle and thicken when cold.
- For longer storage, freeze in ice cube trays, then pop the cubes into a freezer bag. Thaw in the fridge overnight when needed!
- Do NOT leave at room temperature beyond 2 hours (bacteria loves sugar, so don’t risk it).
What to Cook Next
- Easy Apricot Jam
- Apricot Glazed Pork Chops
- Simple Watermelon Jelly
- Apricot Fruit Leather
- Tasty Watermelon Jam
- Best Fruit Pizza Made With Cookie Dough
Estimated Nutrition
Estimated nutrition for the whole recipe (without optional ingredients):
- Calories: 320-360
- Protein: 0-1 g
- Fat: 0-1 g
- Carbohydrates: 65-75 g
Ingredients
- 1/2 cup apricot jam
- 2 tbsp orange liqueur
- 1 tsp fresh lemon juice
Step 1: Melt Jam and Liqueur
- 1/2 cup apricot jam
- 2 tbsp orange liqueur
Combine the apricot jam and orange liqueur in a small saucepan over medium-low heat.
Stir frequently for about 4 minutes, allowing the mixture to warm through and the liqueur to incorporate fully—this helps mellow the flavors and creates a more cohesive glaze.
I prefer to use a medium-low temperature rather than high heat because it prevents the jam from scorching and preserves the bright apricot flavor.
Step 2: Brighten and Smooth
- 1 tsp fresh lemon juice
- warmed glaze mixture from Step 1
Remove the pan from heat and stir in the fresh lemon juice.
For a completely smooth glaze, pour the mixture through a fine-mesh strainer, pressing gently with the back of a spoon to push it through while leaving any fruit solids behind.
If you prefer a slightly thicker, more textured glaze with visible fruit pieces, you can skip the straining—just let it cool slightly before using.
Either way, the glaze is now ready to brush onto baked goods, ham, or roasted vegetables.
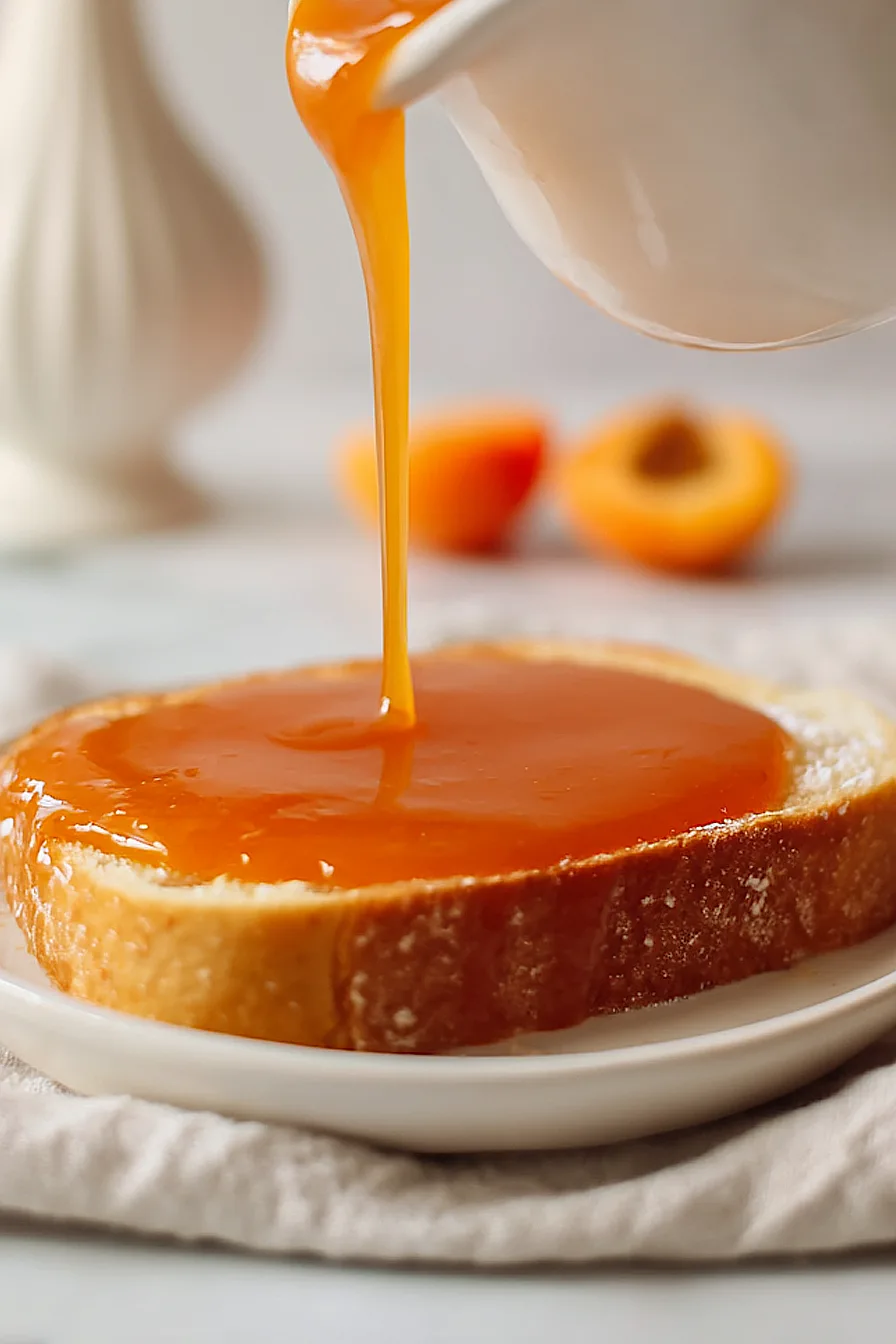
2-Ingredient Apricot Glaze
Ingredients
Method
- Combine the apricot jam and orange liqueur in a small saucepan over medium-low heat. Stir frequently for about 4 minutes, allowing the mixture to warm through and the liqueur to incorporate fully—this helps mellow the flavors and creates a more cohesive glaze. I prefer to use a medium-low temperature rather than high heat because it prevents the jam from scorching and preserves the bright apricot flavor.
- Remove the pan from heat and stir in the fresh lemon juice. For a completely smooth glaze, pour the mixture through a fine-mesh strainer, pressing gently with the back of a spoon to push it through while leaving any fruit solids behind. If you prefer a slightly thicker, more textured glaze with visible fruit pieces, you can skip the straining—just let it cool slightly before using. Either way, the glaze is now ready to brush onto baked goods, ham, or roasted vegetables.