Preheat your oven to 350°F and line a baking sheet with parchment paper. While the oven heats, remove the butter and eggs from the refrigerator—room temperature eggs (around 70°F) emulsify better with the butter, creating a lighter, fluffier cake. Slice your strawberries into 1/4-inch thick rounds and set aside. This prep work takes just a few minutes and ensures everything is ready when you need it.
In a medium bowl, whisk together the flour, cornstarch, baking soda, and baking powder—whisking instead of just stirring aerates the dry mixture slightly, which contributes to a tender crumb. In a separate bowl, combine the sliced strawberries with 1 cup sugar and freshly squeezed lemon juice. Stir gently and let sit at room temperature for about 20 minutes while you make the cake batter—this allows the strawberries to release their juices and develop deeper flavor. I find that freshly squeezed lemon juice makes a noticeable difference in brightness compared to bottled.
In a stand mixer, beat the room temperature butter with 1 1/4 cups sugar on medium-high speed for 3-4 minutes until the mixture is pale, fluffy, and noticeably increased in volume—this creaming process incorporates air that helps the cake rise. Add the room temperature eggs one at a time, beating well after each addition to ensure proper emulsion. Alternate adding the dry ingredient mixture from Step 2 and the sour cream in three additions, starting and ending with the dry mixture. Begin with one-third of the dry mixture, then half the sour cream, then another third of dry mixture, then remaining sour cream, then final third of dry mixture—this alternating method prevents overmixing and keeps the batter tender. Mix on low speed just until combined after each addition.
Spread the batter evenly onto your prepared baking sheet in an approximately 1/2-inch thick layer, using an offset spatula to get it as level as possible for even baking. Bake at 350°F for 18-22 minutes until a toothpick inserted in the center comes out clean and the top is light golden. The cake should spring back lightly when touched. Remove from the oven and let cool on the baking sheet for about 10 minutes, then turn out onto a wire rack to cool completely to room temperature—this usually takes 30-40 minutes. Once cooled, cut the cake into circles using a biscuit cutter, small cup, or the rim of your jars, depending on your jar size.
Pour the very cold heavy cream into a chilled bowl (I chill mine in the freezer for 10 minutes before whipping). Using a stand mixer with the whisk attachment or a hand mixer, beat the cold cream on medium-high speed until soft peaks form, about 1-2 minutes. Add 1 tsp vanilla extract and beat for another 30 seconds until incorporated—do not overbeat or you'll end up with butter. The cream should be fluffy and hold its shape but still be light and billowy. Keep refrigerated until assembly.
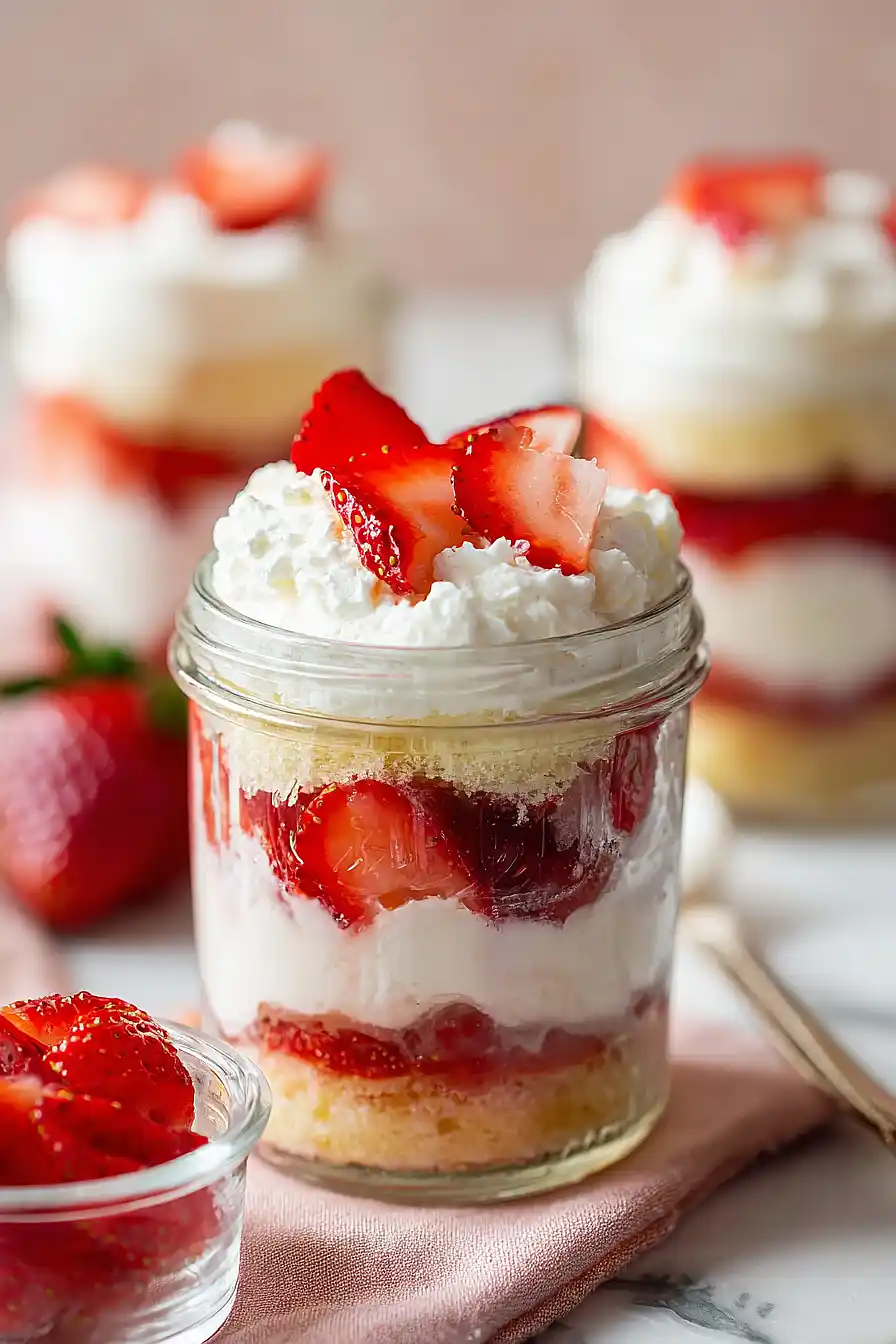
Begin layering into your serving jars: start with a cake circle as the base, then a spoonful of macerated strawberries with their juices from Step 2, then a dollop of whipped cream from Step 5. Repeat this layering 2-3 times depending on your jar height, finishing with a cake round on top. The strawberry juices will gradually soak into the cake layers, creating a moist, flavorful dessert. For the most visually appealing presentation, tilt the jars slightly as you layer so you can see the distinct layers through the glass.
Top each jar with a generous dollop of whipped cream from Step 5 and a few of the prettiest strawberry slices. Refrigerate for at least 30 minutes before serving—this allows all the flavors to meld and the textures to set properly. The cakes are best served cold and enjoyed within 24 hours for optimal texture and flavor.