Finding a dessert that’s easy enough for a busy weeknight but impressive enough to bring to a potluck can feel impossible. You want something that doesn’t require fancy techniques or a million ingredients, but still tastes like you spent hours in the kitchen, and let’s be it—cleanup should be minimal.
That’s where these cherry crumble bars come in: they’re made with simple pantry staples, come together in one pan, and feature a buttery crust that doubles as a sweet crumble topping. Plus, with a drizzle of glaze on top, they look like they came straight from a bakery.
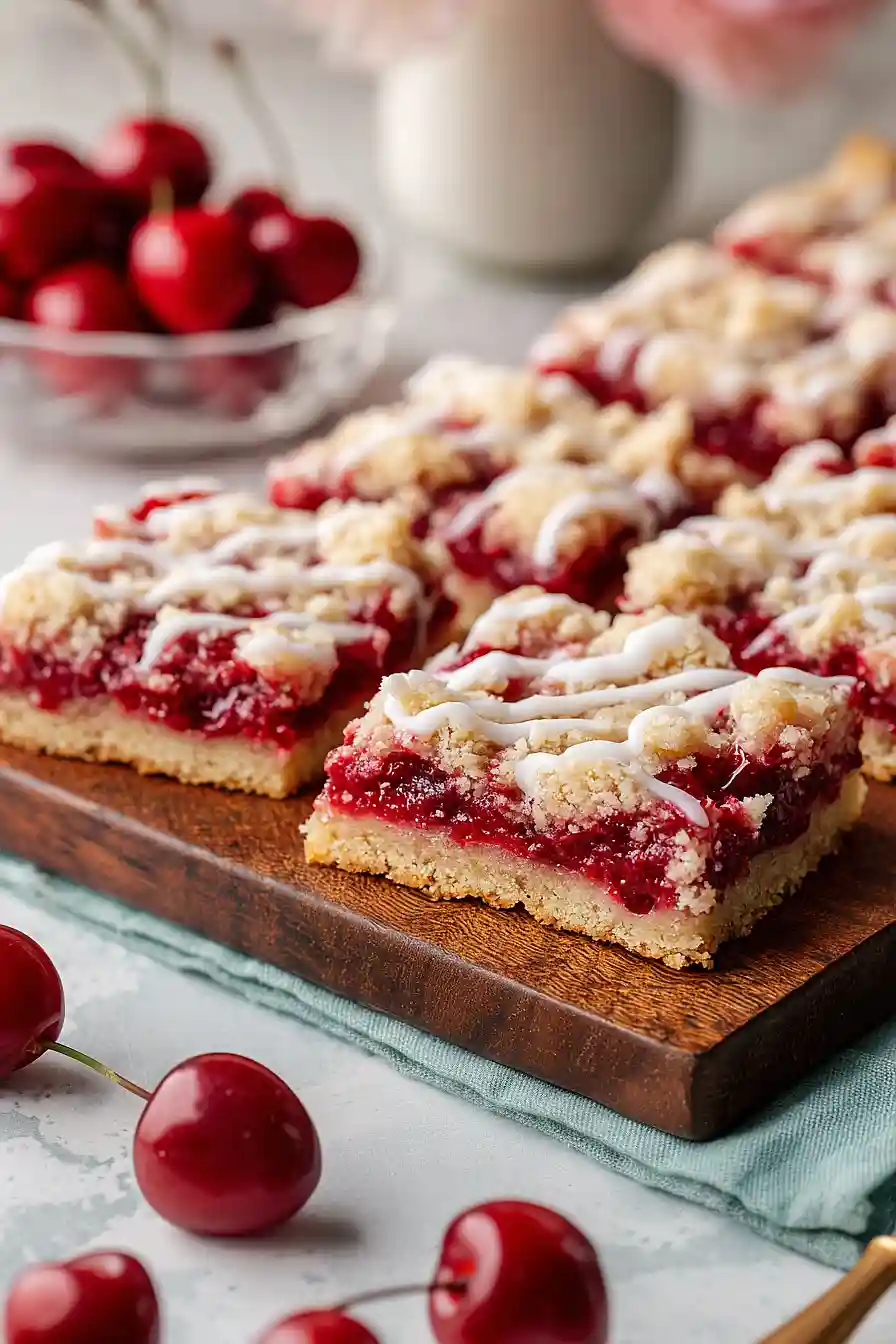
Why You’ll Love These Cherry Crumble Bars
- Simple ingredients – You probably have most of these pantry staples on hand already, and the canned cherry pie filling makes this recipe super convenient.
- Easy to make – No fancy techniques required here—just mix, layer, and bake. Perfect for beginner bakers or anyone who wants a fuss-free dessert.
- Crowd-pleaser – These bars are great for potlucks, bake sales, or family gatherings since they’re easy to transport and serve a crowd.
- Sweet and buttery – The crumbly, buttery crust paired with the sweet cherry filling and vanilla glaze creates a dessert that tastes like you spent way more time on it than you actually did.
What Kind of Cherry Pie Filling Should I Use?
You can use any brand of canned cherry pie filling for these bars, and they’ll turn out great. Most grocery stores carry several options, from store brands to name brands like Comstock or Duncan Hines, and honestly, they all work well in this recipe. If you want to get a little fancy, you could even make your own cherry pie filling from fresh or frozen cherries, though the canned version is definitely the easiest route and saves you a ton of time. Just make sure you grab two 20-ounce cans so you have plenty of that sweet cherry goodness in every bite.
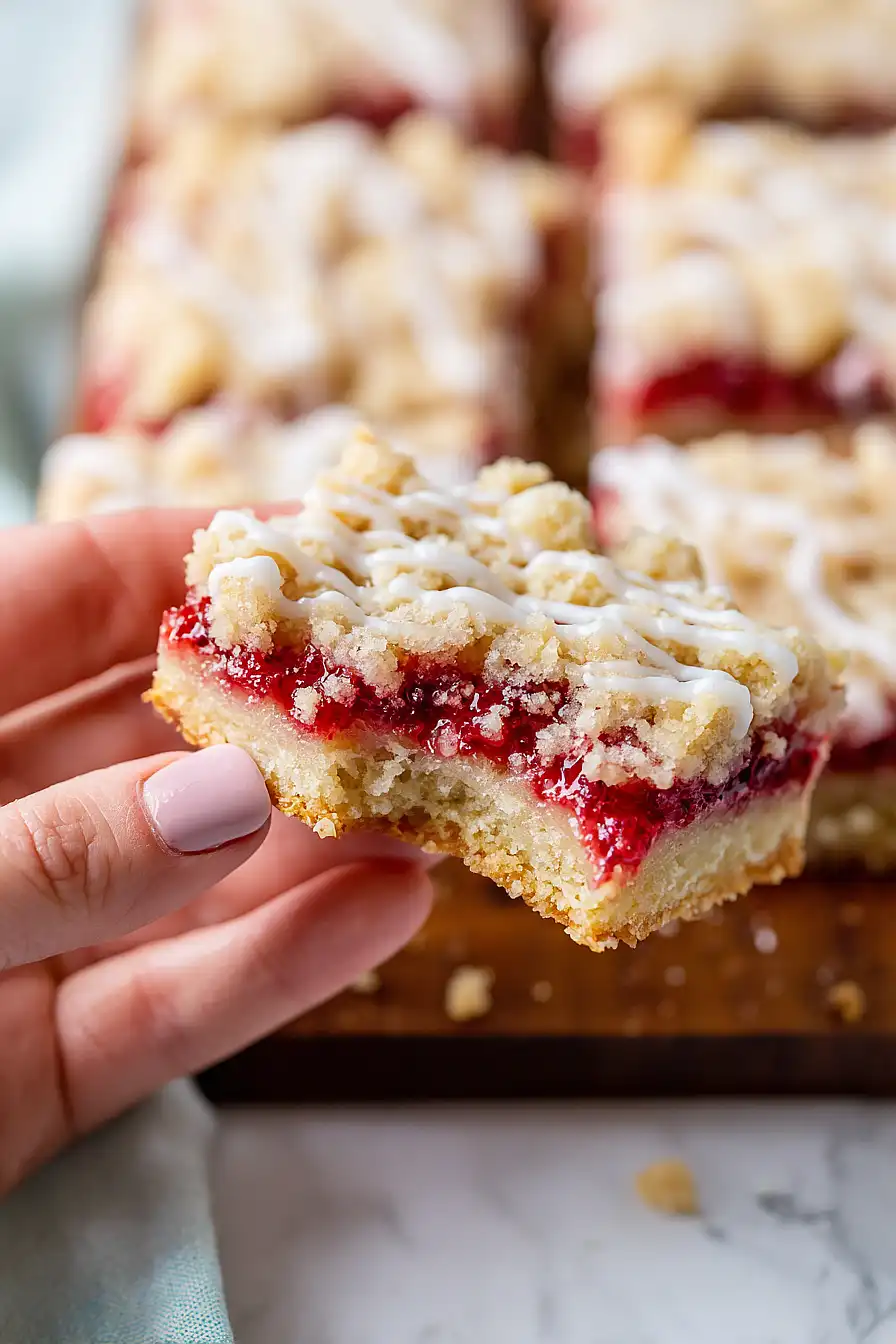
Options for Substitutions
These cherry crumble bars are pretty forgiving when it comes to swaps:
- Cherry pie filling: Feel free to use blueberry, apple, or strawberry pie filling instead. You can also make your own filling with fresh or frozen cherries – just cook them down with sugar and a bit of cornstarch until thickened.
- All-purpose flour: You can substitute with a 1:1 gluten-free baking flour if needed. The texture might be slightly different, but the bars will still turn out great.
- Unsalted butter: Salted butter works fine here – just reduce or skip the added salt in the recipe. You can also use coconut oil for a dairy-free version, though the flavor will be a bit different.
- Milk: Any type of milk works for the glaze – whole, 2%, almond, or oat milk all do the job. Start with 1 tablespoon and add more if you need a thinner consistency.
- Vanilla extract: Almond extract is a nice swap that pairs really well with cherries. You can also use half vanilla and half almond for a more complex flavor.
Watch Out for These Mistakes While Baking
The biggest mistake people make with cherry crumble bars is not baking the bottom crust long enough before adding the filling, which leads to a soggy base – make sure it’s lightly golden and set before spreading on that cherry pie filling.
Another common error is pressing the top crumble layer too firmly, when you should actually just sprinkle it loosely over the cherries so it stays light and crumbly instead of turning dense and cake-like.
Don’t cut into these bars while they’re still warm, even though it’s tempting – they need at least 20 minutes to cool and set up properly, or they’ll fall apart and make a mess on your cutting board.
For cleaner cuts, wipe your knife between slices and consider chilling the bars in the fridge for an hour before cutting if you want really neat squares.
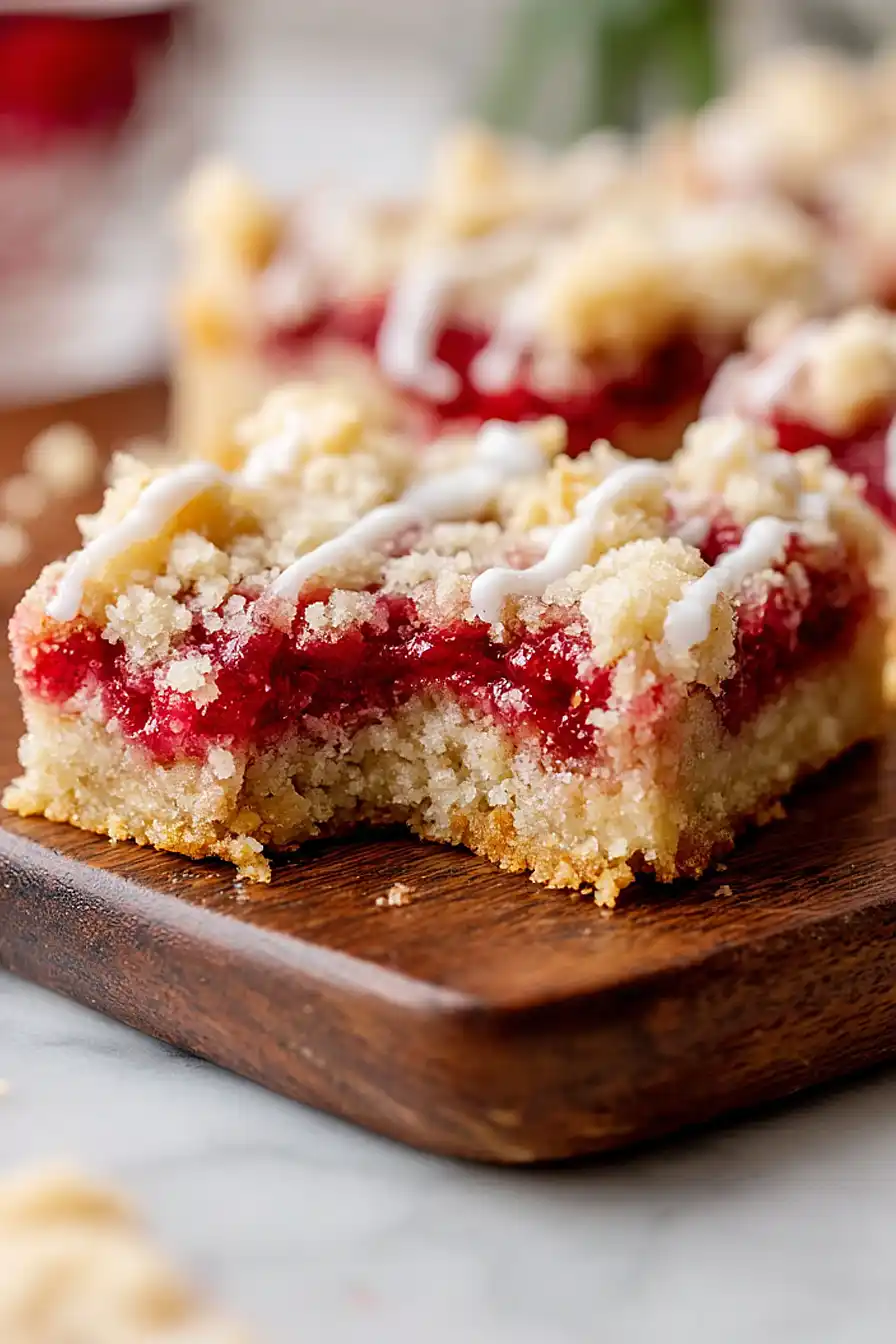
What to Serve With Cherry Crumble Bars?
These cherry crumble bars are perfect on their own, but they’re even better with a scoop of vanilla ice cream on the side – the cold ice cream melting into the warm bars is really something special. I love serving them at summer barbecues or potlucks because they’re easy to grab and eat with your hands, and they pair nicely with fresh lemonade or iced tea. If you want to make them feel a bit fancier for a dinner party, add a dollop of whipped cream and a few fresh cherries on top. They also make a great breakfast treat with your morning coffee, especially if you have any leftovers the next day.
Storage Instructions
Store: These cherry crumble bars keep really well at room temperature in an airtight container for about 2 days, or you can refrigerate them for up to a week. I actually think they taste even better the next day once all the flavors have had time to settle in together.
Freeze: You can freeze these bars for up to 3 months, either with or without the glaze. I like to cut them into individual portions, wrap each one in plastic wrap, and then store them all together in a freezer bag so I can grab just one or two whenever I want a treat.
Serve: Let frozen bars thaw at room temperature for about an hour before eating. If you froze them without the glaze, just whip up a fresh batch of the powdered sugar glaze and drizzle it on top before serving.
| Preparation Time | 20-30 minutes |
| Cooking Time | 45-55 minutes |
| Total Time | 65-85 minutes |
| Level of Difficulty | Medium |
| Servings | 24 bars |
Estimated Nutrition
Estimated nutrition for the whole recipe (without optional ingredients):
- Calories: 3700-3950
- Protein: 25-30 g
- Fat: 110-120 g
- Carbohydrates: 600-640 g
Ingredients
For the crust and crumble:
- 2 1/2 cups all-purpose flour
- 1 cup granulated sugar
- 1/2 teaspoon baking powder
- 3/4 teaspoon salt
- 1 cup unsalted butter, chilled and cubed
- 1 large egg
- 1 1/2 teaspoons vanilla extract
For the filling:
- 40 oz cherry pie filling
- 1/4 teaspoon almond extract
For the glaze:
- 1 cup powdered sugar, sifted
- 1 1/2 tablespoons milk
- 1/2 teaspoon vanilla extract
- 1 teaspoon lemon juice
Step 1: Prepare Pan and Mix Dry Ingredients
- 2 1/2 cups all-purpose flour
- 1 cup granulated sugar
- 1/2 teaspoon baking powder
- 3/4 teaspoon salt
Preheat your oven to 350°F and grease a 9×13 inch baking dish with butter or cooking spray.
While the oven heats, combine the flour, granulated sugar, baking powder, and salt in a large bowl.
Whisk these dry ingredients together for about 30 seconds to evenly distribute the leavening agent—this ensures your crumble will have a consistent texture throughout.
Step 2: Create the Crumble Dough
- 1 cup unsalted butter, chilled and cubed
- 1 large egg
- 1 1/2 teaspoons vanilla extract
- dry ingredient mixture from Step 1
Add the cold cubed butter to your dry mixture and use a pastry cutter, fork, or your fingertips to work it in until the mixture resembles coarse breadcrumbs with pea-sized pieces of butter throughout.
This texture is crucial for a tender, crumbly topping.
Once you reach this stage, add the egg and vanilla extract, stirring until just combined—be careful not to overwork the dough or it will become dense rather than crumbly.
Step 3: Build the Base Layer and Pre-Bake
- crumble dough from Step 2
Press about half of the crumble dough firmly and evenly into the bottom of your prepared pan, creating a compact base layer.
I like to use the bottom of a measuring cup to press the dough down—it’s much faster and more even than using your hands.
Bake this base for 12-15 minutes until it’s set but not browned; this partial bake helps prevent a soggy bottom when the filling is added.
Step 4: Add Filling and Crumble Topping
- 40 oz cherry pie filling
- 1/4 teaspoon almond extract
- crumble dough from Step 2
Remove the partially baked crust from the oven and let it cool for just 1-2 minutes.
Stir the almond extract into the cherry pie filling, then spread this mixture evenly over the warm crust.
Crumble the remaining dough over the filling in irregular clumps, leaving some gaps so the filling shows through—this creates those beautiful, jammy pockets in the finished bars.
Step 5: Bake Until Golden and Cool
Bake the assembled bars for 30-40 minutes until the crumble topping is light golden brown and the cherry filling bubbles slightly at the edges.
Remove from the oven and let cool for at least 20 minutes—I find that allowing bars to cool fully helps them set up properly so they hold together when cut and the flavors mellow slightly.
I actually like cooling them for a full 30 minutes if you have the time.
Step 6: Make Glaze and Finish
- 1 cup powdered sugar, sifted
- 1 1/2 tablespoons milk
- 1/2 teaspoon vanilla extract
- 1 teaspoon lemon juice
While the bars cool, prepare the glaze by whisking together the sifted powdered sugar, milk, vanilla extract, and lemon juice until you reach a smooth, pourable consistency.
The lemon juice adds brightness that complements the cherries beautifully.
Once the bars have cooled to room temperature, drizzle the glaze over the top in a thin, even layer and let it set for about 15 minutes before cutting into squares and serving.
Tasty Cherry Crumble Bars
Ingredients
Method
- Preheat your oven to 350°F and grease a 9x13 inch baking dish with butter or cooking spray. While the oven heats, combine the flour, granulated sugar, baking powder, and salt in a large bowl. Whisk these dry ingredients together for about 30 seconds to evenly distribute the leavening agent—this ensures your crumble will have a consistent texture throughout.
- Add the cold cubed butter to your dry mixture and use a pastry cutter, fork, or your fingertips to work it in until the mixture resembles coarse breadcrumbs with pea-sized pieces of butter throughout. This texture is crucial for a tender, crumbly topping. Once you reach this stage, add the egg and vanilla extract, stirring until just combined—be careful not to overwork the dough or it will become dense rather than crumbly.
- Press about half of the crumble dough firmly and evenly into the bottom of your prepared pan, creating a compact base layer. I like to use the bottom of a measuring cup to press the dough down—it's much faster and more even than using your hands. Bake this base for 12-15 minutes until it's set but not browned; this partial bake helps prevent a soggy bottom when the filling is added.
- Remove the partially baked crust from the oven and let it cool for just 1-2 minutes. Stir the almond extract into the cherry pie filling, then spread this mixture evenly over the warm crust. Crumble the remaining dough over the filling in irregular clumps, leaving some gaps so the filling shows through—this creates those beautiful, jammy pockets in the finished bars.
- Bake the assembled bars for 30-40 minutes until the crumble topping is light golden brown and the cherry filling bubbles slightly at the edges. Remove from the oven and let cool for at least 20 minutes—I find that allowing bars to cool fully helps them set up properly so they hold together when cut and the flavors mellow slightly. I actually like cooling them for a full 30 minutes if you have the time.
- While the bars cool, prepare the glaze by whisking together the sifted powdered sugar, milk, vanilla extract, and lemon juice until you reach a smooth, pourable consistency. The lemon juice adds brightness that complements the cherries beautifully. Once the bars have cooled to room temperature, drizzle the glaze over the top in a thin, even layer and let it set for about 15 minutes before cutting into squares and serving.