Most cinnamon rolls stick to the classics. Brown sugar, cinnamon, maybe raisins if you’re feeling chaotic.
Cherries though?? Not typical. And honestly a little WILD because cherry + cinnamon together just WORKS. Tart, sweet, jammy, a little pie-adjacent, and the filling gets all bubbly in the oven.
These are dangerous.
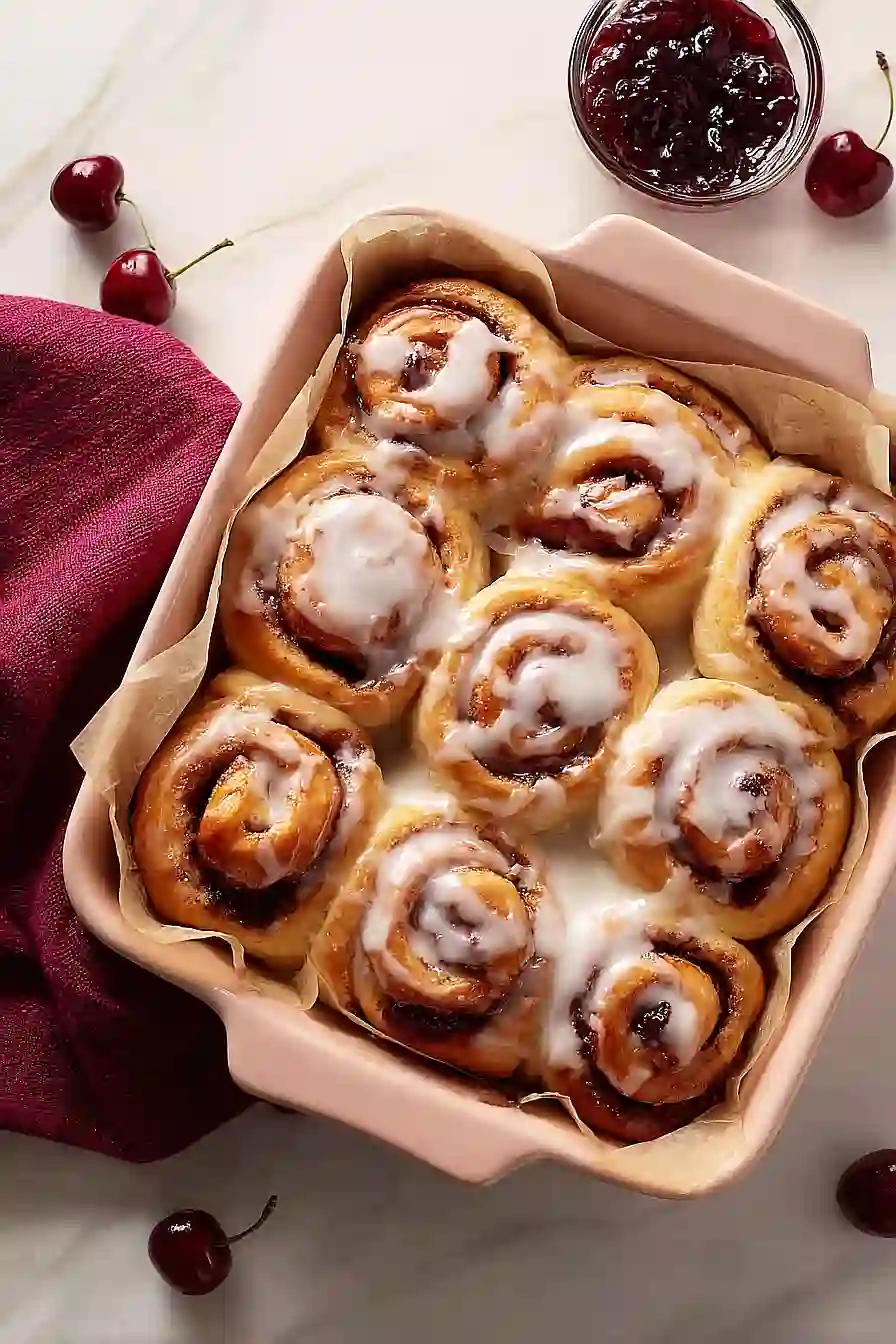
How to Prevent a Soggy Cherry Filling
Drain that cherry filling in a fine mesh sieve for 5 minutes before mixing with cornstarch…. extra syrup is the ENEMY here. Pat the fruit dry with paper towels if you’re feeling extra (I always am).
Spread the filling THIN and leave that 1/2 inch border around the edges…. pressing too hard pushes juice into the dough layers, creating soggy pockets. Use an offset spatula and *gently* swipe, don’t smoosh.
Roll TIGHTLY and pinch that seam like your rolls depend on it (they do). A loose roll lets filling migrate outward during baking…. and nobody wants a swampy bottom.
Can You Make These Rolls Ahead?
YES, these rolls are totally make-ahead friendly. Three methods, pick your fighter….
- Overnight in the Fridge: After shaping and panning the rolls, cover tightly with plastic wrap and refrigerate for up to 18 hours. In the morning, let them sit at room temp for 30-45 minutes to finish rising, then bake (add 5-10 extra minutes since they’re starting cold).
- Freeze Before Baking: Shape and cut the rolls, freeze on a sheet pan until solid, then transfer to a freezer bag for up to 4 weeks. Thaw overnight in the fridge, let rise, and bake fresh.
- Freeze After Baking: Skip the glaze, cool completely, wrap tightly in plastic wrap and foil, freeze up to 3 months. Reheat at 300°F for 10-15 minutes, then drizzle with fresh icing. (The cherry filling holds up beautifully to freezing, by the way. No soggy bottoms here.)
You May Also Like
- Lemon Blueberry Cream Cheese Pastry
- Easy Blueberry Breakfast Bake
- Blueberry Butter Swim Biscuits
- Homemade English Strawberry Scones
- Tasty Blueberry Biscuits
- Mouthwatering Cherry Crepes
Estimated Nutrition
Estimated nutrition for the whole recipe (without optional ingredients):
- Calories: 2900-3200
- Protein: 45-55 g
- Fat: 90-110 g
- Carbohydrates: 500-550 g
Ingredients
For the dough:
- 1 pkg yeast (I use Fleischmann’s RapidRise)
- 1 cup milk (warmed to 110°F for optimal yeast blooming)
- 1/3 cup sugar
- 1/2 cup butter (I like Kerrygold unsalted for a richer dough)
- 1 egg (room temperature, about 70°F)
- 3/4 tsp salt
- 4 cups flour (I always use King Arthur all-purpose flour)
For the filling:
- 1 1/2 tsp cinnamon
- 1 1/4 cups cherry filling (I use Lucky Leaf for the best fruit-to-syrup ratio)
- 1/2 tsp cornstarch (to stabilize filling)
For the icing:
- 1 cup icing sugar (sifted to remove lumps)
- 5 tsp milk
- 1/2 tsp pure vanilla extract
Step 1: Activate Yeast and Standardize Dough
- 1 pkg yeast
- 1 cup milk
- 1/2 cup butter
- 1 egg
- 1/3 cup sugar
- 3/4 tsp salt
- 4 cups flour
Combine the warmed milk, yeast, and softened butter in a large bowl, stirring gently to combine.
Let this mixture sit for 5 minutes to allow the yeast to bloom and activate—you’ll notice it become slightly foamy.
Add the room-temperature egg and sugar, mixing until well combined.
The egg should be at room temperature to prevent shocking the yeast and ensure proper dough development.
Stir in the salt and flour until a shaggy dough forms; don’t overmix at this stage.
Step 2: Rest Dough and Thicken Filling
- dough from Step 1
- 1 1/4 cups cherry filling
- 1/2 tsp cornstarch
Transfer the dough from Step 1 to a lightly greased bowl, turning it to coat all sides.
Cover the bowl with plastic wrap or a damp towel and let it rise at room temperature for 20 minutes—this short rise develops flavor and makes the dough easier to handle.
While the dough rises, stir together the cherry filling and cornstarch in a small bowl; the cornstarch prevents the filling from leaking during baking and helps it set beautifully.
Step 3: Roll Out and Season Dough
- risen dough from Step 2
- 1 1/2 tsp cinnamon
- cherry filling mixture from Step 2
Turn the risen dough onto a lightly floured surface and knead gently for 1-2 minutes until it becomes smooth and elastic.
Roll the dough into a 16×12 inch rectangle, working from the center outward to maintain an even thickness.
Mix the cinnamon with 1 tablespoon of sugar from your ingredient list and sprinkle evenly over the dough, leaving a thin border around the edges.
Spread the cherry filling mixture from Step 2 over the cinnamon layer, distributing it evenly so each roll gets a good amount of fruit and filling.
I like to use an offset spatula for this—it helps me spread the filling smoothly without pressing it into the dough.
Step 4: Slice and Arrange Pinwheels
- rolled dough with filling from Step 3
Starting from the long side, tightly roll the rectangle into a log, sealing the edge by pinching gently as you go.
Using a sharp knife or bench scraper, cut the log into 12 equal pieces.
Arrange the rolls cut-side up in a greased 9×13 inch baking dish, spacing them so they have room to rise but will still touch slightly when baked—this creates those signature attached rolls.
Cover the pan loosely with plastic wrap or a damp towel and let the rolls rise for 15-20 minutes while you preheat the oven.
Step 5: Bake Until Golden Brown
- rolls in pan from Step 4
Preheat your oven to 375°F while the rolls rise.
Bake the rolls uncovered for 25 minutes, then check them—they should be light golden on top.
Continue baking for another 15-20 minutes until they’re a deeper golden brown and the edges are set but the centers still feel slightly soft when gently pressed.
I check at the 25-minute mark because ovens vary; you want them golden, not dark brown, as they continue to bake internally even after leaving the oven.
Step 6: Glaze While Warm
- 1 cup icing sugar
- 5 tsp milk
- 1/2 tsp pure vanilla extract
While the rolls bake, sift the icing sugar into a small bowl to remove any lumps, then whisk in the milk and vanilla extract until smooth and pourable.
As soon as the rolls come out of the oven, drizzle the glaze generously over the warm rolls, allowing it to pool into the crevices and create that signature shiny finish.
Let the rolls cool in the pan for 5 minutes before serving—this allows the glaze to set slightly while the rolls are still warm and at their most tender.
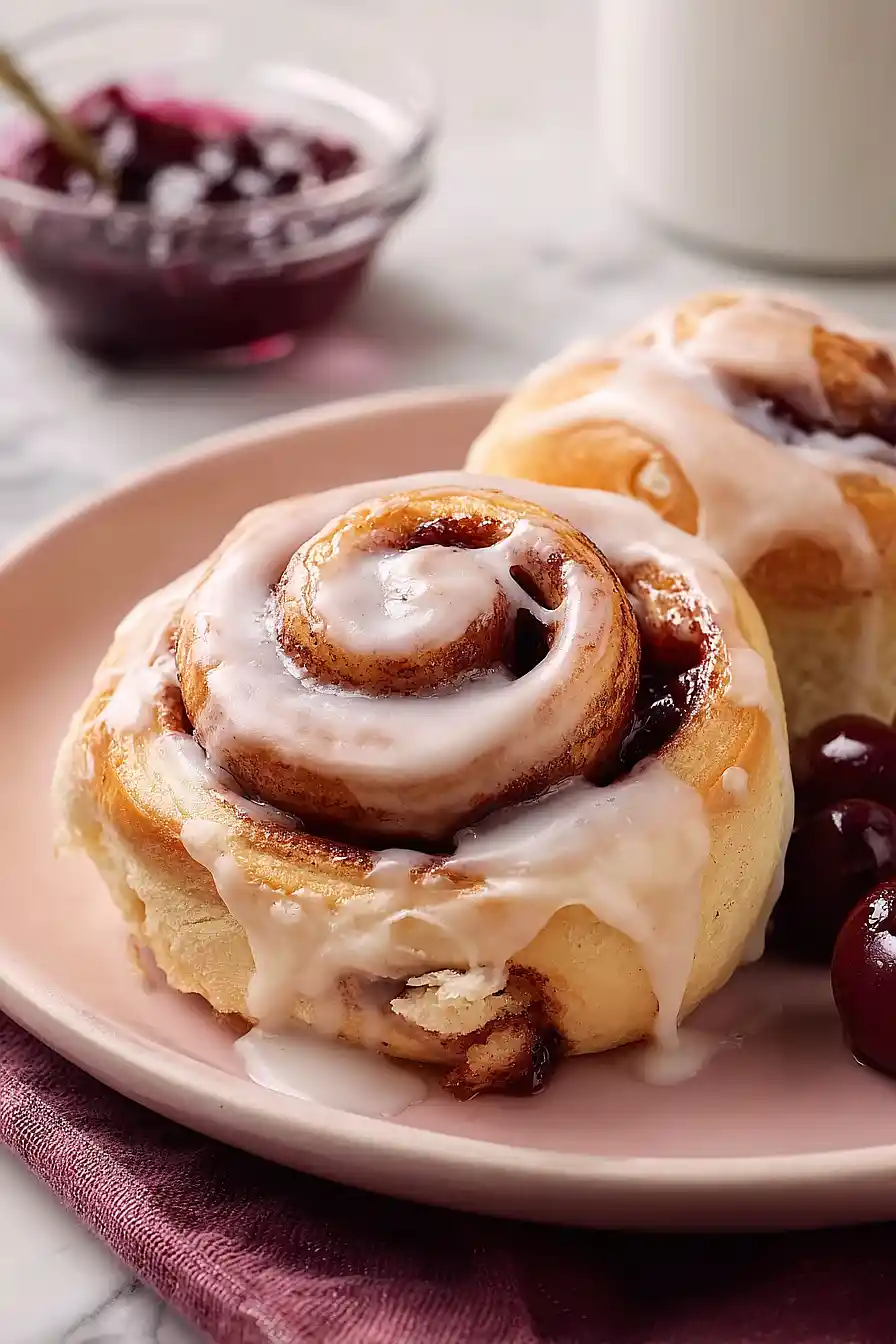
Sweet Cherry Cinnamon Rolls
Ingredients
Method
- Combine the warmed milk, yeast, and softened butter in a large bowl, stirring gently to combine. Let this mixture sit for 5 minutes to allow the yeast to bloom and activate—you'll notice it become slightly foamy. Add the room-temperature egg and sugar, mixing until well combined. The egg should be at room temperature to prevent shocking the yeast and ensure proper dough development. Stir in the salt and flour until a shaggy dough forms; don't overmix at this stage.
- Transfer the dough from Step 1 to a lightly greased bowl, turning it to coat all sides. Cover the bowl with plastic wrap or a damp towel and let it rise at room temperature for 20 minutes—this short rise develops flavor and makes the dough easier to handle. While the dough rises, stir together the cherry filling and cornstarch in a small bowl; the cornstarch prevents the filling from leaking during baking and helps it set beautifully.
- Turn the risen dough onto a lightly floured surface and knead gently for 1-2 minutes until it becomes smooth and elastic. Roll the dough into a 16x12 inch rectangle, working from the center outward to maintain an even thickness. Mix the cinnamon with 1 tablespoon of sugar from your ingredient list and sprinkle evenly over the dough, leaving a thin border around the edges. Spread the cherry filling mixture from Step 2 over the cinnamon layer, distributing it evenly so each roll gets a good amount of fruit and filling. I like to use an offset spatula for this—it helps me spread the filling smoothly without pressing it into the dough.
- Starting from the long side, tightly roll the rectangle into a log, sealing the edge by pinching gently as you go. Using a sharp knife or bench scraper, cut the log into 12 equal pieces. Arrange the rolls cut-side up in a greased 9x13 inch baking dish, spacing them so they have room to rise but will still touch slightly when baked—this creates those signature attached rolls. Cover the pan loosely with plastic wrap or a damp towel and let the rolls rise for 15-20 minutes while you preheat the oven.
- Preheat your oven to 375°F while the rolls rise. Bake the rolls uncovered for 25 minutes, then check them—they should be light golden on top. Continue baking for another 15-20 minutes until they're a deeper golden brown and the edges are set but the centers still feel slightly soft when gently pressed. I check at the 25-minute mark because ovens vary; you want them golden, not dark brown, as they continue to bake internally even after leaving the oven.
- While the rolls bake, sift the icing sugar into a small bowl to remove any lumps, then whisk in the milk and vanilla extract until smooth and pourable. As soon as the rolls come out of the oven, drizzle the glaze generously over the warm rolls, allowing it to pool into the crevices and create that signature shiny finish. Let the rolls cool in the pan for 5 minutes before serving—this allows the glaze to set slightly while the rolls are still warm and at their most tender.