I didn’t realize refrigerator pickles were a thing until a few years ago when my neighbor gave me a jar from her garden surplus. I’d always thought pickling meant boiling water baths and special canning equipment. Turns out, you can make crisp, tangy pickles right in your fridge with no fancy tools required.
These no-sugar dill pickles are even simpler than the traditional versions because you’re skipping the sweetness entirely. Just cucumbers, brine, and spices sitting in a jar for a couple days. The result? Pickles with a clean, sharp flavor that won’t mess with your blood sugar or add unnecessary calories. Plus, you can control exactly what goes in them—no weird preservatives or corn syrup hiding in the ingredient list.
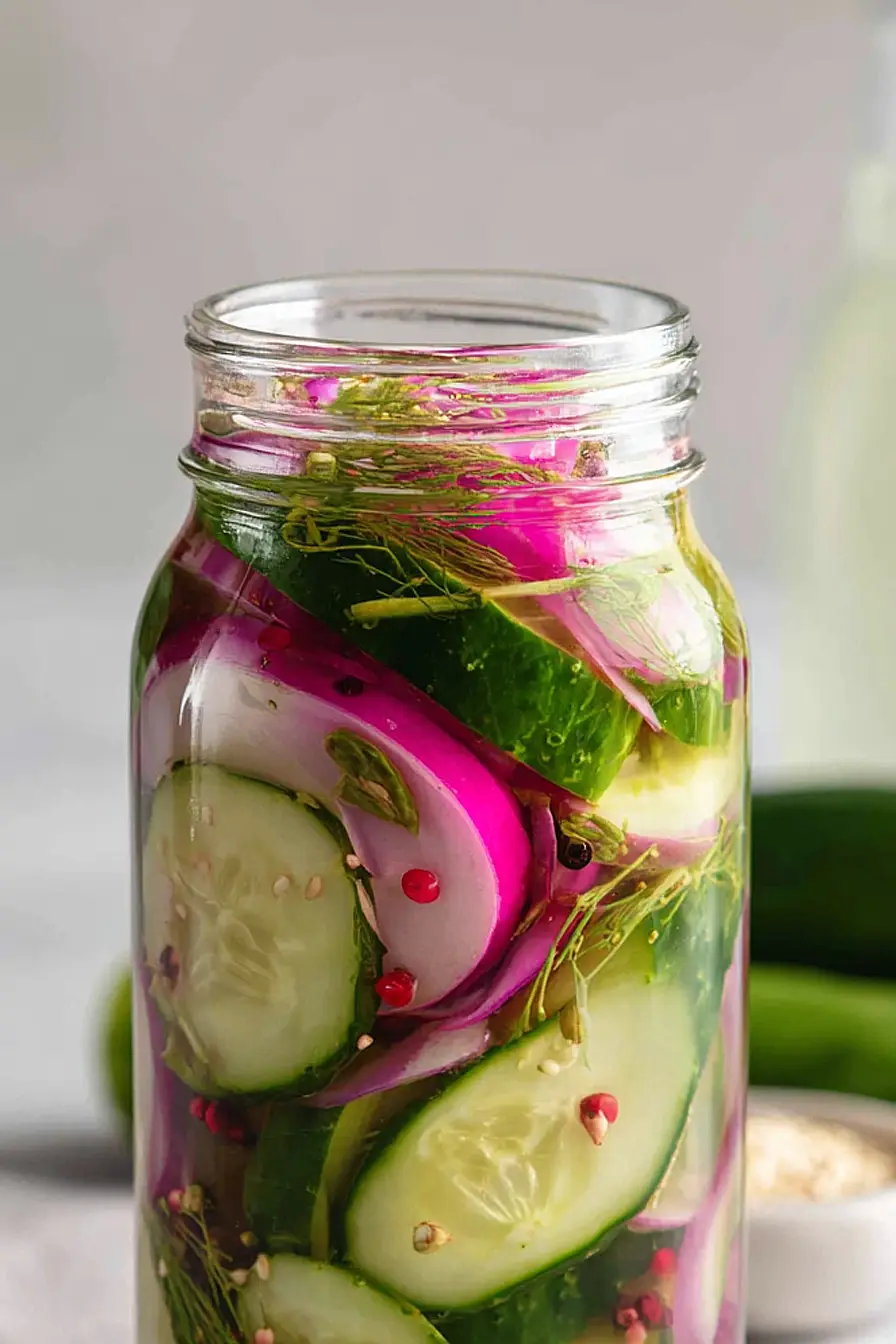
Why You’ll Love These Refrigerator Dill Pickles
- No sugar needed – These pickles are naturally tangy and flavorful without any added sweeteners, making them perfect for low-carb and keto diets.
- Ready in minutes – Unlike traditional canning methods that take hours, you can have these pickles prepped and in the fridge in just 15-20 minutes.
- No canning equipment required – Just slice, mix, and refrigerate. No special jars, no boiling water baths, and no complicated steps.
- Customizable flavors – The recipe includes two variations so you can make classic dill pickles or spice things up with jalapeno and mustard seeds, depending on your mood.
- Fresh, crisp texture – Refrigerator pickles stay crunchy and bright, giving you that satisfying snap with every bite that you just don’t get from store-bought versions.
What Kind of Cucumbers Should I Use?
For the best homemade pickles, you’ll want to use actual pickling cucumbers, which are smaller and firmer than regular slicing cucumbers. These are sometimes called Kirby cucumbers or gherkins, and they’re usually about 3-6 inches long with bumpy skin. Regular cucumbers from the grocery store will technically work, but they tend to get softer and mushier because they have more water content and larger seeds. If you can only find regular cucumbers, try to pick the smallest, firmest ones available and consider removing some of the seeds before pickling. You can usually find pickling cucumbers at farmers markets during summer or in the produce section of well-stocked grocery stores.
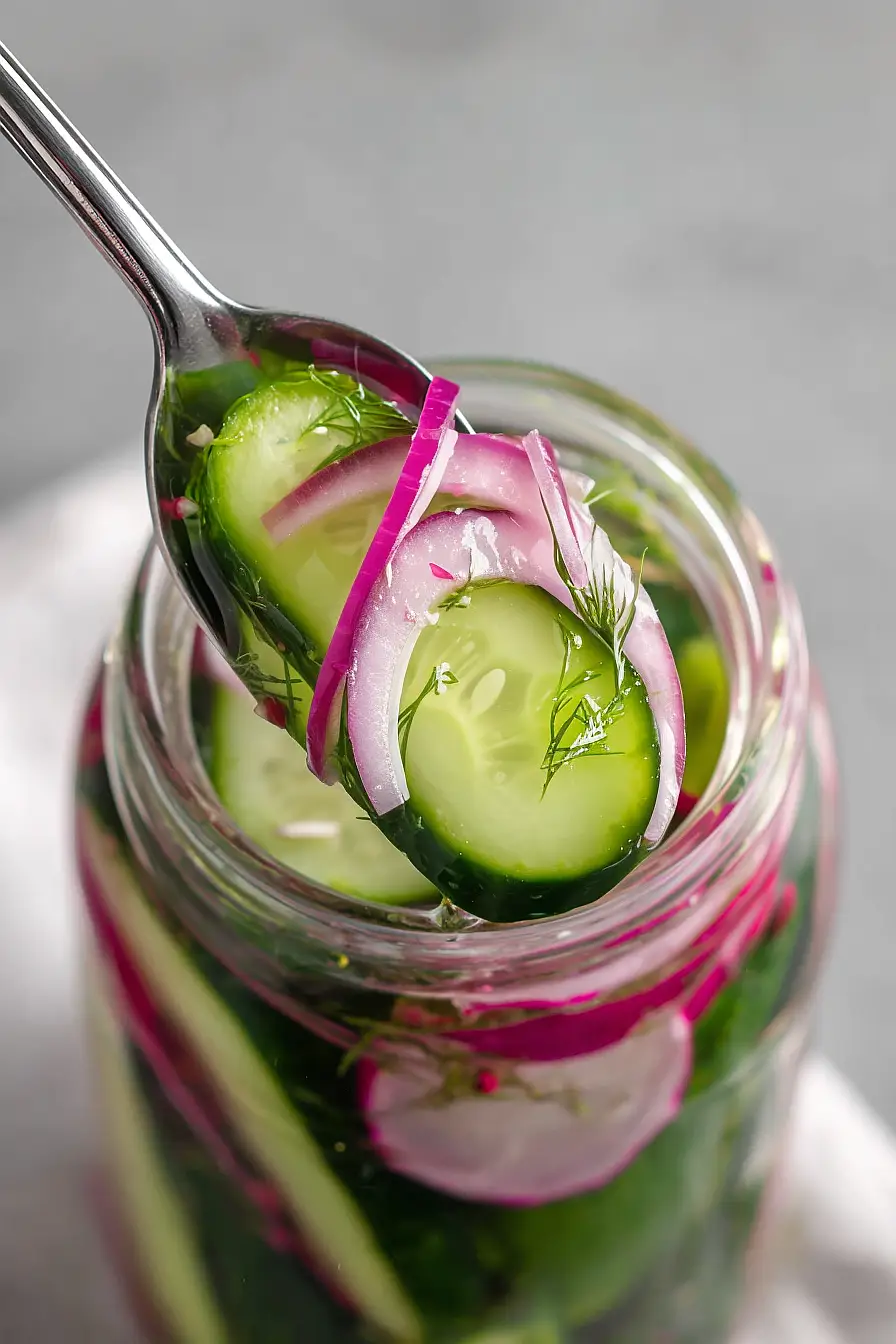
Options for Substitutions
While pickling is pretty straightforward, here are some swaps you can make to customize your pickles:
- Pickling cucumbers: Don’t skip the pickling cucumbers – they’re key here. Regular cucumbers get mushy and have too many seeds. Kirby cucumbers are your best bet, but Persian cucumbers can work in a pinch if you can’t find picklers.
- White vinegar: You can use apple cider vinegar instead for a slightly sweeter, mellower flavor. Rice vinegar works too, but it’s milder, so your pickles won’t be quite as tangy.
- Fresh dill: If you don’t have fresh dill, use 1 tablespoon of dried dill weed or 1 teaspoon of dill seeds per jar. The flavor won’t be quite as bright, but it’ll still taste like dill pickles.
- Juniper berries: These add a nice piney note, but they’re not essential. Skip them if you don’t have any, or swap in a few whole allspice berries for a different warm spice flavor.
- Sea salt: Kosher salt works just fine – use about 2 tablespoons instead of 1½ tablespoons of sea salt. Just avoid iodized table salt, which can make your brine cloudy and taste off.
Watch Out for These Mistakes While Making Pickles
The biggest mistake people make with refrigerator pickles is using cucumbers that are too thick or not slicing them evenly, which leads to some pieces being perfectly pickled while others stay crunchy and under-brined – aim for slices about ⅛ to ¼ inch thick for consistent results.
Another common error is not dissolving the salt completely in the brine before pouring it over your cucumbers, so make sure to stir well and use hot tap water to help the salt break down faster.
Don’t skip smashing the garlic cloves, as this simple step releases more flavor into your brine than whole cloves would, and resist the urge to taste your pickles after just one day – they really do need at least three days to develop that tangy, dill-packed flavor you’re looking for.
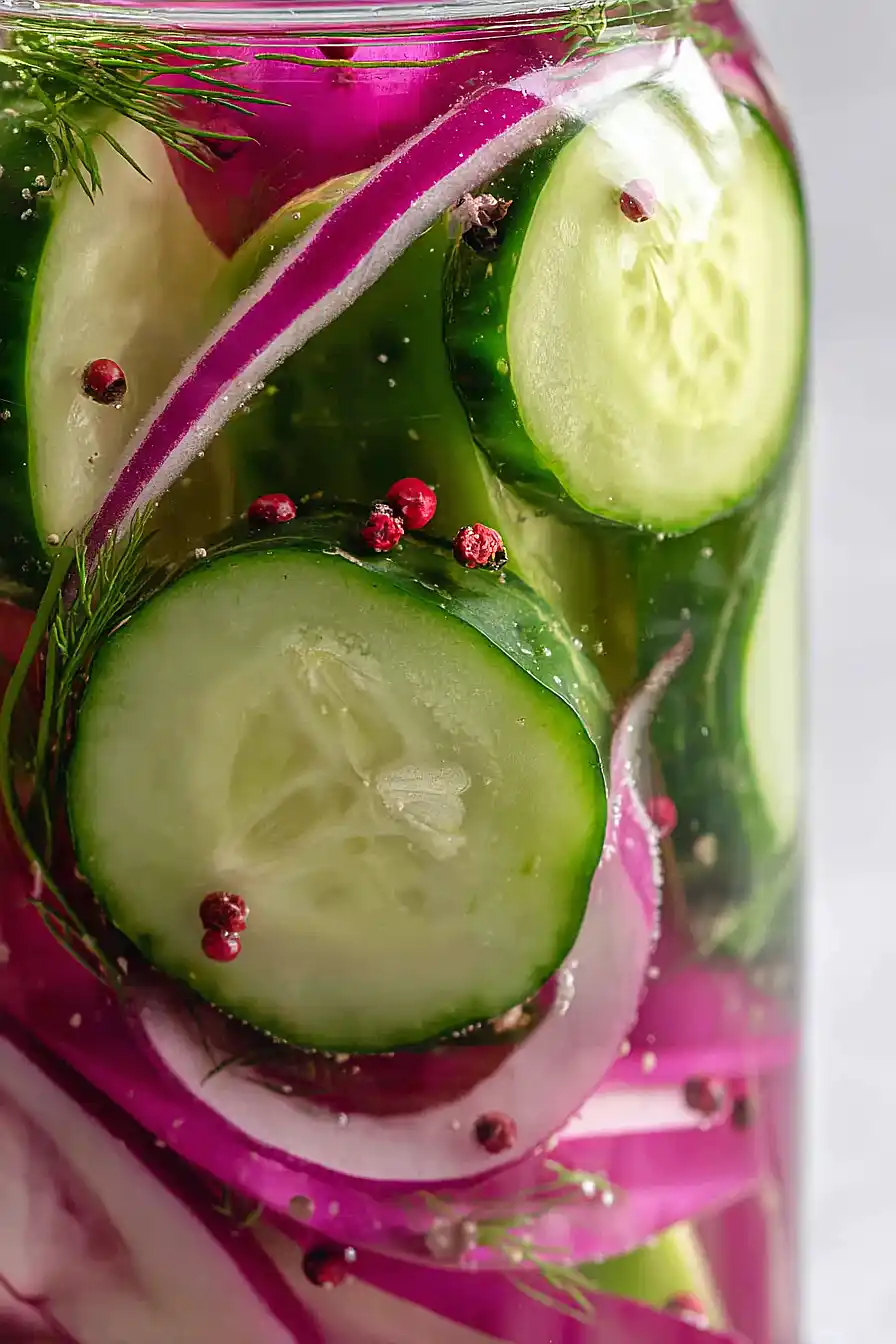
What to Serve With Refrigerator Dill Pickles?
These homemade dill pickles are perfect alongside just about any sandwich – think deli-style pastrami, turkey clubs, or even a simple ham and cheese. They’re also great on a burger or hot dog bar where everyone can help themselves to the toppings they want. I love keeping a jar in the fridge to snack on straight from the container, or chopping them up to add to potato salad, tuna salad, or deviled eggs for extra crunch and tang. They also make a nice addition to a charcuterie board with some cheese, crackers, and cured meats.
Storage Instructions
Store: Keep your pickles in the jar or container you made them in, making sure they’re completely submerged in the brine. They’ll be ready to eat in about 24 hours and will keep in the fridge for up to 2 months. The flavor actually gets better after a few days as everything marinates together.
Serve: Always use a clean fork or tongs to grab your pickles from the jar to keep them fresh longer. Make sure to keep them refrigerated at all times since these are refrigerator pickles, not canned ones.
| Preparation Time | 15-20 minutes |
| Cooking Time | 0-0 minutes |
| Total Time | 15-20 minutes |
| Level of Difficulty | Easy |
| Servings | 4 cups of pickles |
Estimated Nutrition
Estimated nutrition for the whole recipe (without optional ingredients):
- Calories: 120-150
- Protein: 4-6 g
- Fat: 0-2 g
- Carbohydrates: 26-32 g
Ingredients
For the jar assembly:
- 20 oz cucumbers (sliced into 1/4-inch rounds for maximum crunch)
- 6 garlic cloves
- 1 onion (thinly sliced into half-moons)
- 4 sprigs dill
- 1/2 jalapeno
- 1 1/2 tsp mustard seeds (I use McCormick for consistent spice level)
- 1 tsp juniper berries
- 1 tsp whole black peppercorns
- 1/2 tsp coriander seeds
- 1 bay leaf
For the pickling brine:
- 2 cups white vinegar (I prefer Heinz for its clean acidity)
- 6 cups water
- 4 tbsp salt (I use Morton Coarse Kosher salt for a clear brine)
Step 1: Prepare the Vegetables
- 20 oz cucumbers
- 1 onion
- 6 garlic cloves
Slice the cucumbers into 1/4-inch rounds and the onion into thin half-moons, keeping them separate.
Smash the garlic cloves with the side of your knife to release their flavor and make them easier to distribute throughout the jar.
Pat the cucumber slices dry with paper towels—this step is crucial for maintaining maximum crunch and preventing a soggy pickle.
Set all prepared vegetables aside.
Step 2: Toast and Measure the Spices
- 1 1/2 tsp mustard seeds
- 1 tsp juniper berries
- 1 tsp whole black peppercorns
- 1/2 tsp coriander seeds
In a small dry skillet over medium heat, toast the mustard seeds, juniper berries, black peppercorns, and coriander seeds for 1-2 minutes until fragrant.
This toasting step unlocks deeper, more complex flavors that would otherwise remain dormant in the final pickle.
Transfer the toasted spices to a small bowl and set aside.
I like to toast my spices because it transforms the brine from one-dimensional to truly aromatic.
Step 3: Make the Brine
- 2 cups white vinegar
- 6 cups water
- 4 tbsp salt
Bring the 6 cups of water to a boil in a saucepan, then remove from heat.
Add the 2 cups of white vinegar and 4 tablespoons of salt, stirring until the salt completely dissolves.
The brine should taste noticeably salty and tangy—this is your flavor foundation.
Let the brine cool for 2-3 minutes before using; it should still be quite warm but not steaming hot when you pour it over the cucumbers.
Step 4: Layer Ingredients in the Jar
- cucumber slices from Step 1
- onion slices from Step 1
- smashed garlic from Step 1
- 1/2 jalapeno
- 4 sprigs dill
- 1 bay leaf
- toasted spices from Step 2
In a clean quart-sized jar, begin layering: start with half of the cucumber slices on the bottom, then add half of the onion slices, half of the smashed garlic, the jalapeño (sliced or whole, depending on your heat preference), the dill sprigs, and the bay leaf.
Top with the remaining cucumbers, then the remaining onion and garlic.
Distribute the toasted spices from Step 2 evenly throughout the layers.
I like to distribute everything evenly because it ensures every bite of pickle has consistent flavor and spice distribution.
Step 5: Fill and Refrigerate
- warm brine from Step 3
Pour the warm brine from Step 3 over the layered vegetables, ensuring all cucumbers are fully submerged.
Leave about 1 inch of space at the top of the jar to prevent overflow.
Close the lid tightly and transfer to the refrigerator immediately.
The pickles will be lightly flavored after 3 days and reach full, robust flavor by day 7—I prefer them at the 5-day mark for the perfect balance of tang and crunch.
Sugar-Free Refrigerator Dill Pickles
Ingredients
Method
- Slice the cucumbers into 1/4-inch rounds and the onion into thin half-moons, keeping them separate. Smash the garlic cloves with the side of your knife to release their flavor and make them easier to distribute throughout the jar. Pat the cucumber slices dry with paper towels—this step is crucial for maintaining maximum crunch and preventing a soggy pickle. Set all prepared vegetables aside.
- In a small dry skillet over medium heat, toast the mustard seeds, juniper berries, black peppercorns, and coriander seeds for 1-2 minutes until fragrant. This toasting step unlocks deeper, more complex flavors that would otherwise remain dormant in the final pickle. Transfer the toasted spices to a small bowl and set aside. I like to toast my spices because it transforms the brine from one-dimensional to truly aromatic.
- Bring the 6 cups of water to a boil in a saucepan, then remove from heat. Add the 2 cups of white vinegar and 4 tablespoons of salt, stirring until the salt completely dissolves. The brine should taste noticeably salty and tangy—this is your flavor foundation. Let the brine cool for 2-3 minutes before using; it should still be quite warm but not steaming hot when you pour it over the cucumbers.
- In a clean quart-sized jar, begin layering: start with half of the cucumber slices on the bottom, then add half of the onion slices, half of the smashed garlic, the jalapeño (sliced or whole, depending on your heat preference), the dill sprigs, and the bay leaf. Top with the remaining cucumbers, then the remaining onion and garlic. Distribute the toasted spices from Step 2 evenly throughout the layers. I like to distribute everything evenly because it ensures every bite of pickle has consistent flavor and spice distribution.
- Pour the warm brine from Step 3 over the layered vegetables, ensuring all cucumbers are fully submerged. Leave about 1 inch of space at the top of the jar to prevent overflow. Close the lid tightly and transfer to the refrigerator immediately. The pickles will be lightly flavored after 3 days and reach full, robust flavor by day 7—I prefer them at the 5-day mark for the perfect balance of tang and crunch.