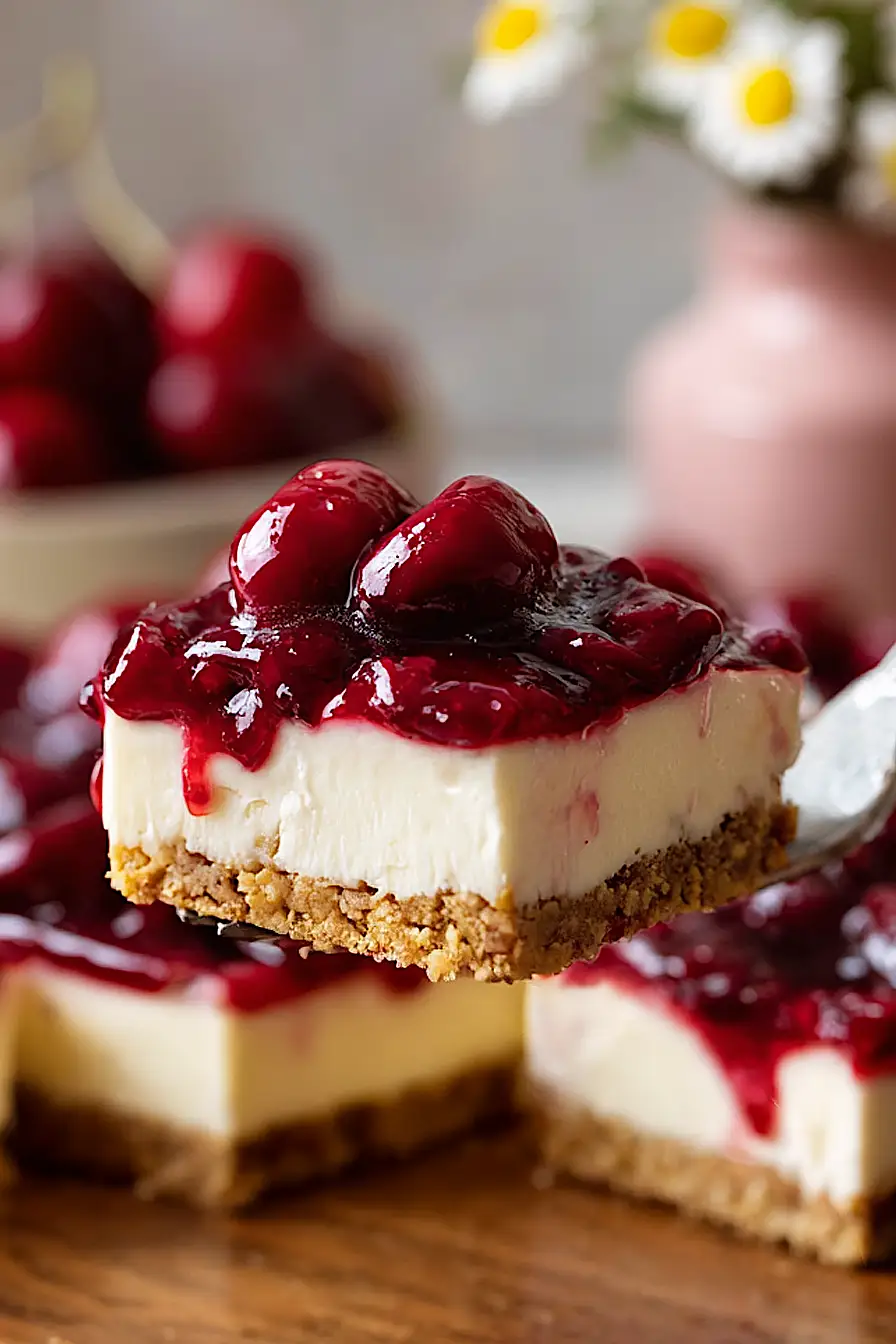
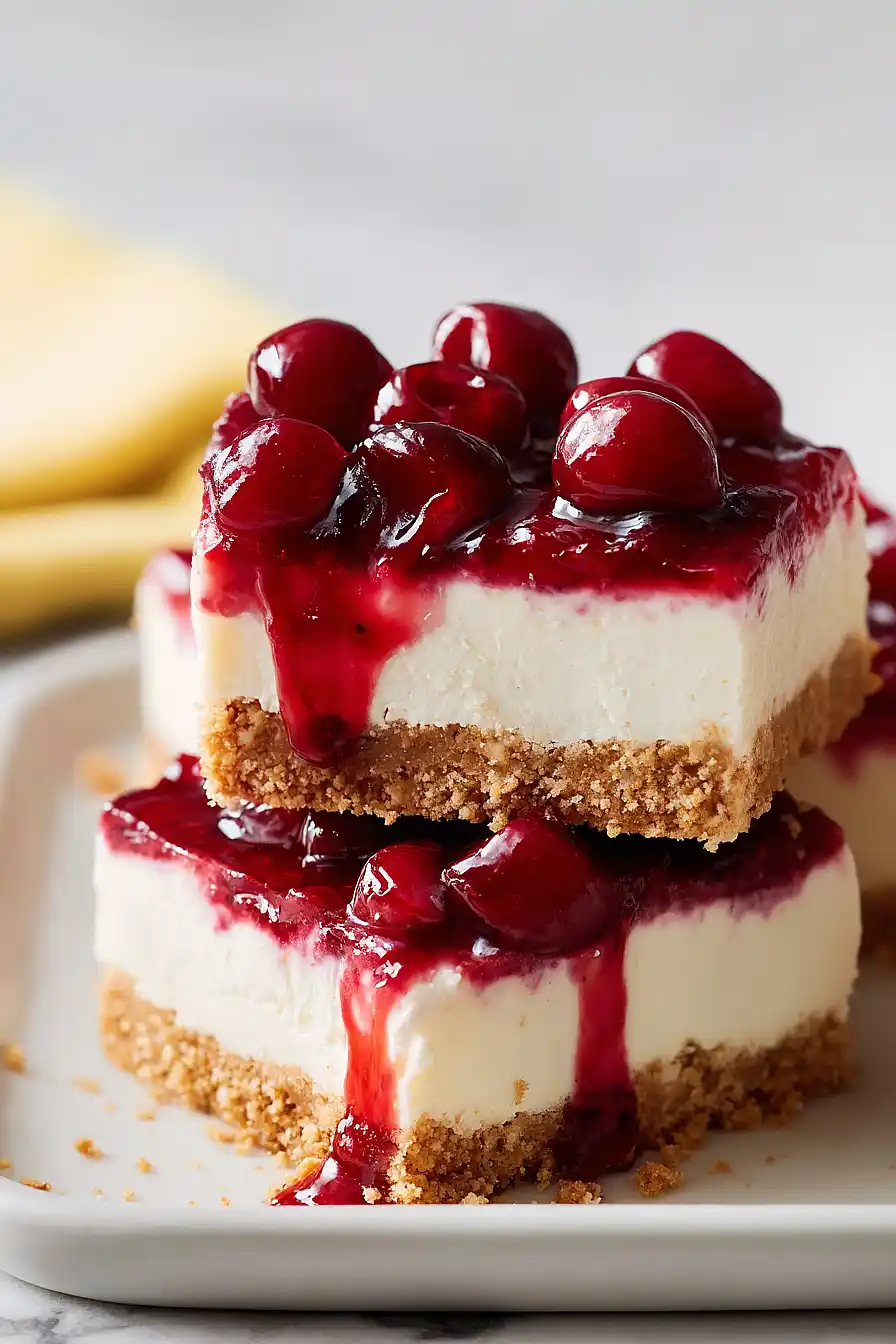
Here are my favorite cherry cheesecake bars, with a simple graham cracker crust, a smooth and creamy cheesecake filling, and sweet cherry pie filling on top.
These bars are perfect when you want all the flavors of cherry cheesecake but don’t want to deal with a springform pan or water bath. I make them for potlucks and family gatherings all the time because they’re so easy to slice and serve. Plus, who doesn’t love cream cheese and cherries together?
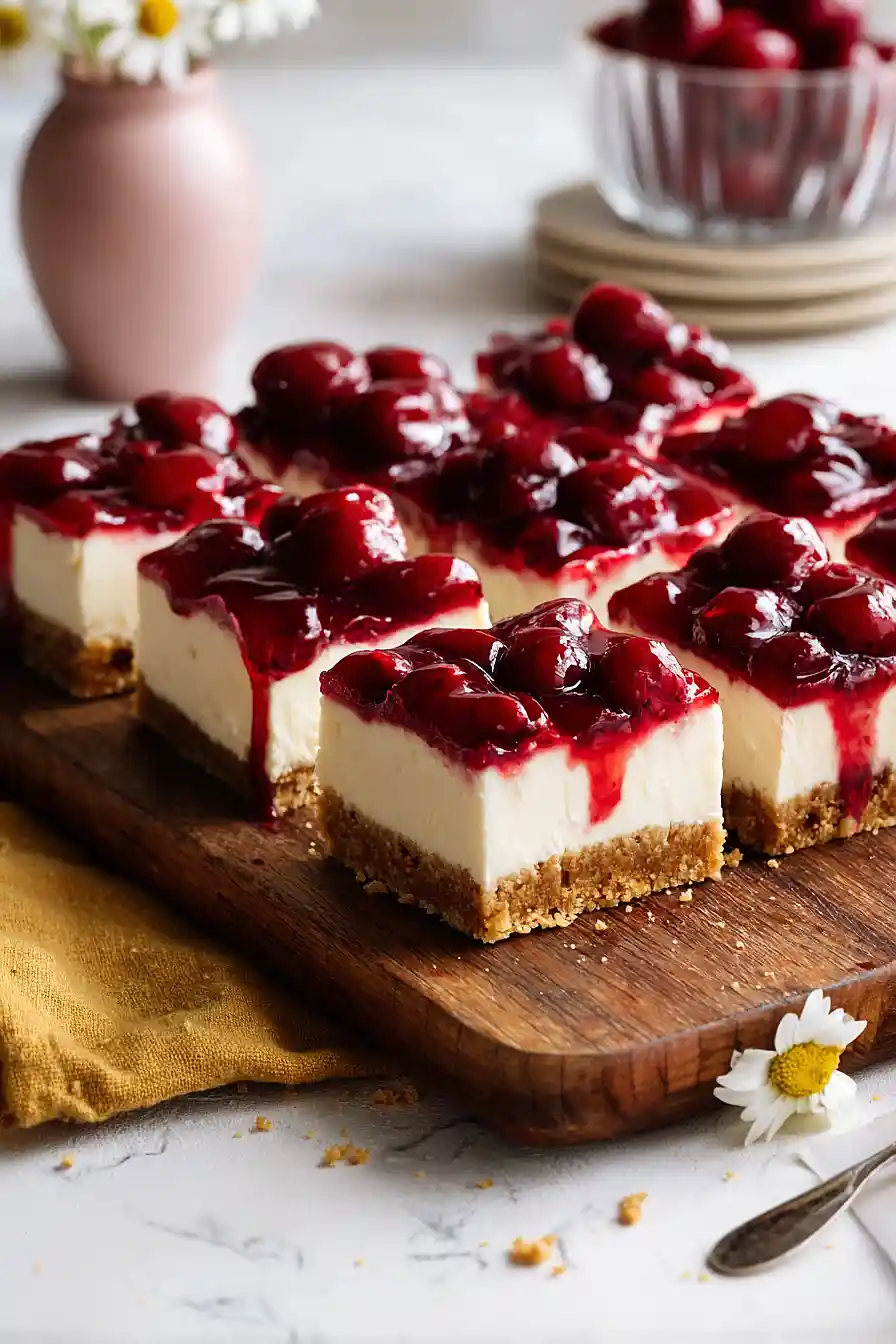
Why You’ll Love These Cherry Cheesecake Bars
- Easier than traditional cheesecake – You get all the creamy, dreamy cheesecake flavor without the fuss of a springform pan or water bath. Just press, pour, and bake in a regular baking dish.
- Perfect for sharing – These bars are easy to cut into neat squares, making them ideal for potlucks, parties, or bringing to gatherings where you need individual servings.
- Simple ingredients – With just a handful of basic ingredients including store-bought cherry pie filling, you can whip up an impressive dessert without any fancy shopping.
- Make-ahead friendly – These bars actually taste better after chilling in the fridge, so you can prepare them a day ahead and have one less thing to worry about when entertaining.
What Kind of Cream Cheese Should I Use?
For cheesecake bars, you’ll want to stick with full-fat brick-style cream cheese – not the spreadable kind that comes in a tub. The brick cream cheese has the right consistency and fat content to give you that classic, creamy cheesecake texture we’re after. Make sure your cream cheese is at room temperature before you start mixing, otherwise you’ll end up with lumps in your batter no matter how much you blend it. If you forgot to take it out ahead of time, you can unwrap it and microwave it in short 10-second bursts, but be careful not to melt it.
Options for Substitutions
This recipe is pretty straightforward, but here are some swaps you can make if needed:
- Graham cracker crumbs: You can swap these with crushed vanilla wafers, digestive biscuits, or even Oreo cookies (with the cream filling) for a chocolate twist. Just make sure to crush them finely for the best texture.
- Heavy cream: If you don’t have heavy cream, you can use sour cream instead for a tangier flavor. The texture will be slightly different but still delicious.
- Cream cheese: Don’t substitute this one – full-fat cream cheese is really important for getting that classic cheesecake texture and flavor. Low-fat versions will make your bars too soft and won’t set properly.
- Cherry pie filling: Feel free to use blueberry, strawberry, or any other fruit pie filling you prefer. You can also make your own by cooking down fresh or frozen cherries with sugar and a bit of cornstarch until thickened.
- Butter: Coconut oil works as a substitute for the melted butter in the crust, though it will add a slight coconut flavor.
Watch Out for These Mistakes While Baking
The biggest mistake when making cheesecake bars is using cold cream cheese straight from the fridge, which creates lumps in your filling that won’t smooth out no matter how long you beat it – let it sit at room temperature for at least an hour before starting.
Another common error is over-whipping the heavy cream past soft peaks, which can make your filling too stiff and difficult to fold, so stop beating as soon as the cream just holds its shape.
When pressing the graham cracker crust into the pan, make sure to pack it down firmly with the bottom of a measuring cup or glass, otherwise it’ll crumble apart when you try to cut the bars.
Finally, resist the urge to skip the 4-hour chill time – the filling needs this time to set properly, and cutting into it too early will leave you with a runny mess instead of clean, neat bars.
What to Serve With Cherry Cheesecake Bars?
These cherry cheesecake bars are pretty rich and sweet on their own, so I like to keep things simple when serving them. A hot cup of coffee or tea is perfect alongside these bars, especially if you’re serving them as an afternoon treat or after dinner. If you’re making them for a party or potluck, they pair nicely with fresh berries on the side or a dollop of whipped cream for anyone who wants to go all out. Since they’re already a complete dessert, you really don’t need much else – maybe just some cold milk for the kids or a scoop of vanilla ice cream if you’re feeling extra indulgent.
Storage Instructions
Store: Keep your cheesecake bars in an airtight container in the fridge for up to 5 days. They actually taste better after sitting overnight, so making them a day ahead is a great idea! The flavors meld together and the texture gets even creamier.
Freeze: These bars freeze really well for up to 2 months. I like to wrap them individually in plastic wrap and then put them in a freezer bag so I can grab one whenever a craving hits. Just make sure they’re completely set before freezing.
Serve: Let frozen bars thaw in the fridge for a few hours or overnight before serving. They’re best enjoyed cold straight from the fridge, which makes them perfect for hot summer days or when you need a quick dessert.
| Preparation Time | 15-20 minutes |
| Cooking Time | 0 minutes |
| Total Time | 250-260 minutes |
| Level of Difficulty | Easy |
| Servings | 9 bars |
Estimated Nutrition
Estimated nutrition for the whole recipe (without optional ingredients):
- Calories: 3400-3700
- Protein: 32-38 g
- Fat: 210-230 g
- Carbohydrates: 350-370 g
Ingredients
For the crust:
- 2 cups graham cracker crumbs
- 1/2 cup butter (melted and cooled to room temperature)
For the cheesecake filling:
- 16 oz cream cheese (softened to about 70°F for a smooth texture)
- 2/3 cup heavy cream
- 3/4 cup sugar
- 1 1/2 tsp vanilla extract
- 1 tsp fresh lemon juice
- 1/8 tsp salt
For the topping:
- 21 oz cherry pie filling
Step 1: Prepare the Pan and Build the Crust
- 2 cups graham cracker crumbs
- 1/2 cup butter
Line a 9×13 inch baking dish with parchment paper, leaving some overhang on the sides for easy removal later.
In a medium bowl, combine the graham cracker crumbs with the melted and cooled butter, stirring until the mixture resembles wet sand.
Press this mixture firmly and evenly into the bottom of the prepared pan, using the bottom of a measuring cup to create an even, compact layer.
This creates a sturdy foundation that won’t become soggy.
Step 2: Whip the Heavy Cream to Soft Peaks
- 2/3 cup heavy cream
Pour the heavy cream into a chilled bowl and whip it with an electric mixer on medium-high speed until soft peaks form—this should take about 2-3 minutes.
The cream should hold its shape but still look light and fluffy, not stiff or buttery.
Transfer the whipped cream to a separate clean bowl and set aside.
I like to chill my mixing bowl beforehand because it helps the cream whip faster and more evenly.
Step 3: Create the Creamy Cheesecake Filling
- 16 oz cream cheese
- 3/4 cup sugar
- 1 1/2 tsp vanilla extract
- 1 tsp fresh lemon juice
- 1/8 tsp salt
- whipped cream from Step 2
In a large bowl, beat the softened cream cheese and sugar together with an electric mixer on medium speed for 2 minutes until smooth and fluffy—don’t overmix or the filling will become too airy and lose its dense, creamy texture.
Add the vanilla extract, fresh lemon juice, and salt, and beat for another 30 seconds until combined.
Gently fold the whipped cream from Step 2 into the cream cheese mixture using a rubber spatula, working in two additions and folding just until no white streaks remain.
This folding technique keeps the filling light and airy while maintaining its structure.
Step 4: Assemble and Chill the Bars
- cheesecake filling from Step 3
- crust from Step 1
Spread the cheesecake filling evenly over the crust from Step 1, smoothing the top with a spatula.
Cover the pan with plastic wrap and refrigerate for at least 4 hours, or until the filling is set and firm to the touch.
This chilling time is essential for the bars to hold their shape when cut and for the flavors to meld beautifully.
Step 5: Add Cherry Topping and Serve
- 21 oz cherry pie filling
- chilled cheesecake bars from Step 4
Remove the bars from the refrigerator and spread or spoon the cherry pie filling evenly over the chilled cheesecake layer.
Cut into squares using a sharp knife dipped in warm water and wiped clean between cuts to ensure clean edges.
Serve immediately, or keep refrigerated until ready to serve.
I find that adding the cherry topping just before serving keeps it from making the cheesecake layer too moist.
Irresistible Cherry Cheesecake Bars
Ingredients
Method
- Line a 9x13 inch baking dish with parchment paper, leaving some overhang on the sides for easy removal later. In a medium bowl, combine the graham cracker crumbs with the melted and cooled butter, stirring until the mixture resembles wet sand. Press this mixture firmly and evenly into the bottom of the prepared pan, using the bottom of a measuring cup to create an even, compact layer. This creates a sturdy foundation that won't become soggy.
- Pour the heavy cream into a chilled bowl and whip it with an electric mixer on medium-high speed until soft peaks form—this should take about 2-3 minutes. The cream should hold its shape but still look light and fluffy, not stiff or buttery. Transfer the whipped cream to a separate clean bowl and set aside. I like to chill my mixing bowl beforehand because it helps the cream whip faster and more evenly.
- In a large bowl, beat the softened cream cheese and sugar together with an electric mixer on medium speed for 2 minutes until smooth and fluffy—don't overmix or the filling will become too airy and lose its dense, creamy texture. Add the vanilla extract, fresh lemon juice, and salt, and beat for another 30 seconds until combined. Gently fold the whipped cream from Step 2 into the cream cheese mixture using a rubber spatula, working in two additions and folding just until no white streaks remain. This folding technique keeps the filling light and airy while maintaining its structure.
- Spread the cheesecake filling evenly over the crust from Step 1, smoothing the top with a spatula. Cover the pan with plastic wrap and refrigerate for at least 4 hours, or until the filling is set and firm to the touch. This chilling time is essential for the bars to hold their shape when cut and for the flavors to meld beautifully.
- Remove the bars from the refrigerator and spread or spoon the cherry pie filling evenly over the chilled cheesecake layer. Cut into squares using a sharp knife dipped in warm water and wiped clean between cuts to ensure clean edges. Serve immediately, or keep refrigerated until ready to serve. I find that adding the cherry topping just before serving keeps it from making the cheesecake layer too moist.