I’ve always thought cheesecake was fancy enough for company but easy enough to make on a regular Tuesday. There’s something about that creamy filling on a buttery crust that makes people think you spent way more time in the kitchen than you actually did. And when you add huckleberries? You’ve got yourself a dessert that looks like it came from a bakery.
Now, I know huckleberries aren’t something you find at every grocery store. If you can’t get your hands on fresh ones, frozen work just as well. I’ve even made this with blueberries when huckleberries weren’t in season, and honestly, no one complained.
The best part about this recipe is that you can make it a day ahead. Actually, you should make it a day ahead. Cheesecake needs time to chill and set up properly. That means one less thing to worry about when you’re getting ready for guests or just want a nice dessert waiting for you in the fridge.
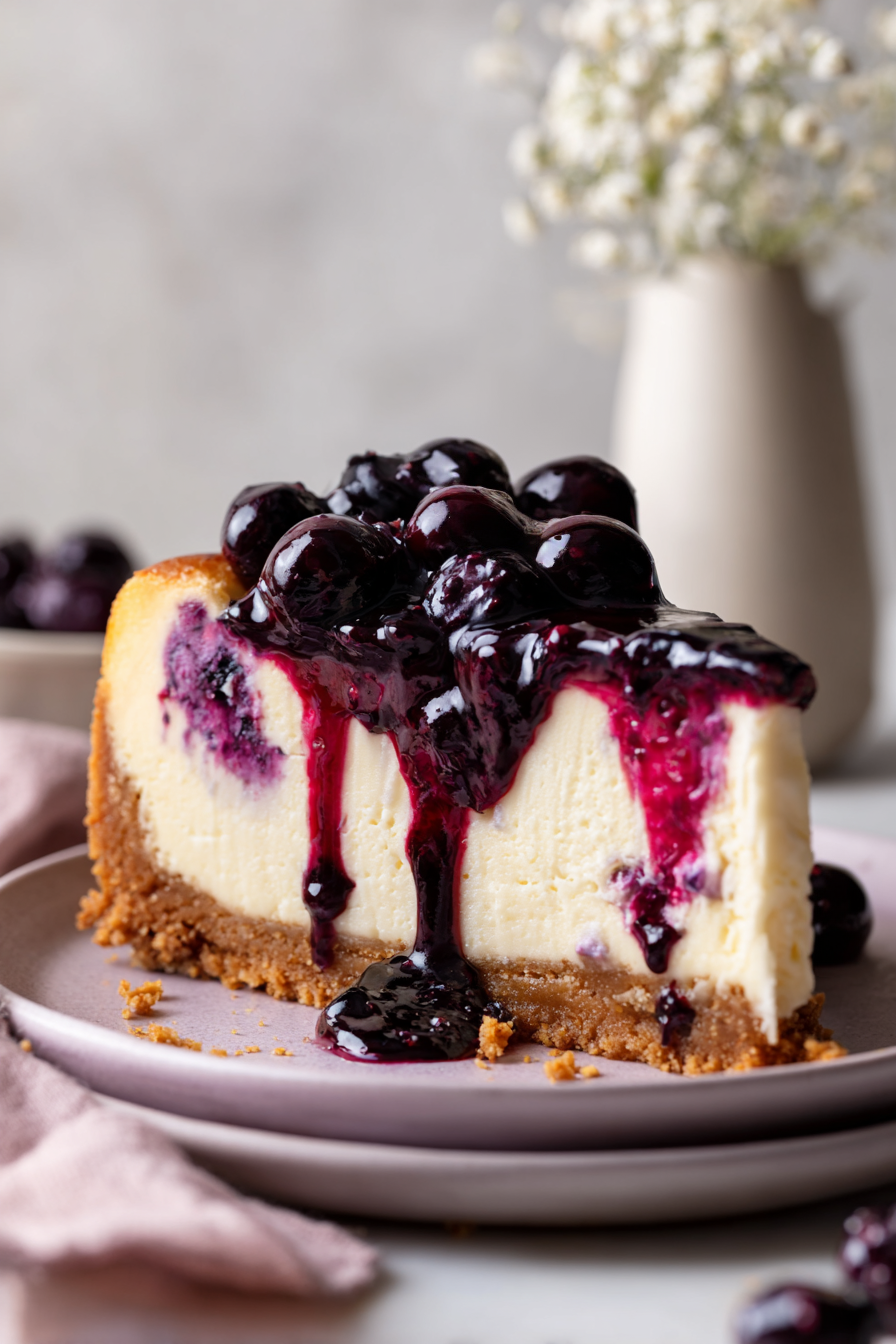
Why You’ll Love This Huckleberry Cheesecake
- Rich, creamy texture – This cheesecake is incredibly smooth and velvety thanks to the cream cheese and sour cream combination, giving you that classic New York-style consistency everyone loves.
- Unique huckleberry flavor – The sweet-tart huckleberries add a special twist to traditional cheesecake, making it perfect for impressing guests or treating yourself to something different.
- Make-ahead friendly – You can prepare this cheesecake a day or two before you need it, which takes the stress out of entertaining and lets the flavors develop even more.
- Homemade graham cracker crust – Making your own buttery crust from scratch is easier than you think and tastes so much better than store-bought versions.
- Perfect for special occasions – This showstopper dessert looks and tastes like something from a fancy bakery, but you made it yourself in your own kitchen.
What Kind of Huckleberries Should I Use?
Fresh huckleberries are ideal for this cheesecake if you can find them, but frozen huckleberries work just as well and are much easier to get your hands on. If you’re using frozen berries, there’s no need to thaw them before adding them to the recipe – just toss them in straight from the freezer. Can’t find huckleberries at all? Blueberries make a great substitute and will give you a similar sweet-tart flavor, though huckleberries do have a slightly more complex taste. When shopping, look for berries that are firm and plump, and avoid any that look shriveled or have signs of mold.
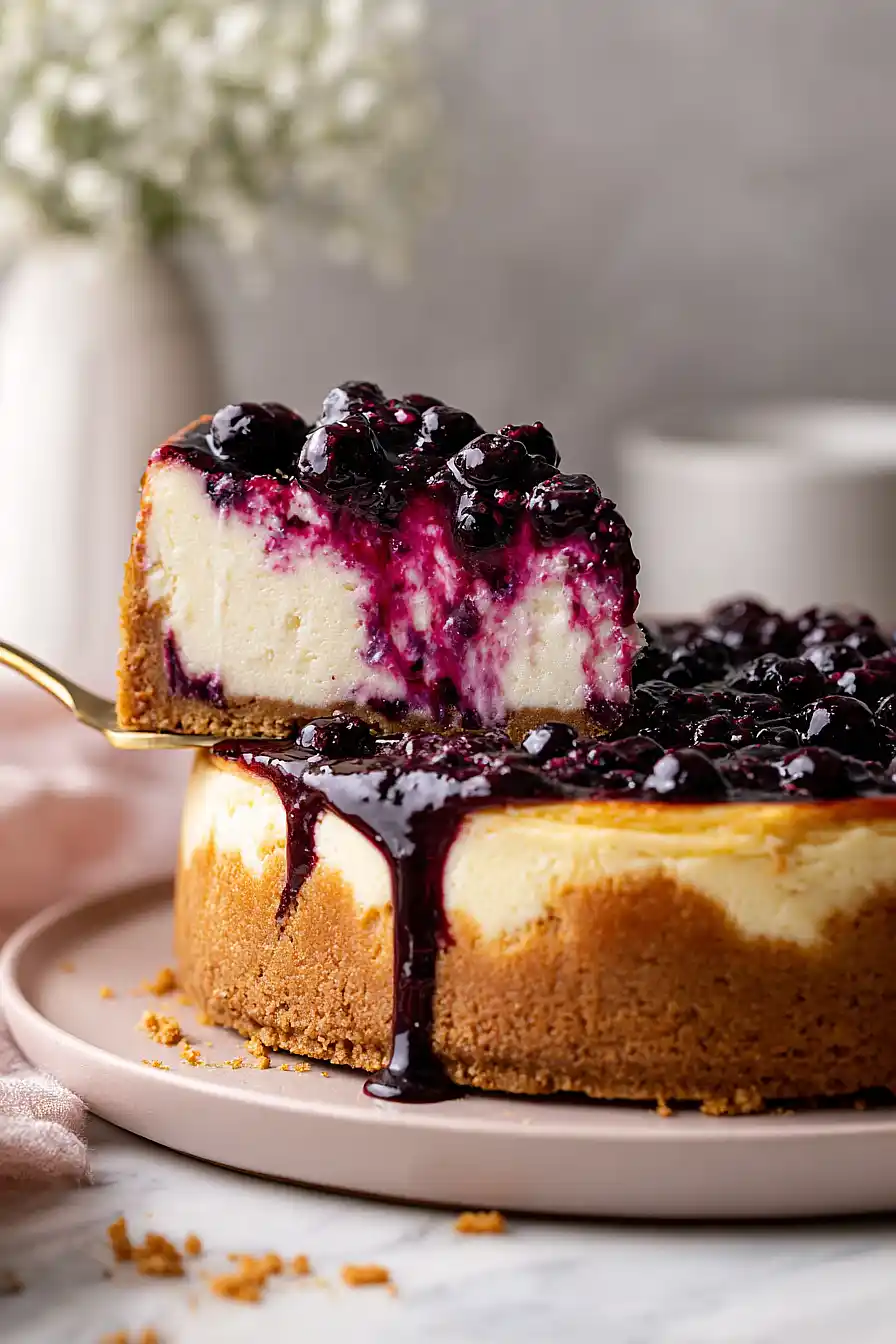
Options for Substitutions
This cheesecake recipe has some room for flexibility, though a few ingredients are best left as-is:
- Huckleberries: Huckleberries can be hard to find, so blueberries make a great substitute and are much easier to track down. You can also try blackberries or raspberries for a different flavor profile – just adjust the sugar in the topping to taste since some berries are more tart than others.
- Graham cracker crumbs: Swap these out for vanilla wafer cookies, digestive biscuits, or even Oreos (with the filling removed) for a chocolate crust. Use the same amount by weight or volume.
- Cream cheese: Stick with full-fat cream cheese here – it’s really essential for getting that smooth, creamy texture. Low-fat versions will make your cheesecake grainy and less rich.
- Sour cream: Greek yogurt works as a substitute, but make sure it’s full-fat and at room temperature. The tanginess will be similar, though the texture might be slightly different.
- Corn starch: For thickening the berry topping, you can use the same amount of arrowroot powder or tapioca starch mixed with water.
Watch Out for These Mistakes While Baking
The biggest mistake when making cheesecake is not having your cream cheese, eggs, and sour cream at room temperature, which can lead to lumps in your batter and an uneven texture – plan ahead and leave them out for about an hour before you start.
Cracks on top are usually caused by overbaking or cooling too quickly, so remove the cheesecake when the edges are set but the center still has a slight jiggle (about 3 inches in diameter), and never skip the gradual cooling step in the oven with the door cracked open.
Water leaking into your springform pan will ruin your crust, so make sure to wrap the bottom and sides tightly with two layers of heavy-duty aluminum foil before placing it in the water bath.
Finally, resist the urge to cut into your cheesecake right away – it needs at least 4 hours in the fridge (preferably overnight) to fully set, or you’ll end up with a messy slice instead of a clean cut.
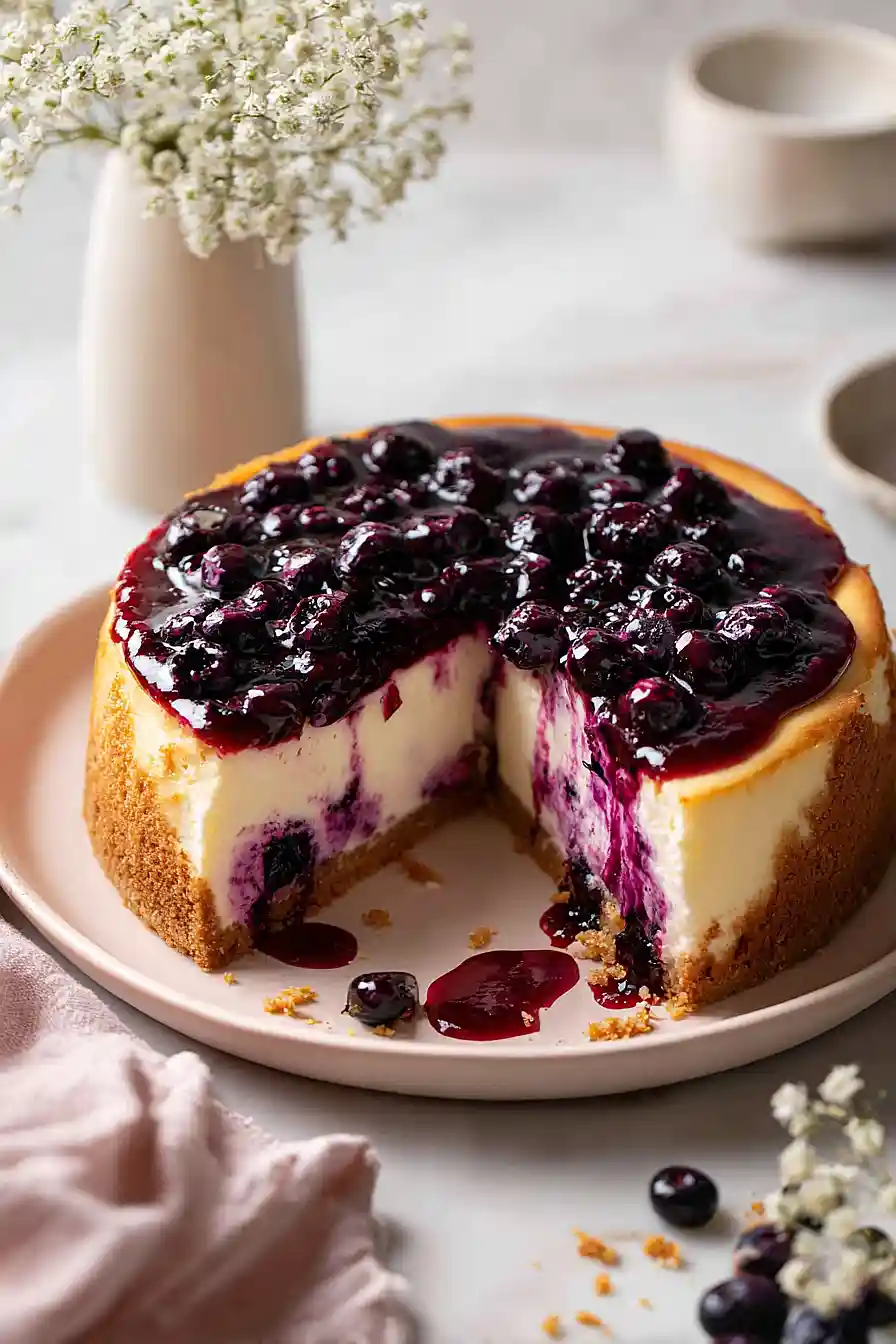
What to Serve With Huckleberry Cheesecake?
Huckleberry cheesecake is rich and creamy, so it’s best served with something simple that won’t compete with all those amazing flavors. A dollop of freshly whipped cream on top is always a good call, or you can add a scoop of vanilla ice cream on the side if you’re feeling extra indulgent. Since the huckleberries already bring a nice tartness to the dessert, a hot cup of coffee or black tea makes a perfect pairing to balance out the sweetness. If you’re serving this at a dinner party, keep the rest of your meal on the lighter side so everyone has room to enjoy a generous slice of this decadent cheesecake.
Storage Instructions
Store: Keep your huckleberry cheesecake covered in the fridge for up to 5 days. I like to use plastic wrap or aluminum foil directly on the surface to prevent it from drying out. The flavors actually get even better after a day or two as everything settles together.
Freeze: Cheesecake freezes really well for up to 2 months. I recommend slicing it first and wrapping individual pieces in plastic wrap, then placing them in a freezer bag. That way you can grab just one slice whenever a craving hits without thawing the whole thing.
Serve: Let frozen slices thaw in the fridge overnight for the best texture. If you’re in a hurry, you can leave a slice at room temperature for about 30 minutes. The huckleberry topping might release a bit of juice as it thaws, but that’s totally normal and still delicious.
| Preparation Time | 45-60 minutes |
| Cooking Time | 100-110 minutes |
| Total Time | 9-10 hours |
| Level of Difficulty | Hard |
| Servings | 10 slices |
Estimated Nutrition
Estimated nutrition for the whole recipe (without optional ingredients):
- Calories: 5000-5400
- Protein: 75-90 g
- Fat: 310-340 g
- Carbohydrates: 530-570 g
Ingredients
For the crust:
- 1.5 cups graham cracker crumbs
- 1/3 cup sugar
- 7 tbsp butter (melted and cooled)
- 1/8 tsp salt
- 1/4 tsp ground cinnamon
For the filling:
- 32 oz cream cheese (Philadelphia brand)
- 1.5 cups sugar
- 3 tbsp flour (sifted)
- 4 tsp vanilla
- 2 tsp lemon juice
- 1 tsp lemon zest
- 4 eggs
- 2 egg yolks
- 1/2 cup sour cream (room temperature)
- 5 oz huckleberries
For the topping:
- 10 oz huckleberries
- 1/2 cup sugar
- 1/4 cup water
- 2 tbsp lemon juice
- 2.5 tbsp corn starch (Argo brand)
Step 1: Prepare and Bake the Graham Cracker Crust
- 1.5 cups graham cracker crumbs
- 1/3 cup sugar
- 7 tbsp butter
- 1/8 tsp salt
- 1/4 tsp ground cinnamon
Crush the graham crackers into fine crumbs, then mix them with sugar, melted and cooled butter, salt, and cinnamon in a bowl until the mixture resembles wet sand.
Wrap the outside of a 9-inch springform pan with foil (this prevents water from seeping in during the water bath), then press the crumb mixture firmly into the bottom and up the sides of the pan.
Bake at 375°F for 8 minutes to set the crust, then remove and set aside while you lower the oven to 325°F.
I like to press the crust with the bottom of a measuring cup to get an even, compact layer—this prevents it from becoming crumbly.
Step 2: Build the Cheesecake Batter
- 32 oz cream cheese
- 1.5 cups sugar
- 3 tbsp flour
- 4 tsp vanilla
- 2 tsp lemon juice
- 1 tsp lemon zest
- 4 eggs
- 2 egg yolks
- 1/2 cup sour cream
- 5 oz huckleberries
Beat the room-temperature cream cheese on medium speed for 1 minute to soften it, then add the sugar and beat for 3 minutes until light and fluffy—this aerates the batter and prevents a dense cake.
Mix in the sifted flour, vanilla, lemon juice, and lemon zest until just combined.
Add the eggs and egg yolks one at a time, beating on low speed after each addition just until incorporated (overmixing at this stage introduces too much air and can cause cracks).
Finally, gently stir in the sour cream and 5 oz of huckleberries by hand—folding is better than beating here to keep the batter smooth and prevent excess air incorporation.
Step 3: Bake the Cheesecake with Water Bath
- cheesecake batter from Step 2
- crust from Step 1
Pour the batter from Step 2 into the prepared crust from Step 1.
Place the springform pan inside a larger roasting pan, then add about 1 inch of boiling water to the roasting pan around the cheesecake (the water bath ensures gentle, even heat distribution and prevents cracking).
Bake at 325°F for 90-100 minutes—the cheesecake is done when the edges are set but the center still jiggles slightly when gently shaken, about a 2-inch diameter circle in the very middle.
I always use an instant-read thermometer to check for doneness: the center should read 150°F.
Step 4: Cool the Cheesecake Gradually
Turn off the oven and crack the door open about 4 inches, then let the cheesecake cool in the oven for 1 hour.
This gradual temperature change prevents the cake from contracting too quickly, which causes deep cracks on the surface.
After 1 hour, remove the cheesecake from the oven and let it cool to room temperature on the counter (about 1-2 hours), then refrigerate for at least 4 hours or overnight before serving.
Step 5: Make the Huckleberry Topping
- 10 oz huckleberries
- 1/2 cup sugar
- 1/4 cup water
- 2.5 tbsp corn starch
- 2 tbsp lemon juice
Combine 10 oz of huckleberries, sugar, and water in a saucepan and bring to a boil over medium-high heat, then reduce to a simmer and cook for 10 minutes until the berries soften and release their juices.
In a small bowl, whisk together the cornstarch and lemon juice to create a slurry, then stir it into the simmering berries.
Cook for 1-2 minutes more, stirring constantly, until the mixture thickens and becomes glossy and translucent.
Remove from heat and let cool to room temperature—the topping will thicken further as it cools.
Step 6: Finish and Serve
- cooled cheesecake from Step 4
- huckleberry topping from Step 5
Once the cheesecake is fully chilled, run a thin knife around the edge to loosen it from the pan, then carefully remove the springform ring.
Spoon or spread the cooled huckleberry topping from Step 5 evenly over the top of the cheesecake just before serving.
Slice with a hot, wet knife (wipe between cuts) to get clean slices without cracking the topping.
Homemade Huckleberry Cheesecake
Ingredients
Method
- Crush the graham crackers into fine crumbs, then mix them with sugar, melted and cooled butter, salt, and cinnamon in a bowl until the mixture resembles wet sand. Wrap the outside of a 9-inch springform pan with foil (this prevents water from seeping in during the water bath), then press the crumb mixture firmly into the bottom and up the sides of the pan. Bake at 375°F for 8 minutes to set the crust, then remove and set aside while you lower the oven to 325°F. I like to press the crust with the bottom of a measuring cup to get an even, compact layer—this prevents it from becoming crumbly.
- Beat the room-temperature cream cheese on medium speed for 1 minute to soften it, then add the sugar and beat for 3 minutes until light and fluffy—this aerates the batter and prevents a dense cake. Mix in the sifted flour, vanilla, lemon juice, and lemon zest until just combined. Add the eggs and egg yolks one at a time, beating on low speed after each addition just until incorporated (overmixing at this stage introduces too much air and can cause cracks). Finally, gently stir in the sour cream and 5 oz of huckleberries by hand—folding is better than beating here to keep the batter smooth and prevent excess air incorporation.
- Pour the batter from Step 2 into the prepared crust from Step 1. Place the springform pan inside a larger roasting pan, then add about 1 inch of boiling water to the roasting pan around the cheesecake (the water bath ensures gentle, even heat distribution and prevents cracking). Bake at 325°F for 90-100 minutes—the cheesecake is done when the edges are set but the center still jiggles slightly when gently shaken, about a 2-inch diameter circle in the very middle. I always use an instant-read thermometer to check for doneness: the center should read 150°F.
- Turn off the oven and crack the door open about 4 inches, then let the cheesecake cool in the oven for 1 hour. This gradual temperature change prevents the cake from contracting too quickly, which causes deep cracks on the surface. After 1 hour, remove the cheesecake from the oven and let it cool to room temperature on the counter (about 1-2 hours), then refrigerate for at least 4 hours or overnight before serving.
- Combine 10 oz of huckleberries, sugar, and water in a saucepan and bring to a boil over medium-high heat, then reduce to a simmer and cook for 10 minutes until the berries soften and release their juices. In a small bowl, whisk together the cornstarch and lemon juice to create a slurry, then stir it into the simmering berries. Cook for 1-2 minutes more, stirring constantly, until the mixture thickens and becomes glossy and translucent. Remove from heat and let cool to room temperature—the topping will thicken further as it cools.
- Once the cheesecake is fully chilled, run a thin knife around the edge to loosen it from the pan, then carefully remove the springform ring. Spoon or spread the cooled huckleberry topping from Step 5 evenly over the top of the cheesecake just before serving. Slice with a hot, wet knife (wipe between cuts) to get clean slices without cracking the topping.