I didn’t start making my own pickles until I realized how ridiculously easy refrigerator pickles are compared to traditional canning. No boiling water bath, no special equipment, no worrying if I sealed the jars right. Just slice, mix, pour, and wait.
The thing about refrigerator pickles is they’re ready in about 24 hours, and they last for weeks in your fridge. These apple cider vinegar pickles have become my go-to because they’ve got the perfect balance of tangy and a little bit sweet. Plus, that combination of dill, garlic, and mustard seeds? It tastes like the pickles you’d pay way too much for at a farmer’s market.
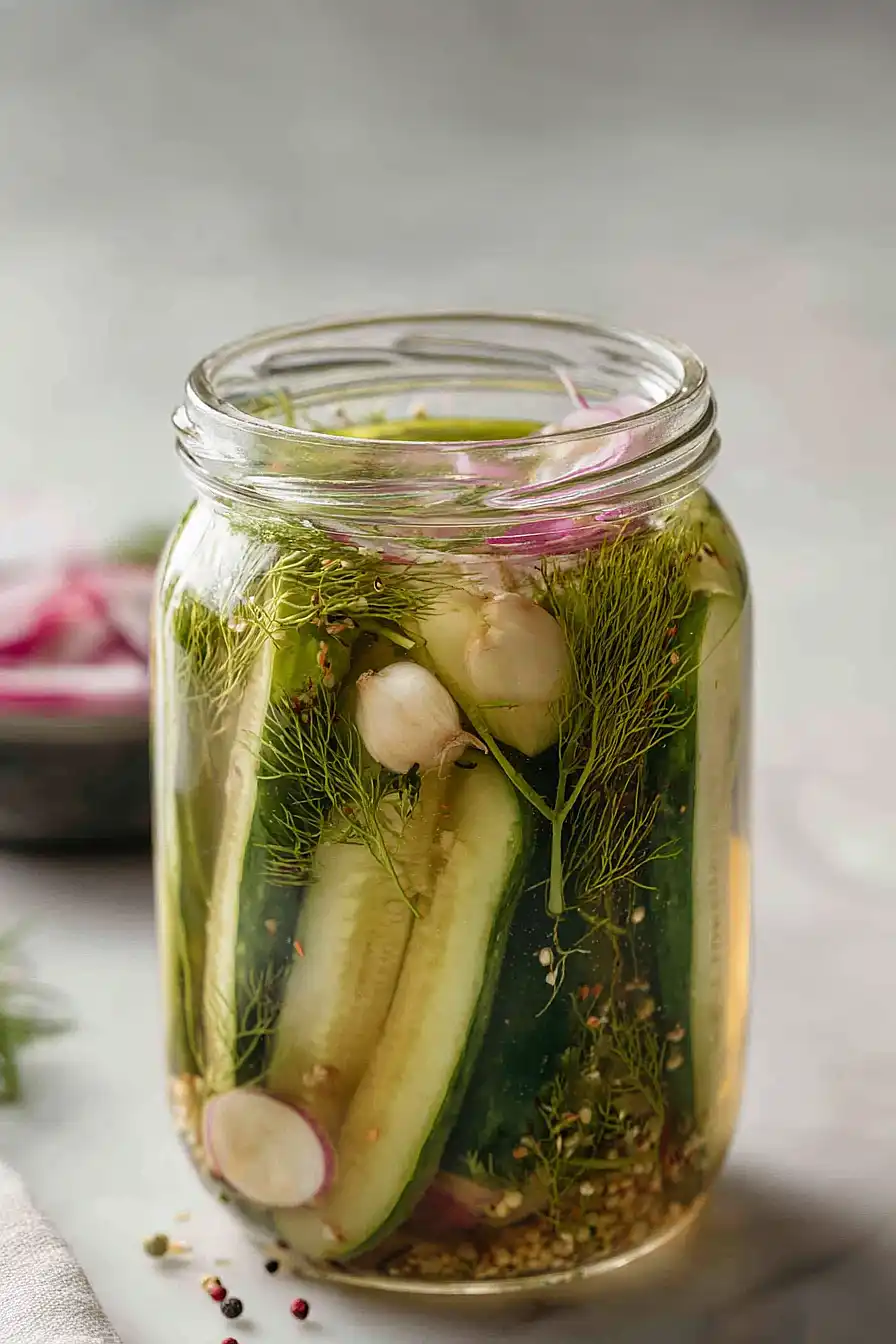
Why You’ll Love These Apple Cider Vinegar Pickles
- Quick and easy – These refrigerator pickles come together in just 15-20 minutes with no canning equipment or complicated steps required.
- Healthier option – Made with apple cider vinegar and less sugar than store-bought pickles, they’re a better choice for your family without sacrificing flavor.
- Customizable flavors – You can easily adjust the spices and herbs to match your taste preferences, making them as mild or bold as you like.
- No special equipment needed – Just grab some jars from your pantry and you’re good to go—no pressure canner or water bath required.
- Fresh, crispy texture – These pickles stay crunchy and taste so much better than anything you’ll find at the grocery store.
What Kind of Cucumbers Should I Use?
For the best homemade pickles, you’ll want to grab pickling cucumbers (sometimes called Kirby cucumbers) if you can find them at your farmers market or grocery store. These smaller cucumbers are crunchier and have fewer seeds than regular slicing cucumbers, which means they’ll stay nice and crisp in the brine. If you can’t find pickling cucumbers, Persian cucumbers make a great substitute and are usually easier to find year-round. Regular cucumbers will work in a pinch, but they tend to get a bit softer and may have more seeds, so you might want to scoop those out before pickling. Whatever you choose, make sure your cucumbers are firm and fresh without any soft spots for the best results.

Options for Substitutions
This pickle recipe is pretty forgiving, so here are some swaps you can make:
- Pickling cucumbers: If you can’t find pickling cucumbers, regular cucumbers work fine. Just slice them into spears or rounds since they’re larger. English cucumbers are another good option – they have fewer seeds and stay crisp.
- Apple cider vinegar: This is the key ingredient that gives these pickles their signature tang, so I’d recommend sticking with it. In a pinch, white vinegar works but will give you a sharper, less mellow flavor.
- Cane sugar: Regular white sugar or even honey will work just as well. If using honey, you might need to warm the brine slightly to help it dissolve completely.
- Mustard seeds and peppercorns: These add great flavor, but if you don’t have them, you can use whole cloves, coriander seeds, or red pepper flakes instead. Mix and match based on what’s in your spice cabinet.
- Fresh dill: Fresh dill is traditional, but dried dill works in a pinch (use about 1 tablespoon). You can also experiment with other fresh herbs like tarragon or basil for a different flavor profile.
- Sea salt: Kosher salt or pickling salt are both fine substitutes. Just avoid iodized table salt as it can make your brine cloudy and affect the taste.
Watch Out for These Mistakes While Cooking
The biggest mistake people make with refrigerator pickles is pouring boiling-hot brine directly over the cucumbers, which can turn them mushy instead of crisp – always let the brine cool for at least 10-15 minutes before adding it to your jars.
Another common error is skipping the step of trimming off the blossom end of the cucumber (the end opposite the stem), as it contains enzymes that can make your pickles soft and less crunchy.
Don’t forget to leave about half an inch of headspace at the top of each jar to allow for expansion, and make sure your cucumbers are completely submerged in the brine to prevent any exposed pieces from spoiling.
Finally, resist the urge to taste them right away – while they’ll be edible after 24 hours, waiting at least 3-5 days gives the flavors time to fully develop and creates that classic pickle taste you’re looking for.

What to Serve With Refrigerator Pickles?
These tangy pickles are perfect alongside just about any sandwich – think deli-style turkey clubs, pulled pork, or classic burgers and hot dogs. They add a nice crunch and brightness to charcuterie boards, especially when paired with sharp cheddar cheese, salami, and some whole grain crackers. I love keeping a jar in the fridge for snacking straight out of the container, or chopping them up to add to potato salad, tuna salad, or egg salad for extra flavor. They’re also great as a side for grilled meats or fish when you want something fresh and acidic to cut through richer flavors.
Storage Instructions
Refrigerate: These pickles need to stay in the fridge at all times since they’re not canned. Keep them in their brine in a sealed jar or container, and they’ll last for about 2 to 3 weeks. The flavor actually gets better after a few days as the cucumbers soak up all those spices.
Best After: While you can snack on these pickles after just 24 hours, I recommend waiting at least 2 to 3 days for the best flavor. That’s when they really taste like proper pickles! The longer they sit in that tangy brine, the more pickled they become.
Keep Submerged: Make sure your cucumbers stay under the brine to prevent any spoilage. If they start floating to the top, just give the jar a gentle shake or press them back down. You’ll know they’ve gone bad if the brine gets cloudy or smells off, but that’s pretty rare if you keep them cold.
| Preparation Time | 15-20 minutes |
| Cooking Time | 0 minutes |
| Total Time | 15-20 minutes |
| Level of Difficulty | Easy |
| Servings | 4 cups of pickles |
Estimated Nutrition
Estimated nutrition for the whole recipe (without optional ingredients):
- Calories: 200-250
- Protein: 4-6 g
- Fat: 0-2 g
- Carbohydrates: 45-55 g
Ingredients
For the jars:
- 10 cucumbers (sliced into 1/4-inch rounds)
- 6 garlic cloves (smashed to release oils)
- 1 medium onion (thinly sliced into half-moons)
- 2 1/2 tsp mustard seeds
- 2 tsp peppercorns
- 1 tsp fennel seeds
- 1/2 tsp red pepper flakes
- 1 bunch fresh dill
For the brine:
- 2 cups water
- 2 cups cider vinegar (I use Bragg Organic for the best tang)
- 1/3 cup sugar
- 2 1/2 tbsp salt (I prefer Morton Coarse Kosher salt for a clear brine)
- 1/4 tsp celery seed
Step 1: Prepare and Pack the Jars
- 10 cucumbers, sliced into 1/4-inch rounds
- 1 medium onion, thinly sliced into half-moons
- 6 garlic cloves, smashed
- 2 1/2 tsp mustard seeds
- 2 tsp peppercorns
- 1 tsp fennel seeds
- 1/2 tsp red pepper flakes
- 1/4 tsp celery seed
- 1 bunch fresh dill
Slice the cucumbers into 1/4-inch rounds and thinly slice the onion into half-moons.
Smash the garlic cloves to release their oils.
Divide the cucumbers, onion, and garlic evenly between two clean quart-sized jars (or similar size containers).
To each jar, add half of the mustard seeds, peppercorns, fennel seeds, red pepper flakes, and celery seed.
Tuck the fresh dill sprigs throughout the vegetables, distributing them evenly between both jars.
I like to layer the dill between the cucumbers rather than just placing it on top—it infuses the brine more evenly.
Step 2: Make the Pickling Brine
- 2 cups water
- 2 cups cider vinegar
- 1/3 cup sugar
- 2 1/2 tbsp salt
In a medium saucepan, combine the water, cider vinegar, sugar, and salt over medium-high heat.
Stir occasionally until the sugar and salt are completely dissolved, about 5-7 minutes.
You’ll know it’s ready when there are no crystals visible at the bottom of the pan.
Don’t skip tasting the brine at this point—I always take a small spoonful to ensure the balance of sweet, salty, and tangy flavors is what I want before pouring.
Step 3: Cool and Pour the Brine
- brine mixture from Step 2
Remove the brine from heat and let it cool for 3-5 minutes—this prevents shocking the vegetables with extreme heat while still being warm enough to properly infuse them.
Carefully pour the warm brine into each jar, dividing it evenly and ensuring the cucumbers are completely submerged.
Leave about 1/2 inch of headspace at the top of each jar.
If any cucumbers float to the surface, gently press them down with a clean spoon or small weight to keep them submerged in the brine.
Step 4: Cool and Refrigerate
Allow the jars to cool completely to room temperature, about 1-2 hours.
Once cooled, cover the jars and transfer them to the refrigerator.
The pickles will start developing flavor immediately, but they’ll taste best after 3-5 days when the flavors have fully melded.
They’ll keep refrigerated for up to 2 months.
Dill Apple Cider Vinegar Refrigerator Pickles
Ingredients
Method
- Slice the cucumbers into 1/4-inch rounds and thinly slice the onion into half-moons. Smash the garlic cloves to release their oils. Divide the cucumbers, onion, and garlic evenly between two clean quart-sized jars (or similar size containers). To each jar, add half of the mustard seeds, peppercorns, fennel seeds, red pepper flakes, and celery seed. Tuck the fresh dill sprigs throughout the vegetables, distributing them evenly between both jars. I like to layer the dill between the cucumbers rather than just placing it on top—it infuses the brine more evenly.
- In a medium saucepan, combine the water, cider vinegar, sugar, and salt over medium-high heat. Stir occasionally until the sugar and salt are completely dissolved, about 5-7 minutes. You'll know it's ready when there are no crystals visible at the bottom of the pan. Don't skip tasting the brine at this point—I always take a small spoonful to ensure the balance of sweet, salty, and tangy flavors is what I want before pouring.
- Remove the brine from heat and let it cool for 3-5 minutes—this prevents shocking the vegetables with extreme heat while still being warm enough to properly infuse them. Carefully pour the warm brine into each jar, dividing it evenly and ensuring the cucumbers are completely submerged. Leave about 1/2 inch of headspace at the top of each jar. If any cucumbers float to the surface, gently press them down with a clean spoon or small weight to keep them submerged in the brine.
- Allow the jars to cool completely to room temperature, about 1-2 hours. Once cooled, cover the jars and transfer them to the refrigerator. The pickles will start developing flavor immediately, but they'll taste best after 3-5 days when the flavors have fully melded. They'll keep refrigerated for up to 2 months.