I’ve always loved pickles, but I never thought I’d be the type to make my own. Store-bought was fine, right? Then one summer I had way too many cucumbers from my garden and decided to give it a shot. Turns out, homemade pickles are easier than I thought, and they taste so much better than anything from a jar.
These spicy refrigerator dill pickles are my go-to recipe now. No canning equipment needed, no water bath, no stress. You just slice up your cucumbers, heat up a simple brine, and let everything hang out in the fridge. The best part? You can start eating them in just a day or two.
Want classic dill flavor with a little kick? This recipe has you covered. The garlic and fresh dill give you that traditional pickle taste, while the red pepper flakes add just enough heat to keep things interesting. Trust me, once you make these, you’ll wonder why you ever bothered buying pickles at the store.
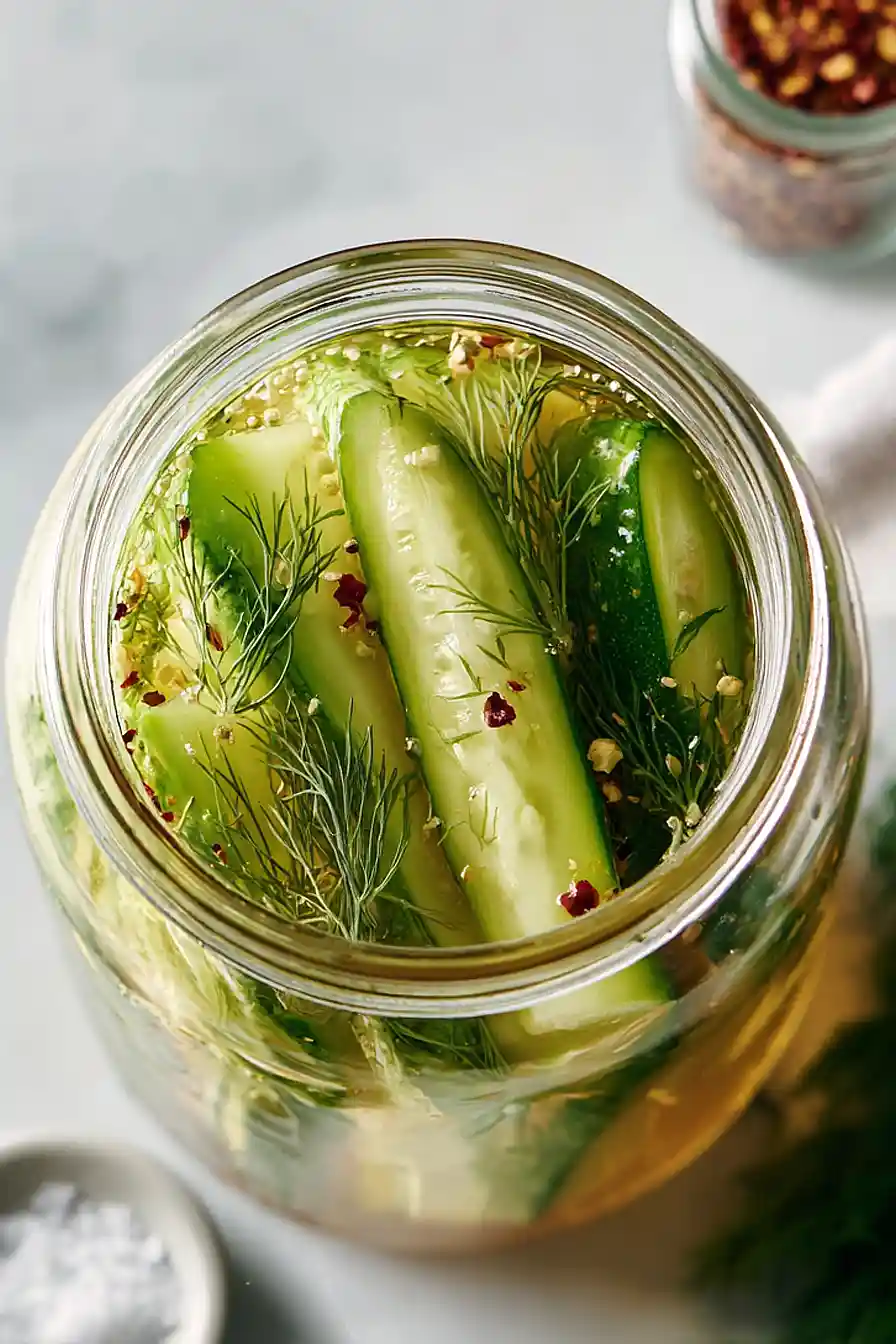
Why You’ll Love These Spicy Refrigerator Dill Pickles
- Quick and easy – These pickles come together in just 30-40 minutes with no canning equipment needed—just mix, pour, and refrigerate.
- Customizable heat level – You can adjust the red pepper flakes to make them as mild or spicy as you like, so everyone in the family can enjoy them.
- Fresh, crisp texture – Unlike store-bought pickles that can be mushy, these refrigerator pickles stay crunchy and fresh-tasting.
- No special equipment required – Skip the complicated canning process—all you need are some jars and space in your fridge.
- Great for snacking and entertaining – These pickles make a perfect side for sandwiches, burgers, or charcuterie boards, and they’re always a hit at gatherings.
What Kind of Cucumbers Should I Use?
For the best homemade pickles, you’ll want to use actual pickling cucumbers rather than regular slicing cucumbers from the salad section. Pickling cucumbers are smaller, have thinner skins, and stay crunchier after they’ve been pickled. Look for cucumbers that are firm to the touch and about 3 to 4 inches long – any larger and they might end up with too many seeds or a hollow center. If you can’t find pickling cucumbers at your regular grocery store, try a farmer’s market during summer months, or you can substitute with Persian cucumbers in a pinch. Just make sure whatever cucumbers you choose are fresh and haven’t been waxed, as the wax coating can prevent the brine from penetrating properly.
Options for Substitutions
While pickles are pretty specific about certain ingredients, there’s still some room to play around with this recipe:
- Pickling cucumbers: Pickling cucumbers are really the best choice here – they stay crisp and don’t get mushy. Regular cucumbers will work in a pinch, but they tend to get softer and may have more seeds. If you use them, try to pick smaller ones and remove some of the seeds.
- White vinegar: You can swap white vinegar for apple cider vinegar if that’s what you have. It’ll give your pickles a slightly different flavor, but they’ll still taste great.
- Fresh dill weed: If fresh dill is hard to find, you can use 1/2 cup dried dill instead of the 1 1/2 cups fresh. Just keep in mind the flavor will be a bit more concentrated.
- Sugar: Want less sweet pickles? You can cut the sugar down to 1/4 cup or even leave it out completely for a more traditional sour pickle flavor.
- Red pepper flakes: Adjust the heat to your liking – use more for extra spice, less for mild pickles, or swap in fresh sliced jalapeños for a different kind of kick.
Watch Out for These Mistakes While Cooking
The biggest mistake people make with refrigerator pickles is not waiting the full 10 days before digging in – I know it’s tempting, but the flavors need that time to develop and penetrate the cucumbers completely.
Make sure your cucumbers are fully submerged in the brine, as any exposed parts can develop mold or soft spots, so weigh them down with a small plate if needed.
Using cucumbers that are too large or overripe will result in mushy pickles with hollow centers, so stick with firm, small pickling cucumbers around 3-4 inches for the best crunch.
Finally, don’t skip the coarse salt in favor of regular table salt, since table salt contains additives that can cloud your brine and affect the texture of your pickles.

What to Serve With Spicy Refrigerator Dill Pickles?
These spicy dill pickles are perfect alongside just about any sandwich – think burgers, pulled pork, or even a classic deli-style turkey and cheese. They’re also great on a charcuterie board with some sharp cheddar, salami, and crackers for snacking. I love chopping them up to add to potato salad, egg salad, or tuna salad for an extra kick of flavor and crunch. If you’re firing up the grill, these pickles make an excellent side for hot dogs, brats, or barbecue chicken, and they’re always a hit at summer cookouts and picnics.
Storage Instructions
Refrigerate: These pickles need to hang out in the fridge for at least 24 hours before you dig in, but they’re even better after 3-4 days when all those flavors really come together. Keep them in their brine in airtight jars or containers, and they’ll stay crisp and delicious for up to 2 months in the refrigerator.
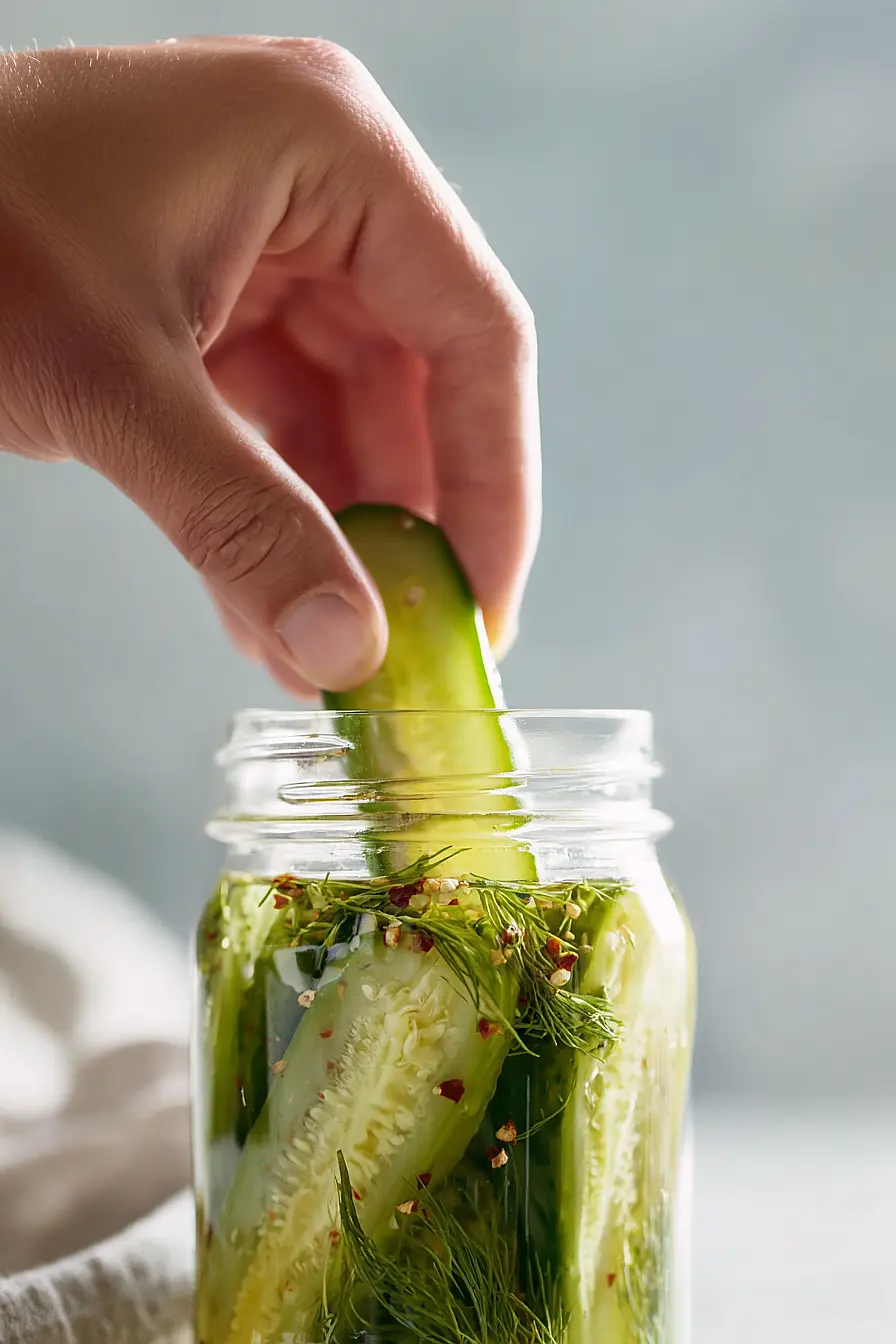
Serve: Always use a clean fork or tongs when grabbing pickles from the jar to keep them fresh longer. The brine is what keeps everything preserved, so make sure your cucumbers stay submerged. If you notice the brine getting cloudy after a few weeks, that’s totally normal and they’re still safe to eat!
| Preparation Time | 30-40 minutes |
| Cooking Time | 0 minutes |
| Total Time | 30-40 minutes |
| Level of Difficulty | Easy |
| Servings | 12 pickles |
Estimated Nutrition
Estimated nutrition for the whole recipe (without optional ingredients):
- Calories: 350-420
- Protein: 6-8 g
- Fat: 0-2 g
- Carbohydrates: 80-95 g
Ingredients
- 12 pickling cucumbers (sliced into 1/4-inch rounds)
- 2 cups water
- 2 cups white vinegar
- 1.5 cups fresh dill (roughly chopped, stems included)
- 1/2 cup sugar
- 8 garlic cloves (smashed)
- 2 tbsp coarse salt
- 1 tbsp pickling spice
- 1.5 tsp dill seed
- 1 tsp red pepper flakes
- 1 tsp yellow mustard seeds
- 4 sprigs fresh dill
Step 1: Prepare Cucumbers and Build the Pickle Brine
- 12 pickling cucumbers, sliced into 1/4-inch rounds
- 2 cups water
- 2 cups white vinegar
- 1/2 cup sugar
- 8 garlic cloves, smashed
- 2 tbsp coarse salt
- 1 tbsp pickling spice
- 1.5 tsp dill seed
- 1 tsp red pepper flakes
- 1 tsp yellow mustard seeds
Slice the pickling cucumbers into 1/4-inch rounds and set aside.
In a large bowl, combine the water, white vinegar, and sugar, stirring until the sugar dissolves completely.
Add the smashed garlic cloves, coarse salt, pickling spice, dill seed, red pepper flakes, and yellow mustard seeds to the brine.
Stir well to distribute all the spices evenly throughout the liquid.
This creates the flavor foundation for your pickles, so don’t rush this step.
Step 2: Infuse Cucumbers with Brine and Let Flavors Develop
- sliced cucumbers from Step 1
- 1.5 cups fresh dill, roughly chopped
- brine mixture from Step 1
Add the sliced cucumbers and roughly chopped fresh dill (including stems) to the brine mixture.
Stir everything together to ensure the cucumbers are fully submerged and coated with the seasoned liquid.
Let the mixture sit at room temperature for 2 hours—this allows the cucumbers to start absorbing the flavors while the spices continue to bloom.
I like to give it a gentle stir halfway through so the flavors distribute evenly.
Step 3: Pack Jars and Add Fresh Dill Garnish
- cucumber and brine mixture from Step 2
- 4 sprigs fresh dill
Divide the cucumber slices evenly among clean glass jars (about 4 cucumbers per jar works well for standard quart-sized jars).
Pour the spiced brine over the cucumbers in each jar, making sure they’re completely covered with liquid—this prevents any exposed cucumber from browning or spoiling.
Tuck one fresh dill sprig into each jar for an appealing presentation and an extra burst of dill flavor.
I find that pressing the dill sprig down along the side of the jar keeps it visible and adds a nice visual element.
Step 4: Seal and Refrigerate
Seal the jars tightly with their lids and place them in the refrigerator.
The cold temperature stops the pickling process and keeps the cucumbers crisp while the flavors continue to meld.
The pickles will keep refrigerated for several weeks, making them perfect for meal prep or gift-giving.
Step 5: Wait for Perfect Flavor Development
Allow the pickles to chill in the refrigerator for at least 10 days before eating them.
This waiting period is crucial—it gives the dill, garlic, and spices time to fully penetrate the cucumber slices, developing that signature tart, spicy, herbaceous flavor.
While it’s tempting to taste them earlier, the 10-day wait transforms them from good to exceptional.
Crunchy Spicy Refrigerator Dill Pickles
Ingredients
Method
- Slice the pickling cucumbers into 1/4-inch rounds and set aside. In a large bowl, combine the water, white vinegar, and sugar, stirring until the sugar dissolves completely. Add the smashed garlic cloves, coarse salt, pickling spice, dill seed, red pepper flakes, and yellow mustard seeds to the brine. Stir well to distribute all the spices evenly throughout the liquid. This creates the flavor foundation for your pickles, so don't rush this step.
- Add the sliced cucumbers and roughly chopped fresh dill (including stems) to the brine mixture. Stir everything together to ensure the cucumbers are fully submerged and coated with the seasoned liquid. Let the mixture sit at room temperature for 2 hours—this allows the cucumbers to start absorbing the flavors while the spices continue to bloom. I like to give it a gentle stir halfway through so the flavors distribute evenly.
- Divide the cucumber slices evenly among clean glass jars (about 4 cucumbers per jar works well for standard quart-sized jars). Pour the spiced brine over the cucumbers in each jar, making sure they're completely covered with liquid—this prevents any exposed cucumber from browning or spoiling. Tuck one fresh dill sprig into each jar for an appealing presentation and an extra burst of dill flavor. I find that pressing the dill sprig down along the side of the jar keeps it visible and adds a nice visual element.
- Seal the jars tightly with their lids and place them in the refrigerator. The cold temperature stops the pickling process and keeps the cucumbers crisp while the flavors continue to meld. The pickles will keep refrigerated for several weeks, making them perfect for meal prep or gift-giving.
- Allow the pickles to chill in the refrigerator for at least 10 days before eating them. This waiting period is crucial—it gives the dill, garlic, and spices time to fully penetrate the cucumber slices, developing that signature tart, spicy, herbaceous flavor. While it's tempting to taste them earlier, the 10-day wait transforms them from good to exceptional.