Shortbread is the underdog of cookies. No chips, no frosting, no sprinkles. Just butter, powdered sugar, flour, done. So why does it HIT so hard?? Every single time.
The gluten-free version? Easier than people think. Cold butter is the secret. Don’t overmix. Don’t overbake. Just chill (literally) and let the oven do its thing.
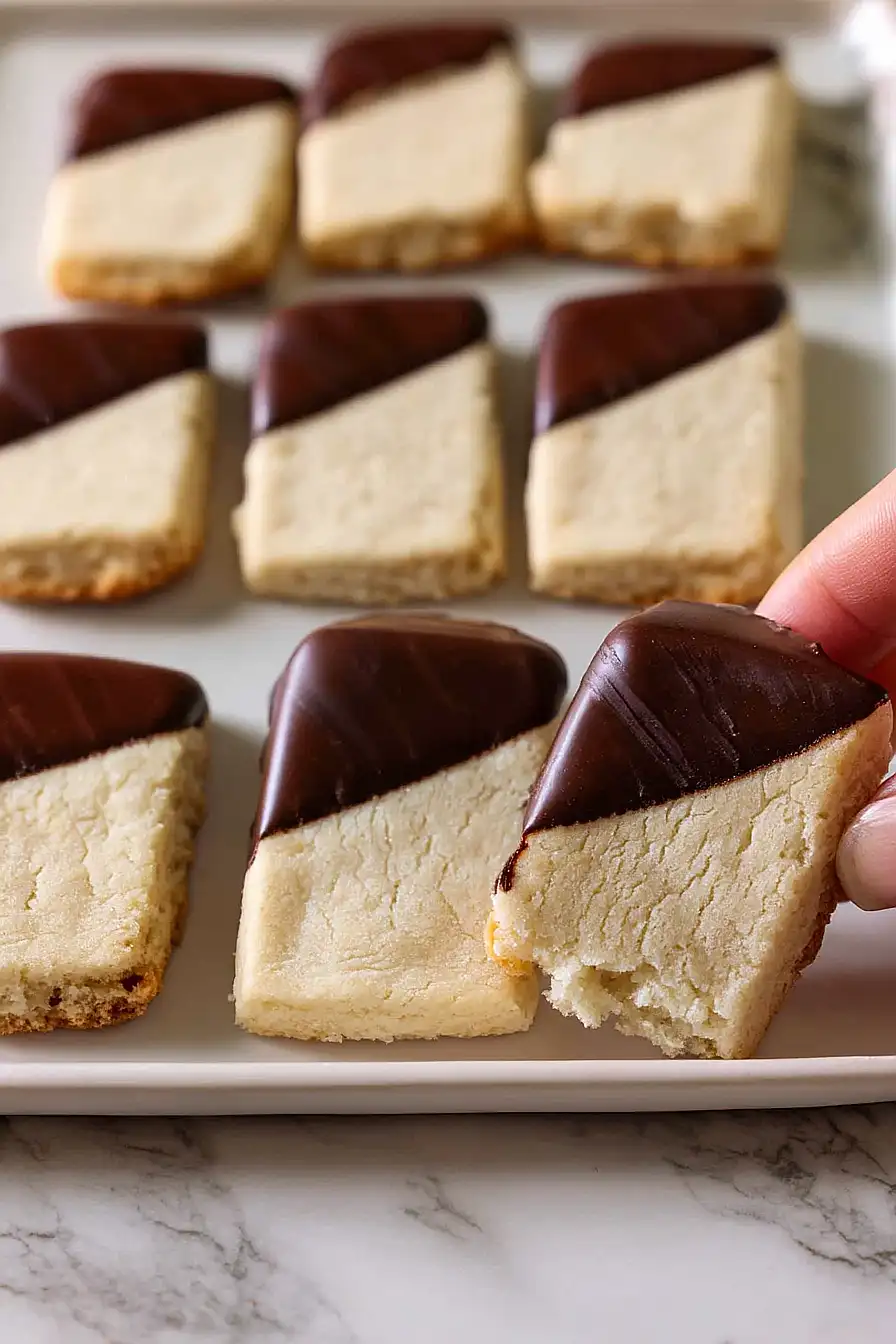
Why Cold Butter Makes Better Shortbread
- Cold butter creates tiny steam pockets in a hot oven…that’s what gives shortbread its CRUMBLY, tender bite!
- Warm butter melts into flour too soon and cookies spread into flat puddles. Not the move.
- Cube it small, then freeze 5 minutes before mixing. Yes, the freezer (not the fridge).
- Freeze your mixer bowl while you prep dry ingredients. Cold tools = cold dough.
- Stop mixing the SECOND dough forms. Overworking = tough, dense cookies. Yuck.
Does Gluten-Free Flour Change the Texture?
- Yes, it changes the texture… but in ways you can actually work with. GF flour lacks gluten, so you lose some structure and elasticity. The result? A more crumbly, sandy bite (which is honestly what shortbread SHOULD be anyway).
- Go with a 1-to-1 blend like Bob’s Red Mill. It contains xanthan gum, which mimics the binding gluten provides. Skip single-grain GF flours (rice, almond alone) unless you want serious crumble.
- Don’t overmix or you’ll get a gummy, dense cookie. Mix JUST until the dough comes together…. usually 3-5 minutes on low speed.
- Chilling is NON-NEGOTIABLE. GF dough spreads faster than wheat-based, so that 30-minute freezer freeze before baking is what keeps your shapes intact!
How to Store Shortbread Cookies
Store these cookies in an airtight container at room temperature for up to one week. For longer storage, freeze them in a single layer before transferring to a bag; they’ll keep for up to three months. Do NOT refrigerate them; the moisture will make them soggy.
Thaw frozen cookies at room temperature for about 15 minutes to bring back that perfect texture. It’s the only way to crush those cravings weeks later.
You May Also Like
- 5-Ingredient Shortbread Cookies
- Pecan Fig Cookies
- Gluten Free Oreo Red Velvet Cookies
- Easy Fig Bars
- English Strawberry Scones
- Derby Pie Bars
Estimated Nutrition
Estimated nutrition for the whole recipe (without optional ingredients):
- Calories: 2100-2300
- Protein: 16-20 g
- Fat: 120-130 g
- Carbohydrates: 250-270 g
Ingredients
For the cookies:
- 14 tbsp chilled butter (cut into small cubes, cold is essential for texture)
- 1.75 cups gluten-free flour (Bob’s Red Mill 1-to-1 baking flour works great)
- 1 tsp vanilla extract (pure vanilla for best flavor)
- 1 cup powdered sugar
- 1/2 tsp kosher salt
For Toppings (optional):
- semi-sweet chocolate for dipping (optional but recommended for richness)
Step 1: Prep Ingredients and Freeze Butter
- 14 tbsp butter, cut into small cubes
- 1.75 cups gluten-free flour
- 1 cup powdered sugar
- 1/2 tsp kosher salt
Cube your cold butter into small pieces and place it back in the freezer for at least 5 minutes—this is critical for achieving that tender, crumbly shortbread texture.
While the butter chills, measure out your gluten-free flour, powdered sugar, and kosher salt.
I always keep my mixer bowl in the freezer for a few minutes before starting because a cold bowl helps keep the butter cold during mixing, which results in a better final texture.
Step 2: Combine and Knead the Dough
- dry ingredient mixture from Step 1
- 1 tsp vanilla extract
- chilled butter cubes from Step 1
Combine the flour, powdered sugar, and salt in your mixer and blend on low speed for 1-2 minutes until evenly combined.
Add the vanilla extract and the chilled butter cubes, then mix on low to medium speed for 3-5 minutes until the dough comes together into a smooth, cohesive mass.
Stop mixing as soon as the dough forms—overmixing will develop gluten-like structures and make the cookies tough rather than tender.
I prefer using a mixer because it keeps everything cold and ensures even distribution of butter throughout the dough.
Step 3: Cut Shapes and Freeze
- dough from Step 2
Transfer the dough from Step 2 onto a piece of parchment paper and roll it out to approximately 3/4-inch thickness.
Using cookie cutters or a knife, cut the dough into your desired shapes.
Arrange the cut cookies on an ungreased baking sheet, spacing them about 1 inch apart.
Transfer the baking sheet to the freezer for 30 minutes—chilling the shaped dough a second time ensures the cookies will hold their shape during baking and maintain their crispy texture.
Step 4: Preheat Oven and Bake
- chilled cookies from Step 3
After the dough has chilled for about 15 minutes, preheat your oven to 350°F so it reaches temperature by the time the cookies are ready.
Once the full 30 minutes of freezing is complete, bake the cookies for 16-18 minutes until the edges turn golden brown—the centers may still look slightly underbaked, but they’ll continue to firm up as they cool.
Watch for the color change at the edges rather than relying solely on time, as oven temperatures vary.
Step 5: Rest on Wire Rack
- baked cookies from Step 4
Remove the baking sheet from the oven and let the cookies rest on the hot sheet for 10 minutes—this allows them to set without drying out.
If the edges have spread and look slightly irregular, you can gently reshape them while they’re still warm.
Transfer the cookies to a wire cooling rack and allow them to cool completely, which will take another 10-15 minutes.
This resting period is what gives shortbread its characteristic tender crumb.
Step 6: Decorate with Melted Chocolate
- cooled cookies from Step 5
- semi-sweet chocolate
If using chocolate, melt it in a microwave-safe bowl in 30-second intervals, stirring between each interval until smooth, or use a double boiler for gentle, even melting.
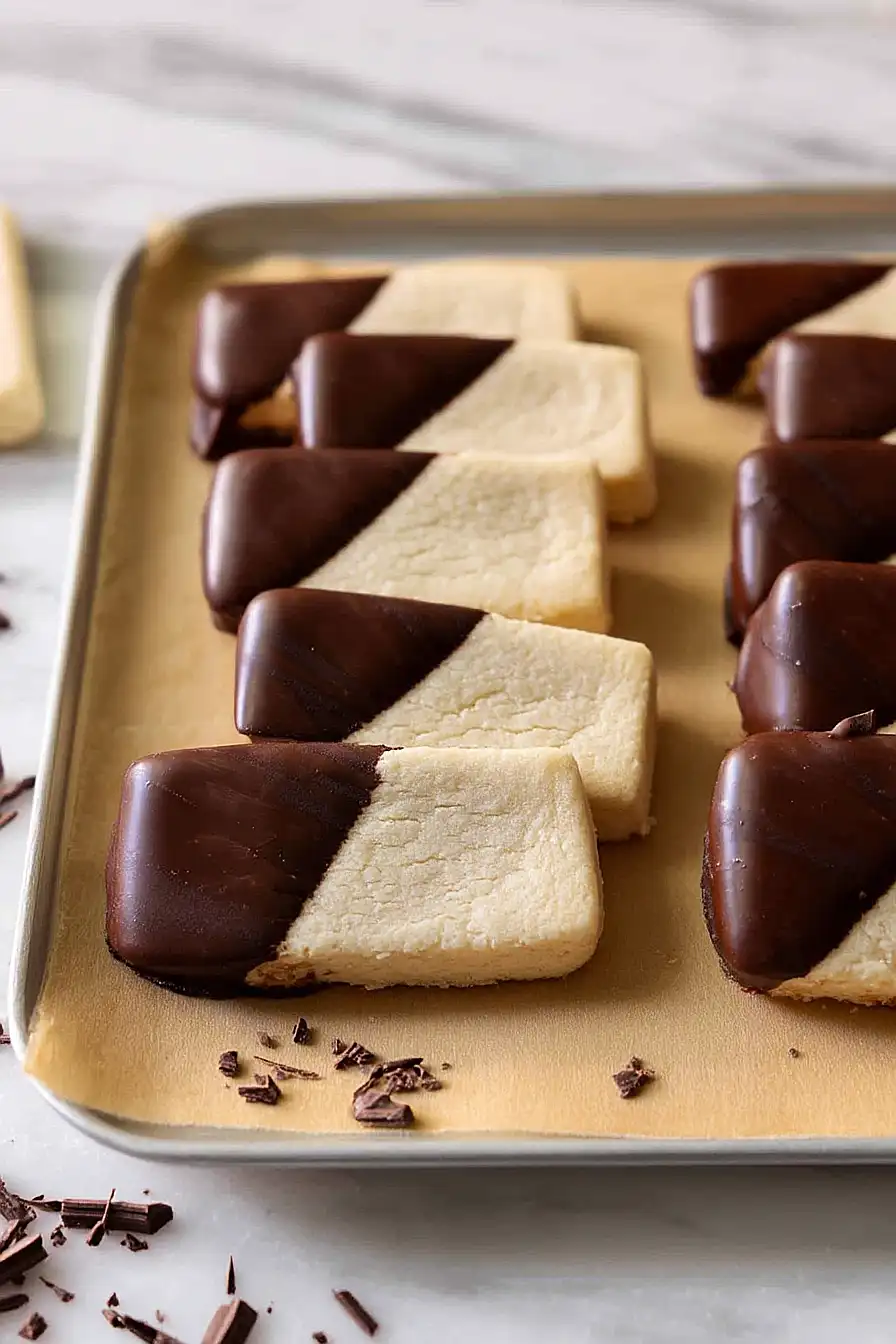
Dip the bottom half or edges of each cooled cookie into the melted chocolate and place it on a parchment-lined baking sheet.
Allow the chocolate to set at room temperature for 15-20 minutes, or place the sheet in the refrigerator for faster setting if you prefer.
The chocolate adds richness and a lovely contrast to the buttery shortbread.
Classic Gluten Free Shortbread Cookies
Ingredients
Method
- Cube your cold butter into small pieces and place it back in the freezer for at least 5 minutes—this is critical for achieving that tender, crumbly shortbread texture. While the butter chills, measure out your gluten-free flour, powdered sugar, and kosher salt. I always keep my mixer bowl in the freezer for a few minutes before starting because a cold bowl helps keep the butter cold during mixing, which results in a better final texture.
- Combine the flour, powdered sugar, and salt in your mixer and blend on low speed for 1-2 minutes until evenly combined. Add the vanilla extract and the chilled butter cubes, then mix on low to medium speed for 3-5 minutes until the dough comes together into a smooth, cohesive mass. Stop mixing as soon as the dough forms—overmixing will develop gluten-like structures and make the cookies tough rather than tender. I prefer using a mixer because it keeps everything cold and ensures even distribution of butter throughout the dough.
- Transfer the dough from Step 2 onto a piece of parchment paper and roll it out to approximately 3/4-inch thickness. Using cookie cutters or a knife, cut the dough into your desired shapes. Arrange the cut cookies on an ungreased baking sheet, spacing them about 1 inch apart. Transfer the baking sheet to the freezer for 30 minutes—chilling the shaped dough a second time ensures the cookies will hold their shape during baking and maintain their crispy texture.
- After the dough has chilled for about 15 minutes, preheat your oven to 350°F so it reaches temperature by the time the cookies are ready. Once the full 30 minutes of freezing is complete, bake the cookies for 16-18 minutes until the edges turn golden brown—the centers may still look slightly underbaked, but they'll continue to firm up as they cool. Watch for the color change at the edges rather than relying solely on time, as oven temperatures vary.
- Remove the baking sheet from the oven and let the cookies rest on the hot sheet for 10 minutes—this allows them to set without drying out. If the edges have spread and look slightly irregular, you can gently reshape them while they're still warm. Transfer the cookies to a wire cooling rack and allow them to cool completely, which will take another 10-15 minutes. This resting period is what gives shortbread its characteristic tender crumb.
- If using chocolate, melt it in a microwave-safe bowl in 30-second intervals, stirring between each interval until smooth, or use a double boiler for gentle, even melting. Dip the bottom half or edges of each cooled cookie into the melted chocolate and place it on a parchment-lined baking sheet. Allow the chocolate to set at room temperature for 15-20 minutes, or place the sheet in the refrigerator for faster setting if you prefer. The chocolate adds richness and a lovely contrast to the buttery shortbread.