Fall desserts are my weak spot. There’s something about the smell of cinnamon and nutmeg baking in the oven that makes my house feel like home. I used to think cheesecake was too fancy for a regular weeknight, but this layered pumpkin version changed my mind. It’s easier than you’d think.
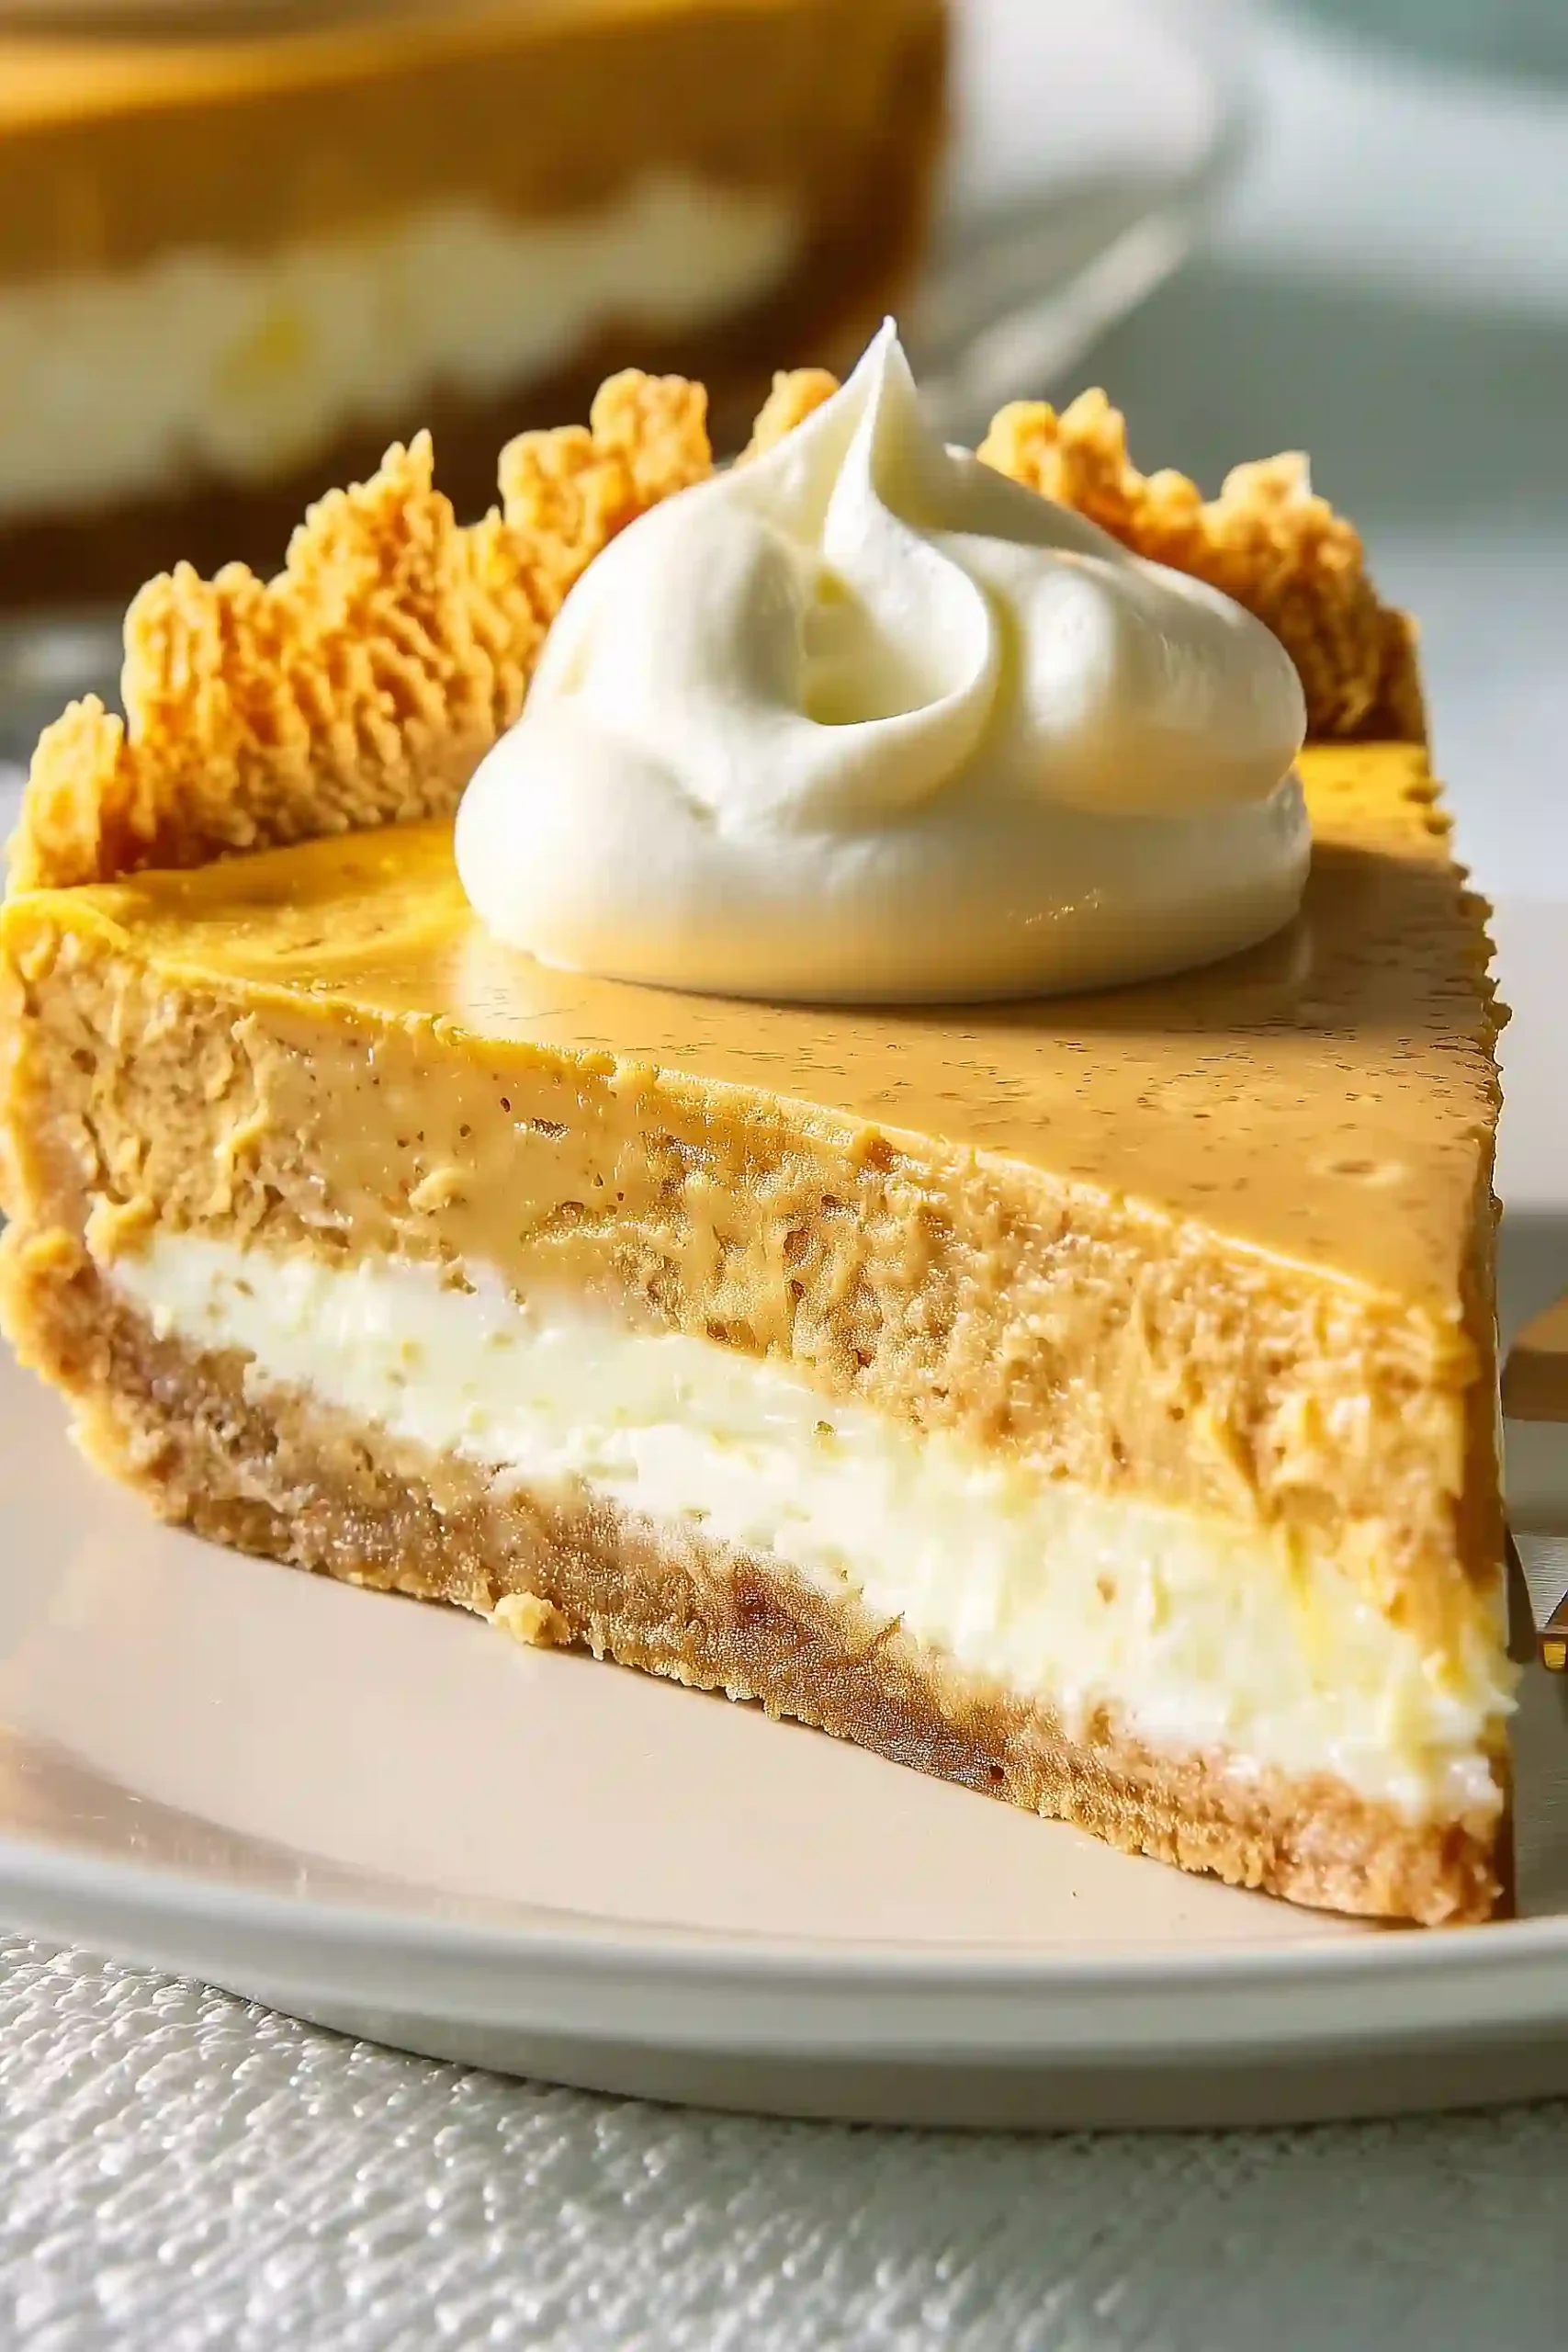
The best part? You get two flavors in one dessert. The plain cheesecake layer is smooth and creamy, while the pumpkin layer brings in those cozy fall spices. I make this for Thanksgiving every year now, but honestly, I don’t wait for the holidays anymore. October through December is fair game in my kitchen.
You don’t need any special equipment or skills. Just a couple of bowls, some patience while it bakes, and you’re golden. Trust me, when you slice into those pretty layers, everyone will think you spent hours on it.
Why You’ll Love This Layered Pumpkin Cheesecake
- Two desserts in one – You get the best of both worlds with creamy classic cheesecake on one layer and spiced pumpkin cheesecake on the other, so everyone at the table gets their favorite.
- Simple ingredients – This recipe uses basic pantry staples and a store-bought graham cracker crust, making it easy to whip up without a special trip to the grocery store.
- Perfect for fall gatherings – Whether it’s Thanksgiving dinner or a casual autumn get-together, this cheesecake looks impressive and tastes even better.
- Make-ahead friendly – You can prepare this dessert a day or two in advance, which takes the stress out of hosting and lets the flavors develop beautifully.
What Kind of Pumpkin Puree Should I Use?
For this layered pumpkin cheesecake, you’ll want to grab a can of pure pumpkin puree from the baking aisle – just make sure you’re not accidentally picking up pumpkin pie filling, which already has sugar and spices added. The plain puree gives you control over the sweetness and spice levels in your cheesecake. If you’re feeling ambitious, you can make your own pumpkin puree from scratch using sugar pumpkins (not the big carving ones), but honestly, canned pumpkin works just as well and saves you a ton of time. Once you open the can, if you have leftover puree, it’ll keep in the fridge for about a week or you can freeze it for later use.

Options for Substitutions
This cheesecake is pretty forgiving when it comes to swaps, so here are some options if you need them:
- Cream cheese: Make sure to use full-fat cream cheese for this recipe – it’s really important for getting that smooth, creamy texture. Low-fat versions tend to make the cheesecake watery and won’t set properly.
- Graham cracker crust: If you don’t have a prepared crust, you can make your own with 1.5 cups graham cracker crumbs, 5 tablespoons melted butter, and 3 tablespoons sugar. Press into your pan and bake at 350°F for 8 minutes. You could also use a gingersnap or vanilla wafer crust for a different flavor.
- Pumpkin puree: Make sure you’re using pure pumpkin puree, not pumpkin pie filling which already has spices and sugar added. In a pinch, you could use sweet potato puree or butternut squash puree instead.
- Individual spices: Don’t have all the spices on hand? You can replace the cinnamon, cloves, and nutmeg with 1 teaspoon of pumpkin pie spice.
- White sugar: You can swap white sugar for light brown sugar if you want a slightly deeper, molasses-like flavor in your cheesecake.
Watch Out for These Mistakes While Baking
The biggest mistake when making cheesecake is not having your cream cheese at room temperature, which leads to lumps in your filling that no amount of mixing can fix – take it out of the fridge at least an hour before you start.
Overmixing the batter once you add the eggs is another common error that incorporates too much air, causing cracks on the surface as it bakes, so mix just until the eggs are combined and no more.
To get clean, distinct layers between the plain and pumpkin mixtures, drop spoonfuls of each flavor alternately into the crust rather than pouring one on top of the other, then gently swirl with a knife for a marbled effect.
Finally, resist the urge to open the oven door during baking, as sudden temperature changes are a major cause of cracking, and remember that the cheesecake is done when the edges are set but the center still has a slight jiggle.
What to Serve With Pumpkin Cheesecake?
This pumpkin cheesecake is rich and creamy, so I like to serve it with a dollop of freshly whipped cream on top and a light drizzle of caramel sauce. A hot cup of coffee or spiced chai tea makes a great pairing since the warm spices in the drink complement the cinnamon and nutmeg in the cheesecake. If you’re serving this for a holiday dinner, it goes perfectly alongside other fall desserts like apple pie or pecan bars, giving your guests a nice variety to choose from. For an extra touch, you can sprinkle some chopped pecans or candied walnuts on top right before serving for a bit of crunch.
Storage Instructions
Store: Keep your pumpkin cheesecake covered in the fridge for up to 5 days. I like to use plastic wrap pressed directly on the surface, then cover the whole pan with foil to keep it fresh. It actually tastes even better the next day once all the flavors have had time to settle in together.
Freeze: This cheesecake freezes really well for up to 2 months. Wrap individual slices tightly in plastic wrap, then place them in a freezer bag. That way you can grab just one piece whenever you’re craving it without having to thaw the whole thing.
Serve: Let frozen slices thaw in the fridge overnight for the best texture. If you’re in a hurry, you can leave it on the counter for about 30 minutes, but I find the slow thaw in the fridge keeps it from getting watery.
| Preparation Time | 20-30 minutes |
| Cooking Time | 35-40 minutes |
| Total Time | 3-5 hours |
| Level of Difficulty | Medium |
Estimated Nutrition
Estimated nutrition for the whole recipe (without optional ingredients):
- Calories: 2800-3100
- Protein: 38-46 g
- Fat: 185-210 g
- Carbohydrates: 270-310 g
Ingredients
For the cheesecake layer:
- 9 inch graham cracker crust (pre-made or homemade)
- 1/2 tsp vanilla extract (I use Madagascar vanilla for deeper flavor)
- 2 large eggs (room temperature)
- 1/2 cup sugar
- 16 oz cream cheese (room temperature for smooth mixing)
For the pumpkin layer:
- 1/2 tsp ground cinnamon (freshly ground preferred for more flavor)
- 1/2 cup pumpkin puree (I use Libby’s)
- 1 pinch ground cloves
- 1 pinch ground nutmeg (freshly grated if possible)
Step 1: Prepare Your Mise en Place and Preheat
- 9 inch graham cracker crust
- Oven space
Preheat your oven to 325°F (165°C) and position the rack in the lower third of the oven—this helps the cheesecake bake evenly without the top browning too quickly.
Remove the cream cheese and eggs from the refrigerator so they can come to room temperature while you gather all ingredients.
Room temperature ingredients are crucial for creating a smooth, lump-free batter that incorporates evenly.
Step 2: Create the Base Cheesecake Batter
- 16 oz cream cheese
- 1/2 cup sugar
- 1/2 tsp vanilla extract
- 2 large eggs
In a large bowl, beat the room temperature cream cheese, sugar, and vanilla extract together for 2-3 minutes until smooth and creamy—this aerates the mixture and prevents lumps.
Add the eggs one at a time, beating well after each addition to ensure they’re fully incorporated before adding the next.
I like to use Madagascar vanilla in my cheesecakes because it adds a subtle depth that complements the pumpkin spices beautifully.
Once all eggs are added, you should have a pale, smooth batter.
Step 3: Layer the Plain Cheesecake Base
- 1 cup plain cheesecake batter from Step 2
Spread approximately 1 cup of the plain batter from Step 2 evenly into the bottom of your prepared graham cracker crust, creating an even layer.
This plain layer will form the delicate bottom portion of your cheesecake, providing a neutral contrast to the spiced pumpkin layer on top.
Use an offset spatula or the back of a spoon to smooth it out, but don’t worry about perfection—slight texture variation adds to the rustic appeal.
Step 4: Create the Pumpkin Layer and Assemble
- remaining plain cheesecake batter from Step 2
- 1/2 cup pumpkin puree
- 1/2 tsp ground cinnamon
- 1 pinch ground cloves
- 1 pinch ground nutmeg
To the remaining batter from Step 2, add the pumpkin puree, ground cinnamon, ground cloves, and ground nutmeg.
Stir until fully combined and the color is even throughout—you should have a rich, spiced pumpkin-colored batter.
I always use freshly grated nutmeg and freshly ground cinnamon when possible; the aroma and flavor are noticeably more vibrant than pre-ground spices.
Pour this pumpkin batter carefully over the plain layer in the crust, smoothing the top gently.
Step 5: Bake Until Set
- assembled cheesecake from Step 4
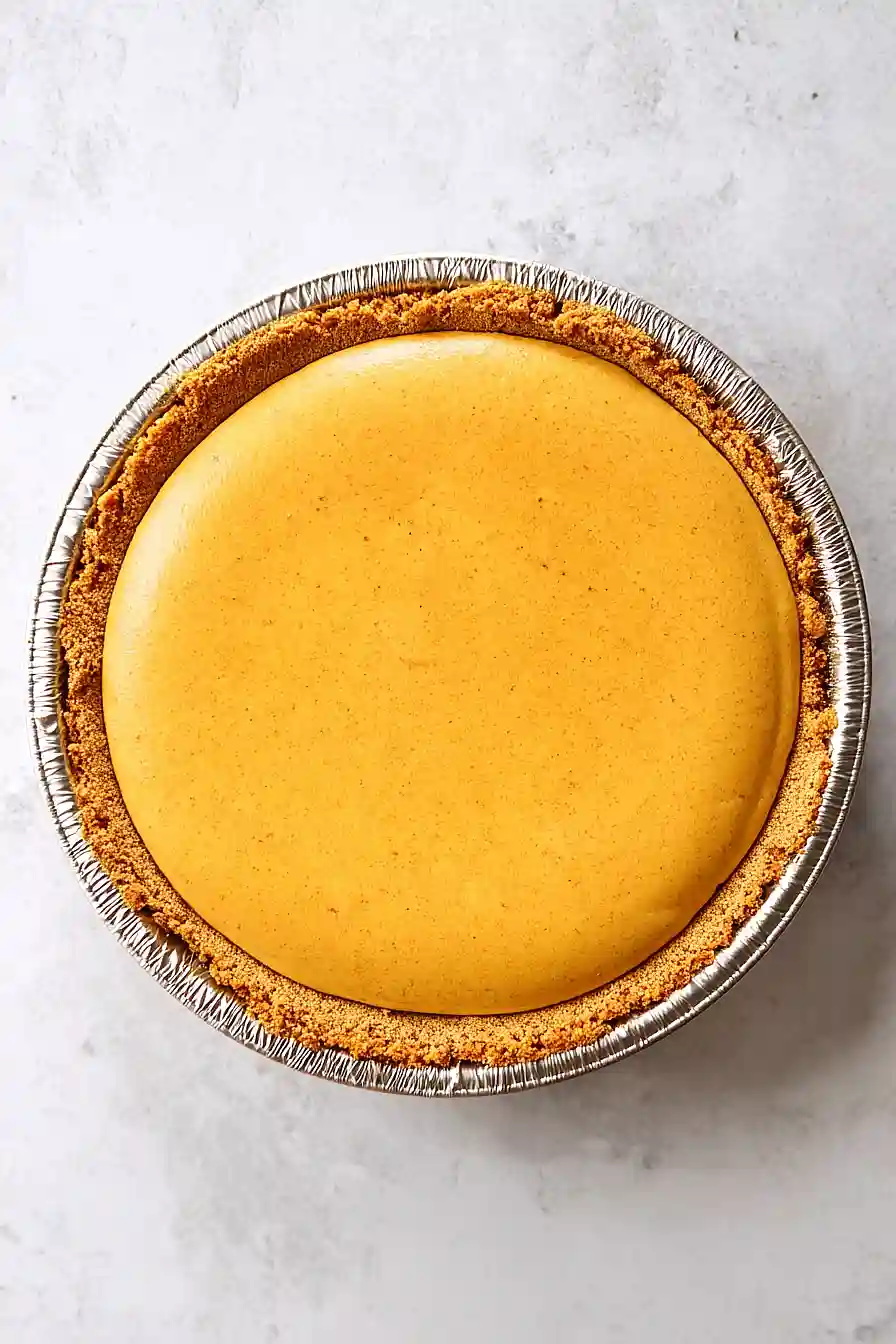
Bake for 35-40 minutes, until the edges are puffed and set but the center still has a slight jiggle when you gently shake the pan—this is the sweet spot for a creamy, not-overbaked cheesecake.
The center should look mostly firm but with a small wobble in the very middle about the size of a quarter.
Overbaking will result in cracks and a dry, dense texture, so err on the side of underbaking slightly.
Step 6: Cool Completely
Remove the cheesecake from the oven and let it cool undisturbed at room temperature for 1-2 hours.
This gradual cooling process is essential—it prevents the dreaded cracking that happens when cheesecake cools too quickly.
After reaching room temperature, refrigerate for at least 4 hours (or preferably overnight) before serving.
This resting time allows the flavors to meld and the texture to set to that perfect creamy consistency.
Best Layered Pumpkin Cheesecake
Ingredients
Method
- Preheat your oven to 325°F (165°C) and position the rack in the lower third of the oven—this helps the cheesecake bake evenly without the top browning too quickly. Remove the cream cheese and eggs from the refrigerator so they can come to room temperature while you gather all ingredients. Room temperature ingredients are crucial for creating a smooth, lump-free batter that incorporates evenly.
- In a large bowl, beat the room temperature cream cheese, sugar, and vanilla extract together for 2-3 minutes until smooth and creamy—this aerates the mixture and prevents lumps. Add the eggs one at a time, beating well after each addition to ensure they're fully incorporated before adding the next. I like to use Madagascar vanilla in my cheesecakes because it adds a subtle depth that complements the pumpkin spices beautifully. Once all eggs are added, you should have a pale, smooth batter.
- Spread approximately 1 cup of the plain batter from Step 2 evenly into the bottom of your prepared graham cracker crust, creating an even layer. This plain layer will form the delicate bottom portion of your cheesecake, providing a neutral contrast to the spiced pumpkin layer on top. Use an offset spatula or the back of a spoon to smooth it out, but don't worry about perfection—slight texture variation adds to the rustic appeal.
- To the remaining batter from Step 2, add the pumpkin puree, ground cinnamon, ground cloves, and ground nutmeg. Stir until fully combined and the color is even throughout—you should have a rich, spiced pumpkin-colored batter. I always use freshly grated nutmeg and freshly ground cinnamon when possible; the aroma and flavor are noticeably more vibrant than pre-ground spices. Pour this pumpkin batter carefully over the plain layer in the crust, smoothing the top gently.
- Bake for 35-40 minutes, until the edges are puffed and set but the center still has a slight jiggle when you gently shake the pan—this is the sweet spot for a creamy, not-overbaked cheesecake. The center should look mostly firm but with a small wobble in the very middle about the size of a quarter. Overbaking will result in cracks and a dry, dense texture, so err on the side of underbaking slightly.
- Remove the cheesecake from the oven and let it cool undisturbed at room temperature for 1-2 hours. This gradual cooling process is essential—it prevents the dreaded cracking that happens when cheesecake cools too quickly. After reaching room temperature, refrigerate for at least 4 hours (or preferably overnight) before serving. This resting time allows the flavors to meld and the texture to set to that perfect creamy consistency.