Getting perfectly cooked corn on the cob can be tricky, especially when you’re trying to nail that sweet spot between crunchy and mushy. Traditional boiling methods leave you constantly checking the pot, and grilling means dealing with unevenly cooked kernels and the occasional burnt spot that nobody really enjoys.
That’s where sous vide comes in. This cooking method takes all the guesswork out of making corn on the cob, giving you tender, juicy results every single time. Plus, the butter and rosemary infuse right into the corn as it cooks, adding flavor without any extra effort on your part.
Why You’ll Love This Corn on the Cob
- Perfectly cooked every time – Sous vide takes the guesswork out of cooking corn, giving you tender, juicy kernels that are never overcooked or mushy.
- Minimal ingredients – You only need corn, butter, salt, and optional rosemary to create something delicious. No fancy pantry items required.
- Hands-off cooking – Just seal the corn in bags, drop them in the water bath, and walk away. The sous vide does all the work while you prep the rest of your meal.
- Great for entertaining – You can cook multiple ears at once without crowding a pot, making it perfect for summer cookouts and family gatherings.
What Kind of Corn Should I Use?
Fresh sweet corn is always your best bet for this recipe, and you’ll want to look for ears that feel firm with bright green husks and golden-brown silk. The kernels should be plump and milky when you pierce them with your fingernail – that’s how you know they’re at peak sweetness. If fresh corn isn’t available, you can use frozen corn on the cob, just make sure to thaw it completely before cooking. The fresher your corn, the sweeter and more flavorful your final result will be, so try to use it within a day or two of buying it from the store or farmer’s market.
Options for Substitutions
This simple recipe works well with a few easy swaps if you need them:
- Unsalted butter: If you only have salted butter, go ahead and use it – just skip adding extra salt until you taste the corn after cooking. You can also use olive oil or coconut oil for a dairy-free option.
- Fresh rosemary: Don’t have rosemary? Try fresh thyme, basil, or even a sprinkle of smoked paprika for a different flavor profile. You can also skip the herbs entirely and keep it simple with just butter and salt.
- Sweet corn: Any fresh corn variety works here – white corn, yellow corn, or bicolor all cook the same way. Just make sure the ears are fresh and the kernels are plump for the best results.
Watch Out for These Mistakes While Cooking
The biggest mistake with sous vide corn is overcooking it past 30-35 minutes, which can make the kernels mushy and less sweet – stick to the recommended time since corn doesn’t need long to cook through at 183°F.
Another common error is not removing all the silk before bagging, so take an extra minute to brush away those pesky strands with a damp paper towel or vegetable brush to avoid finding them in your finished dish.
Make sure your bag is fully submerged and not floating, as any corn exposed to air won’t cook evenly – you can use a clip or weight to keep it underwater if needed.
Finally, don’t skip patting the corn dry after removing it from the bag if you want to add a quick char on the grill or in a hot pan, since the moisture will prevent proper browning and those tasty caramelized bits.
What to Serve With Corn on the Cob?
Corn on the cob is a natural fit for any backyard barbecue, so I love serving it alongside grilled chicken, burgers, or ribs. It also pairs really well with coleslaw and potato salad for a complete summer spread that everyone will enjoy. If you’re going for a lighter meal, try it with grilled fish or shrimp and a simple cucumber salad. You can also slice the kernels off the cob after cooking and toss them into a fresh summer salad with cherry tomatoes, avocado, and lime dressing.
Storage Instructions
Store: Leftover corn on the cob keeps well in the fridge for about 3-4 days. Just wrap each ear in plastic wrap or aluminum foil, or place them in an airtight container. If you’ve already cut the kernels off the cob, store those in a sealed container instead.
Freeze: You can freeze cooked corn for up to 3 months. I like to cut the kernels off the cob first and freeze them in freezer bags, but you can also freeze whole ears wrapped tightly in plastic wrap and foil. The kernels are easier to use later for soups or salads.
Reheat: Warm up your corn in the microwave for about 1-2 minutes, or toss it in a skillet with a little butter over medium heat. If you’re reheating whole ears, you can also wrap them in a damp paper towel before microwaving to keep them from drying out.
| Preparation Time | 10-15 minutes |
| Cooking Time | 30-35 minutes |
| Total Time | 40-50 minutes |
| Level of Difficulty | Easy |
| Servings | 4 servings |
Estimated Nutrition
Estimated nutrition for the whole recipe (without optional ingredients):
- Calories: 360-420
- Protein: 8-10 g
- Fat: 18-22 g
- Carbohydrates: 50-60 g
Ingredients
- 4 ears corn (shucked and cleaned of all silk)
- 3/4 teaspoon kosher salt
- 3 tablespoons unsalted butter (such as Kerrygold)
- 2 sprigs fresh rosemary
- 1/4 teaspoon granulated sugar
- 1/4 teaspoon freshly ground black pepper
Step 1: Prepare Corn and Season
- 4 ears corn
- 3/4 teaspoon kosher salt
- 1/4 teaspoon granulated sugar
- 1/4 teaspoon freshly ground black pepper
While your sous vide machine heats, prepare the corn by ensuring it’s completely shucked and all silk has been removed—I like to run my fingers under cool water over the corn to catch any remaining strands.
Pat the ears dry with paper towels so they seal properly in the bag.
In a small bowl, combine the kosher salt, granulated sugar, and freshly ground black pepper together.
Step 2: Set Up Sous Vide Bath and Prepare Corn Bag
- 3/4 teaspoon unsalted butter
- 1/2 sprig fresh rosemary
- 1 ear corn
- seasoning mixture from Step 1
Set your sous vide machine to 183°F and allow the water bath to reach temperature—this typically takes 10-15 minutes depending on your machine and water volume.
While the water heats, divide the unsalted butter into four equal portions (about 3/4 tablespoon each) and place one portion with one sprig of fresh rosemary in a vacuum-seal bag or zip-lock freezer bag.
Add one ear of corn to the bag, then sprinkle with one-quarter of the seasoning mixture from Step 1.
Step 3: Seal and Cook Corn in Sous Vide Bath
- remaining unsalted butter
- remaining fresh rosemary sprigs
- remaining 3 ears corn
- remaining seasoning mixture
Seal the bag using either a vacuum sealer or the water-displacement method (submerge the bag in water, leaving the top edge unsealed, then seal once water pressure removes excess air).
Repeat with the remaining three ears of corn, butter, rosemary, and seasoning in separate bags.
Once your water bath reaches 183°F, carefully place all four bags into the water, ensuring they’re fully submerged and not touching the heating element.
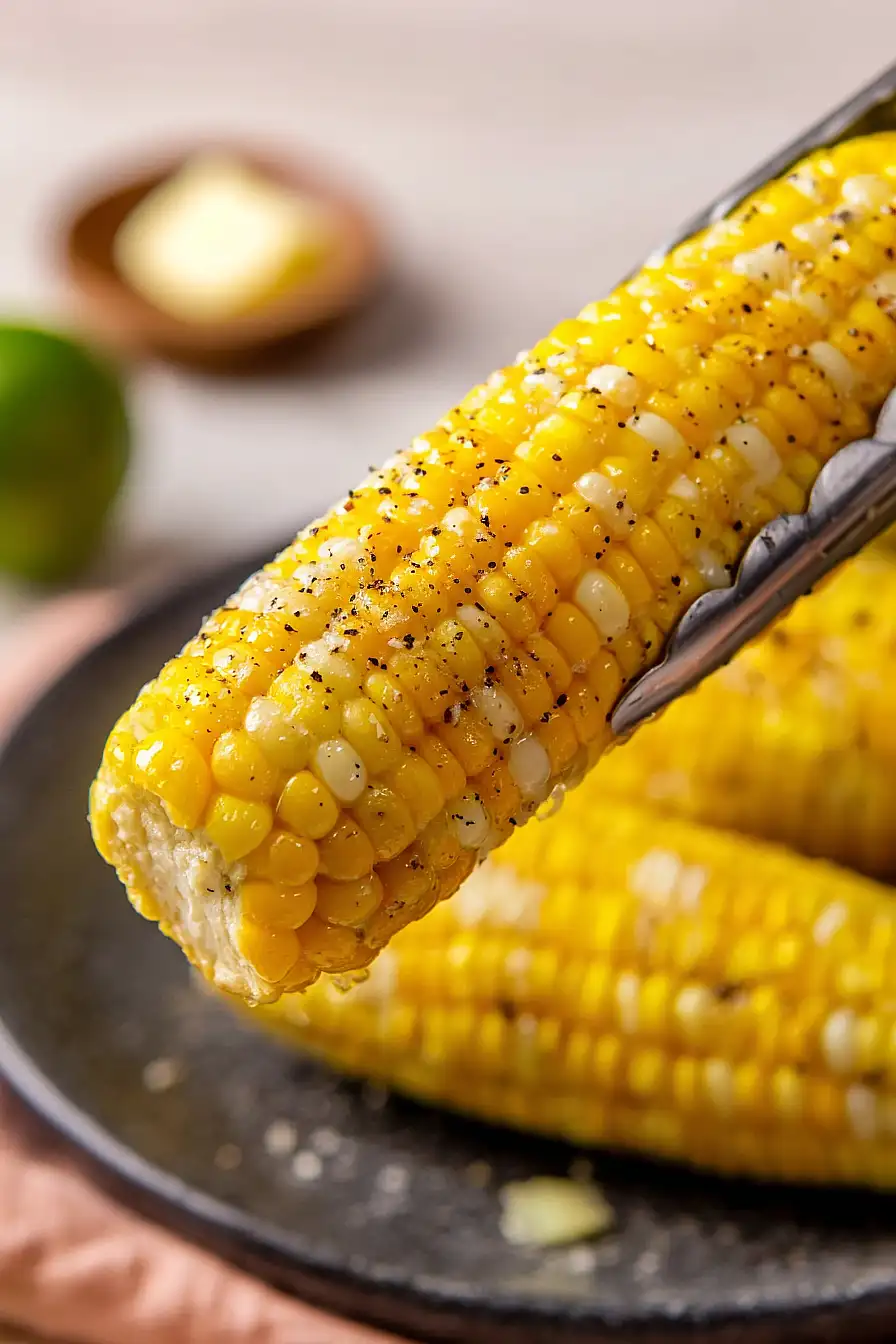
Cook for exactly 30 minutes—this timing perfectly tenderizes the corn while maintaining its sweet flavor and slight bite.
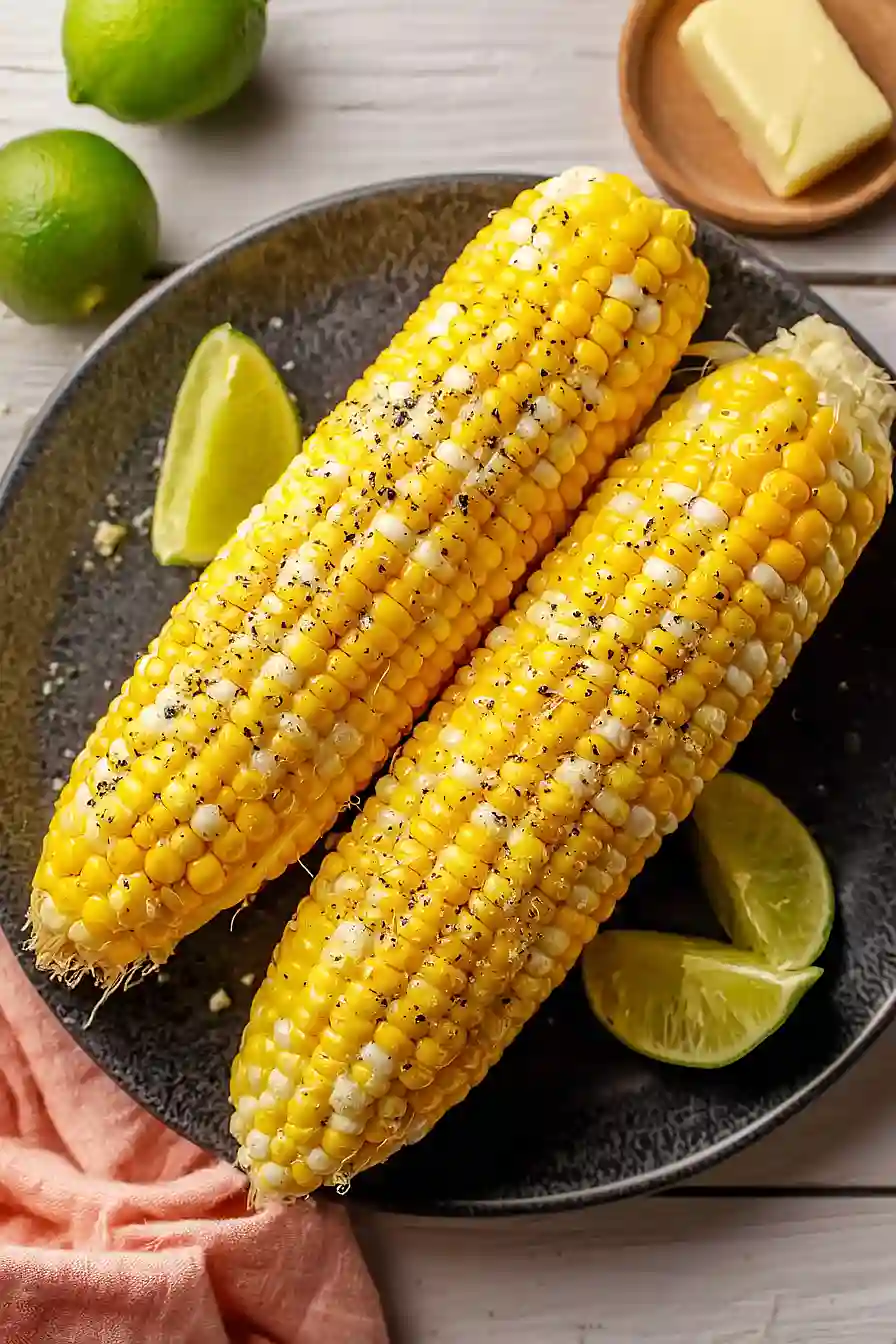
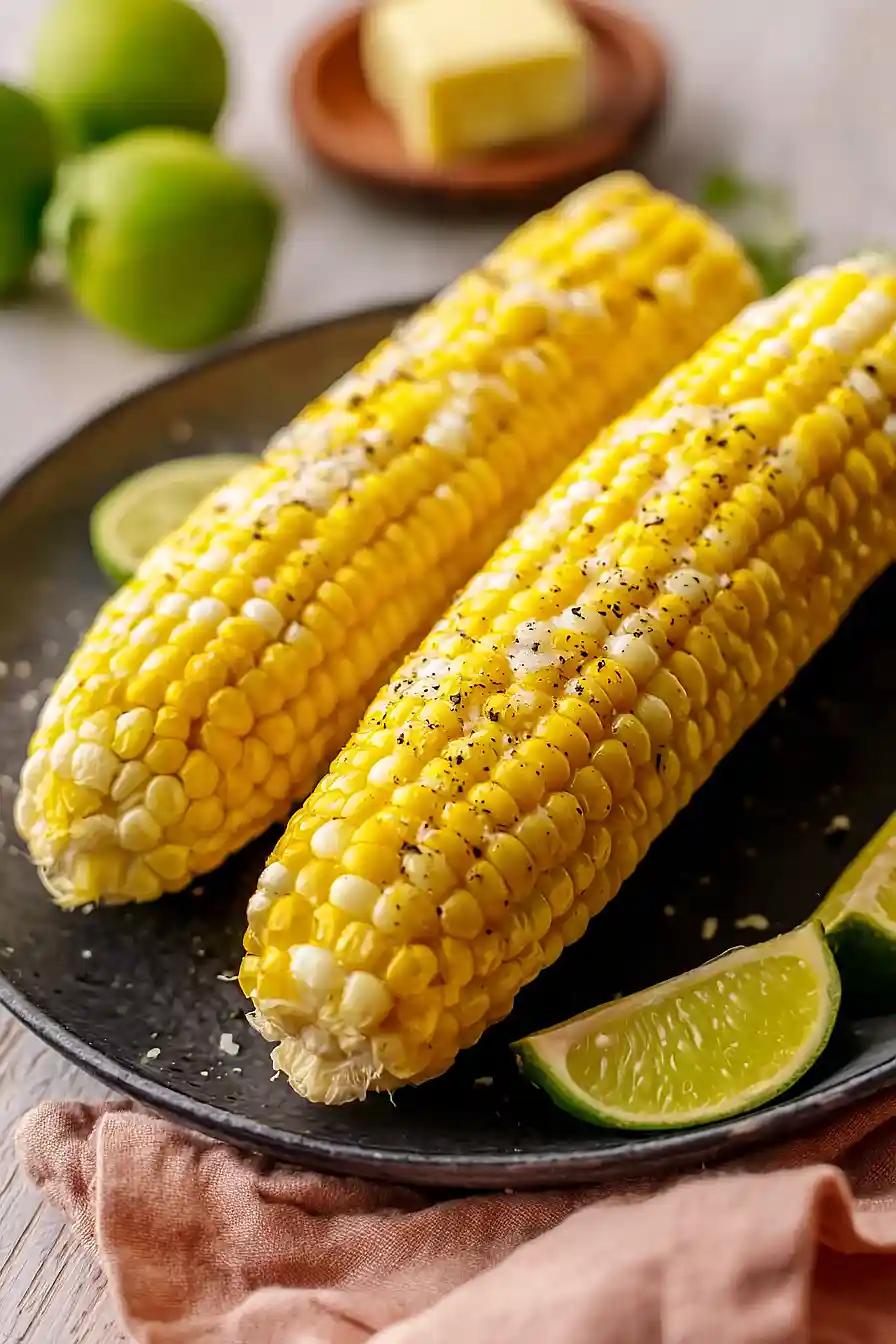
Step 4: Remove and Serve
After 30 minutes, carefully remove the bags from the hot water bath using tongs and place them on a clean surface.
Open each bag and transfer the corn to a serving plate or directly to individual plates.
Pour any butter and seasonings from the bag over each ear of corn for maximum flavor—I always make sure not to waste those infused juices, as that’s where much of the delicious rosemary flavor lives.
Sweet Sous Vide Corn on the Cob
Ingredients
Method
- While your sous vide machine heats, prepare the corn by ensuring it's completely shucked and all silk has been removed—I like to run my fingers under cool water over the corn to catch any remaining strands. Pat the ears dry with paper towels so they seal properly in the bag. In a small bowl, combine the kosher salt, granulated sugar, and freshly ground black pepper together.
- Set your sous vide machine to 183°F and allow the water bath to reach temperature—this typically takes 10-15 minutes depending on your machine and water volume. While the water heats, divide the unsalted butter into four equal portions (about 3/4 tablespoon each) and place one portion with one sprig of fresh rosemary in a vacuum-seal bag or zip-lock freezer bag. Add one ear of corn to the bag, then sprinkle with one-quarter of the seasoning mixture from Step 1.
- Seal the bag using either a vacuum sealer or the water-displacement method (submerge the bag in water, leaving the top edge unsealed, then seal once water pressure removes excess air). Repeat with the remaining three ears of corn, butter, rosemary, and seasoning in separate bags. Once your water bath reaches 183°F, carefully place all four bags into the water, ensuring they're fully submerged and not touching the heating element. Cook for exactly 30 minutes—this timing perfectly tenderizes the corn while maintaining its sweet flavor and slight bite.
- After 30 minutes, carefully remove the bags from the hot water bath using tongs and place them on a clean surface. Open each bag and transfer the corn to a serving plate or directly to individual plates. Pour any butter and seasonings from the bag over each ear of corn for maximum flavor—I always make sure not to waste those infused juices, as that's where much of the delicious rosemary flavor lives.